The ultimate guide on how to use a paint brush tips
Whether you love painting, are afraid to paint, or painted a chair once that looked like a three-year-old finger painted it, this post is for you.
I’m tossing all I learned about painting with a brush into a paint bucket and dumping it out here.
Use a Paint Brush Tips
This post contains some affiliate links. Click here to read my full disclosure policy.
Type of brush to use
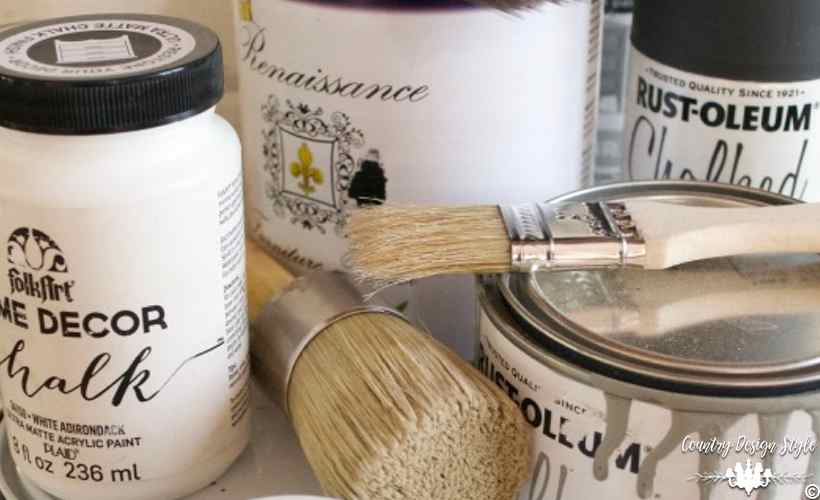
The type of paint determines the type of bristles. If you’re using old based paints or stains, use a natural bristle brush. If using water based paints use synthetic bristles. Natural bristles can absorb water from the paint. China bristle brushes are great for the waxes we use for chalk-based paints.
My note on the chip brush.
Chip brushes usually have wood handles. Their china bristles which make them perfect for oils, polys, and waxes. The bristles are natural. Why do we use them for our water-based paints if the bristles are natural? My thought is the quality of chip brushes are not anything like the quality of a natural bristle brush. They are mass produced. The bristles are not absorbing the amount of water from the paint as a quality bristle. Have you ever left a chip brush for a couple of hours without cleaning? Hum!! Water-based paints left on the brush dry up faster. Chip brushes are for one time use of sticky oily gooey stuff. The DIY world started using them and the rest is history. We love them.
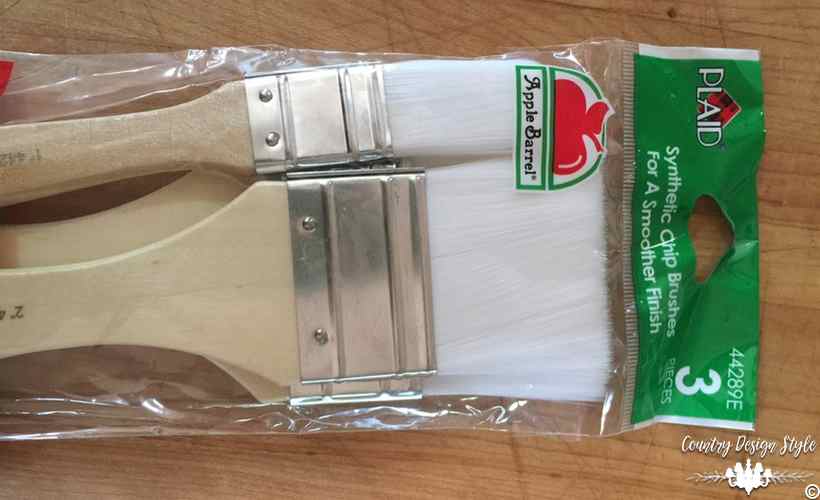
Update on the chip brushes! I found these chip brushes today with synthetic bristles. Perfect for the water-based paints.
The size of the brush depends on the area. A brush that is 1 to 1 1/2” is perfect for small frames, door trim, or small drawers. For larger areas use a larger brush. I’ve never found a need for a 3-inch brush yet…but someday I want to paint a whole room with only a brush. No rollers!
I like to use an angle brush for trim and edges. They are also great for painting furniture. The angle helps apply paint in corners grooves and around spindles.
Personally, I like wood handles. I’m not a foam brush user. But they are great for one-time use projects.
Tip: Start with damp bristles. Apply a little water or mineral spirits if using oil bases paints to dampen. This helps remove any loose bristles, especially in chip brushes. If you get too much water near the ferrule paint will mix with the water and run down your arm and drip off your elbow. Experience tells me this.
This is my favorite paint brush. <<Link to a page of my favorite brand.>>
How to load a paint brush
Loading the paintbrush is as important as painting. Dip the bristles only 1/3 of the way into the paint. Dipping any more wastes paint makes a mess, and the brush is harder to clean.
Tip. Don’t rub the brush over the lip of the paint container. Instead, tap the bristles on the inside of the container. This action helps move the paint around to the middle bristles.
How to hold the brush
I often wonder why paint brushes have such long handles. The correct way to hold the brush is by the ferrule, that’s the metal part that holds the bristles on the handle. This is one of my favorite short paint brushes. Plus, the short handle makes painting inside a bookcase easier.
Goofy story:
Once while painting a bookcase for a client the long handle kept scraping through the paint. I would paint a shelf only to scrap the bottom of the shelf above. Then while correcting that the handle would cut into the shelf. I didn’t want to stop and run to the hardware store for a short handle brush, so I cut the wooden handle down.
Applying paint
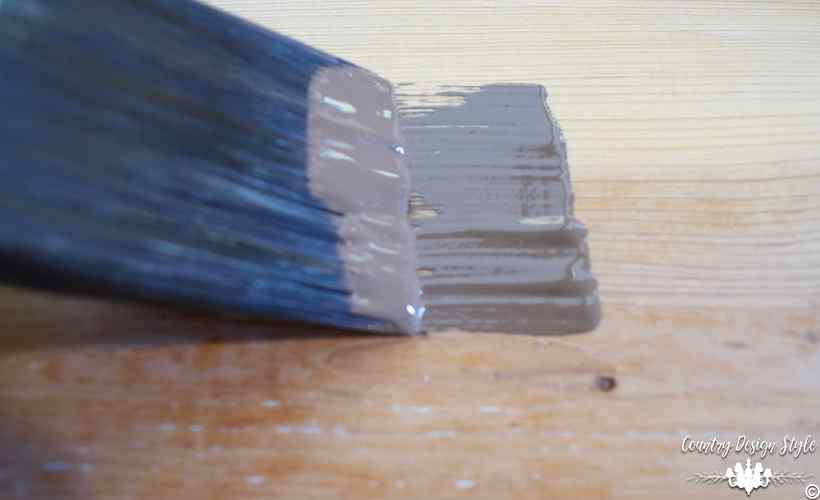
The brush shown is at about a 45º angle to the surface. The bristle should flex slightly.
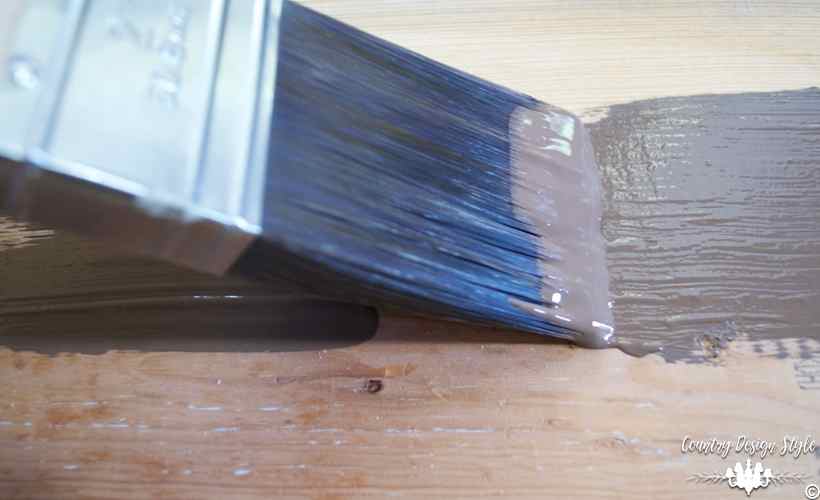
Above I’m painting back into the wet. This helps lay out the paint and feathering the paint as you lift from the surface. Continue laying out paint and feathering into the wet paint.
Paint containers
I grab a paint container whether painting a room, a piece of furniture or a small picture frame. Rarely do I dip a paintbrush into the paint can. Plastic containers like yogurt work great. If it’s a small painting job, a little foil formed into a bowl works great. When I’m painting a room or large piece I like using this container with a handle.
How to clean a paintbrush
Try to clean the brush when you finish painting…Jeanette! Yep, I’m not good at this one. If that’s not possible at least rinse the brush and wrap in a baggy or cellophane until you can clean it. Do not leave the water. The bristles left in water may bend. Plus too much water in the ferrule can damage the bristles causes them to fall out into your paint finish.
Water-based paints. I like to use hair shampoo and conditioner. Yep, I figure if it gets my hair clean it can clean my paint brushes. The conditioner helps softens the bristles. Do rinse well. It’s important to hang brushes to dry. This lets any water drip from the ferrule. If the paint has dried. I love this paint comb. I’ve also heard wrapping a paint dried brush in a dryer softener sheet for 24 hours with softening the paint. I haven’t tried this one.
Painting Series
Last Monday was the first in the Painting Series Chalk based paint without stressing out.

I worked hard to cover anything regarding paintbrush tips. Please let me know in comments below if you have questions I didn’t cover. I love to help DIYers!
Next Monday is painting with Milk Paint. If you’re in the need of room painting tips, click here.
Have you tried finger painting with pudding? Yum!
Join the newsletter

Subscribe to get our DIY HelpLetter each Thursday. Plus grab your Interior Decorating Ideas e-book.






hardly anyone – professionals included – clean a brush thoroughly enough. it’s never the same and is not worth using at that point without a serious solvent clean. why even bother?
clean it all the way and considering buying a spinner. it looks like an 18 or so inch stick with a handle. pop a wet brush into the end and pump the handle. physics does the rest. re-wet the brush and repeat. I got mine for nine bucks at home depot and can remove every trace of paint in a minute or two.
and while you can do it yourself several ways, for the rip-off price of $4, you can get a brush holder. it’s just a plastic container that snaps shut with the brush head in it and keeps it wet for a surprisingly long time.
Thank you so much for sharing your brush cleaning tips!
Great ideas, thank you for sharing them all. I was repainting a tray this morning using one of my favorite Wooster brushes and found that I had left it in water too long because of all the loose bristles. I never knew why that happened with a good quality brush but now I know 🙂
Thanks and I love your blog!
Cornelia, I have done that too! But DIY is about the mistakes too! That’s why I love it!
I hate to clean brushes esp if I haven’t completed the job. I have found that wrapping the brush in plastic wrap or two bags to keep the air from getting to it and placing in the frig keeps the brush soft till the next day to complete the job.. I really enjoy your blog. Thank you for sharing.
Thank you, Bonnie! I forgot the fridge and freezer tip. Glad you enjoy the blog cause I enjoy sharing ideas and tips. I have the best readers. 😀