
Workshop Series 8 Ribbon Cutting

The Workshop is Complete!! Wah Hoo!
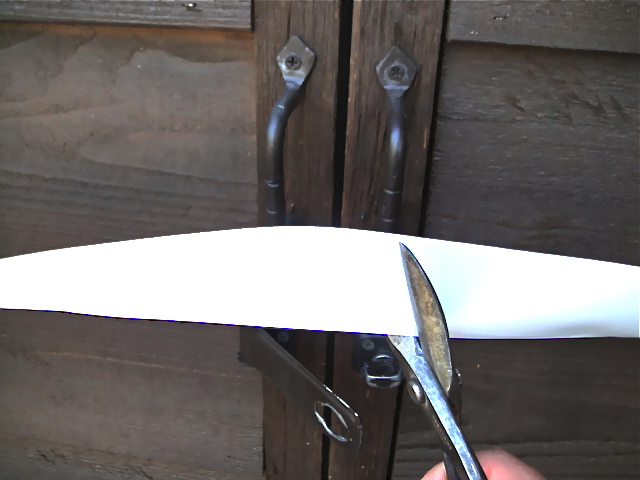
This is the last of the Workshop Series 8 Ribbon Cutting.
Sometimes your have to peel things back and redo. The workshop series posts have been moved from my old website Homa Style to reside here at Country Design Style. Back in the day, before mobile was as popular for reading websites, the photos below were set up with “mouseover.” Mouseover is where you place your mouse over a picture and it changes. Now with mobile so big I decided to simply add the photos next to each other. Plus…I can’t get the mouseover to work. 🙁
 Now back to the ribbon cutting and the workshop.
I gave myself one month and a budget of $300; and I only went over on the time frame {by 4 days}.
Most of what I planned went into the workshop.
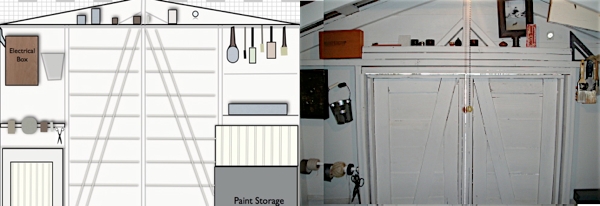
Below are the drawings for each of the four walls and if you place your mouse over the drawing it will show the current photo next to each other.
Remember my little workshop is 6′ x 8’…and it was hard to get a good picture floor to ceiling and wall to wall in such a small space. I did some cropping of the pictures to arrive at the same size.
West Wall {love the scissors hung with rolls of tape on an old spindle}
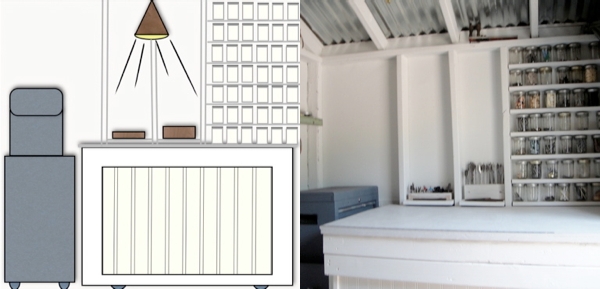
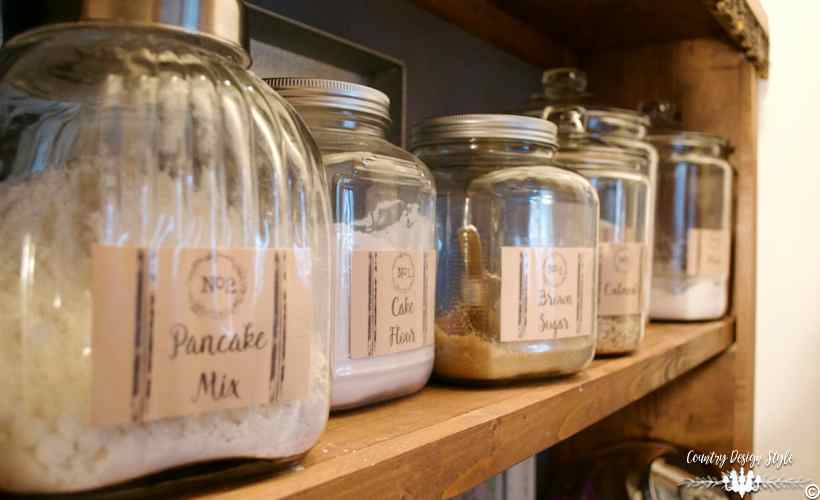
South Wall {canning jars used instead of plastic bins}
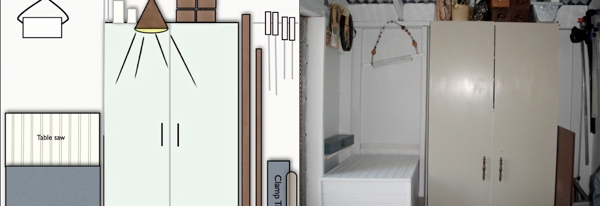
North Wall {threaded found beads on a wire attached to old spindle to hang paper towels}
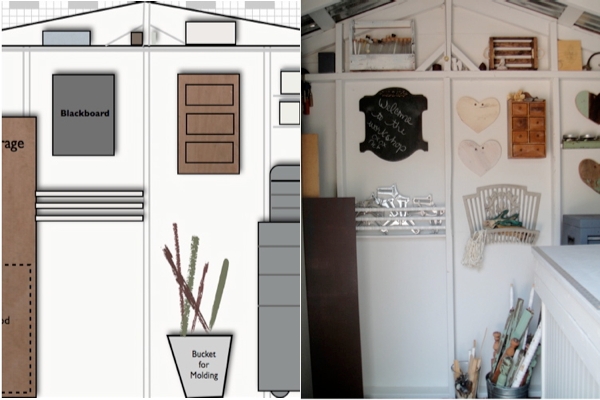
East Wall {added a few extra objects…old hearts I cut out years ago}
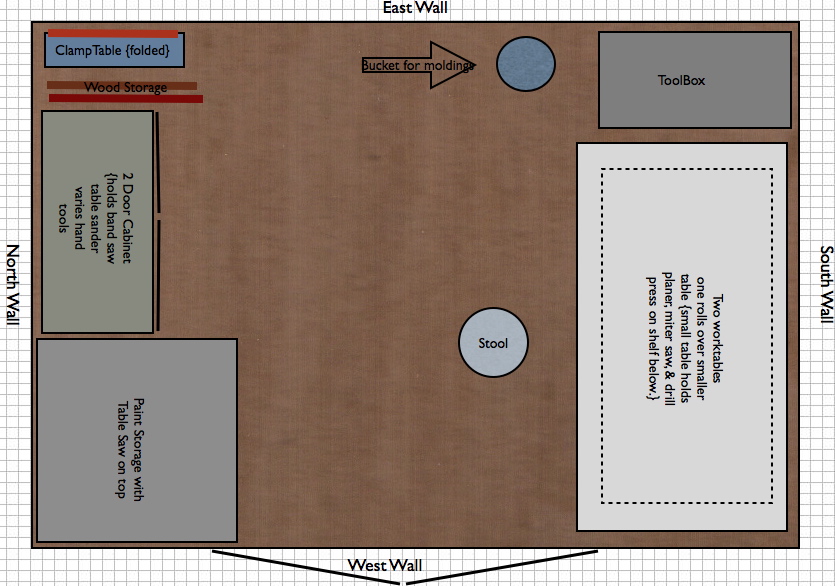
Above is the floorplan {no I didn’t take a picture of the floor}. I did set up everything as planned, cept for the stool. I wanted this Restoration Hardware Stool but it would have used my entire budget and more. I could not find one in any local antique store I liked so it will be in my future plans.

You can read the Workshop Series from the beginning starting with Part 1.
![]() Here is how I spent my $300 Budget
Here is how I spent my $300 Budget
Primer and Paint $60
PVC $22 {had paint and primer for the PVC}
That ugly orange outdoor electrical cord $17
Old jewelry box $6
Flexible metal electrical tubing one foot .80¢
Electrical cord and light kit for hanging funnel light $4
Ruler $3 {cause I did scrounge decorating and used the wood I had…even reused nails and screws}
Canning Jars $30
Spice Rack with wooden drawers found at antique store $30
12 Bags of 80 bl Cement $40
Cement Color $26
That great edging tool $9
Cement Gloves $5
2 Expansion Strips for between shed and cement ramp and square planters $6
Sewing Machine Boxes ~ one was $10 the other three totaled $17
New Box of Chalk, eraser, and ribbon for the Grand Opening $11
Roll of paper towels $2
Note: I have been rounding up {cept for the .80¢ flexible metal electrical tubing cause it’s so cute and under a dollar}.
Left in my coin purse $ 1.20 {enough for a cup of joe}
![]()
Here’s a link to the previous post Workshop Series 7 Small Touches.
Future Plans
I complete projects with future plans because to me decorating is a never ending. While working on a room or workshop ideas develop that may not fit in the time frame or in that dreaded budget!
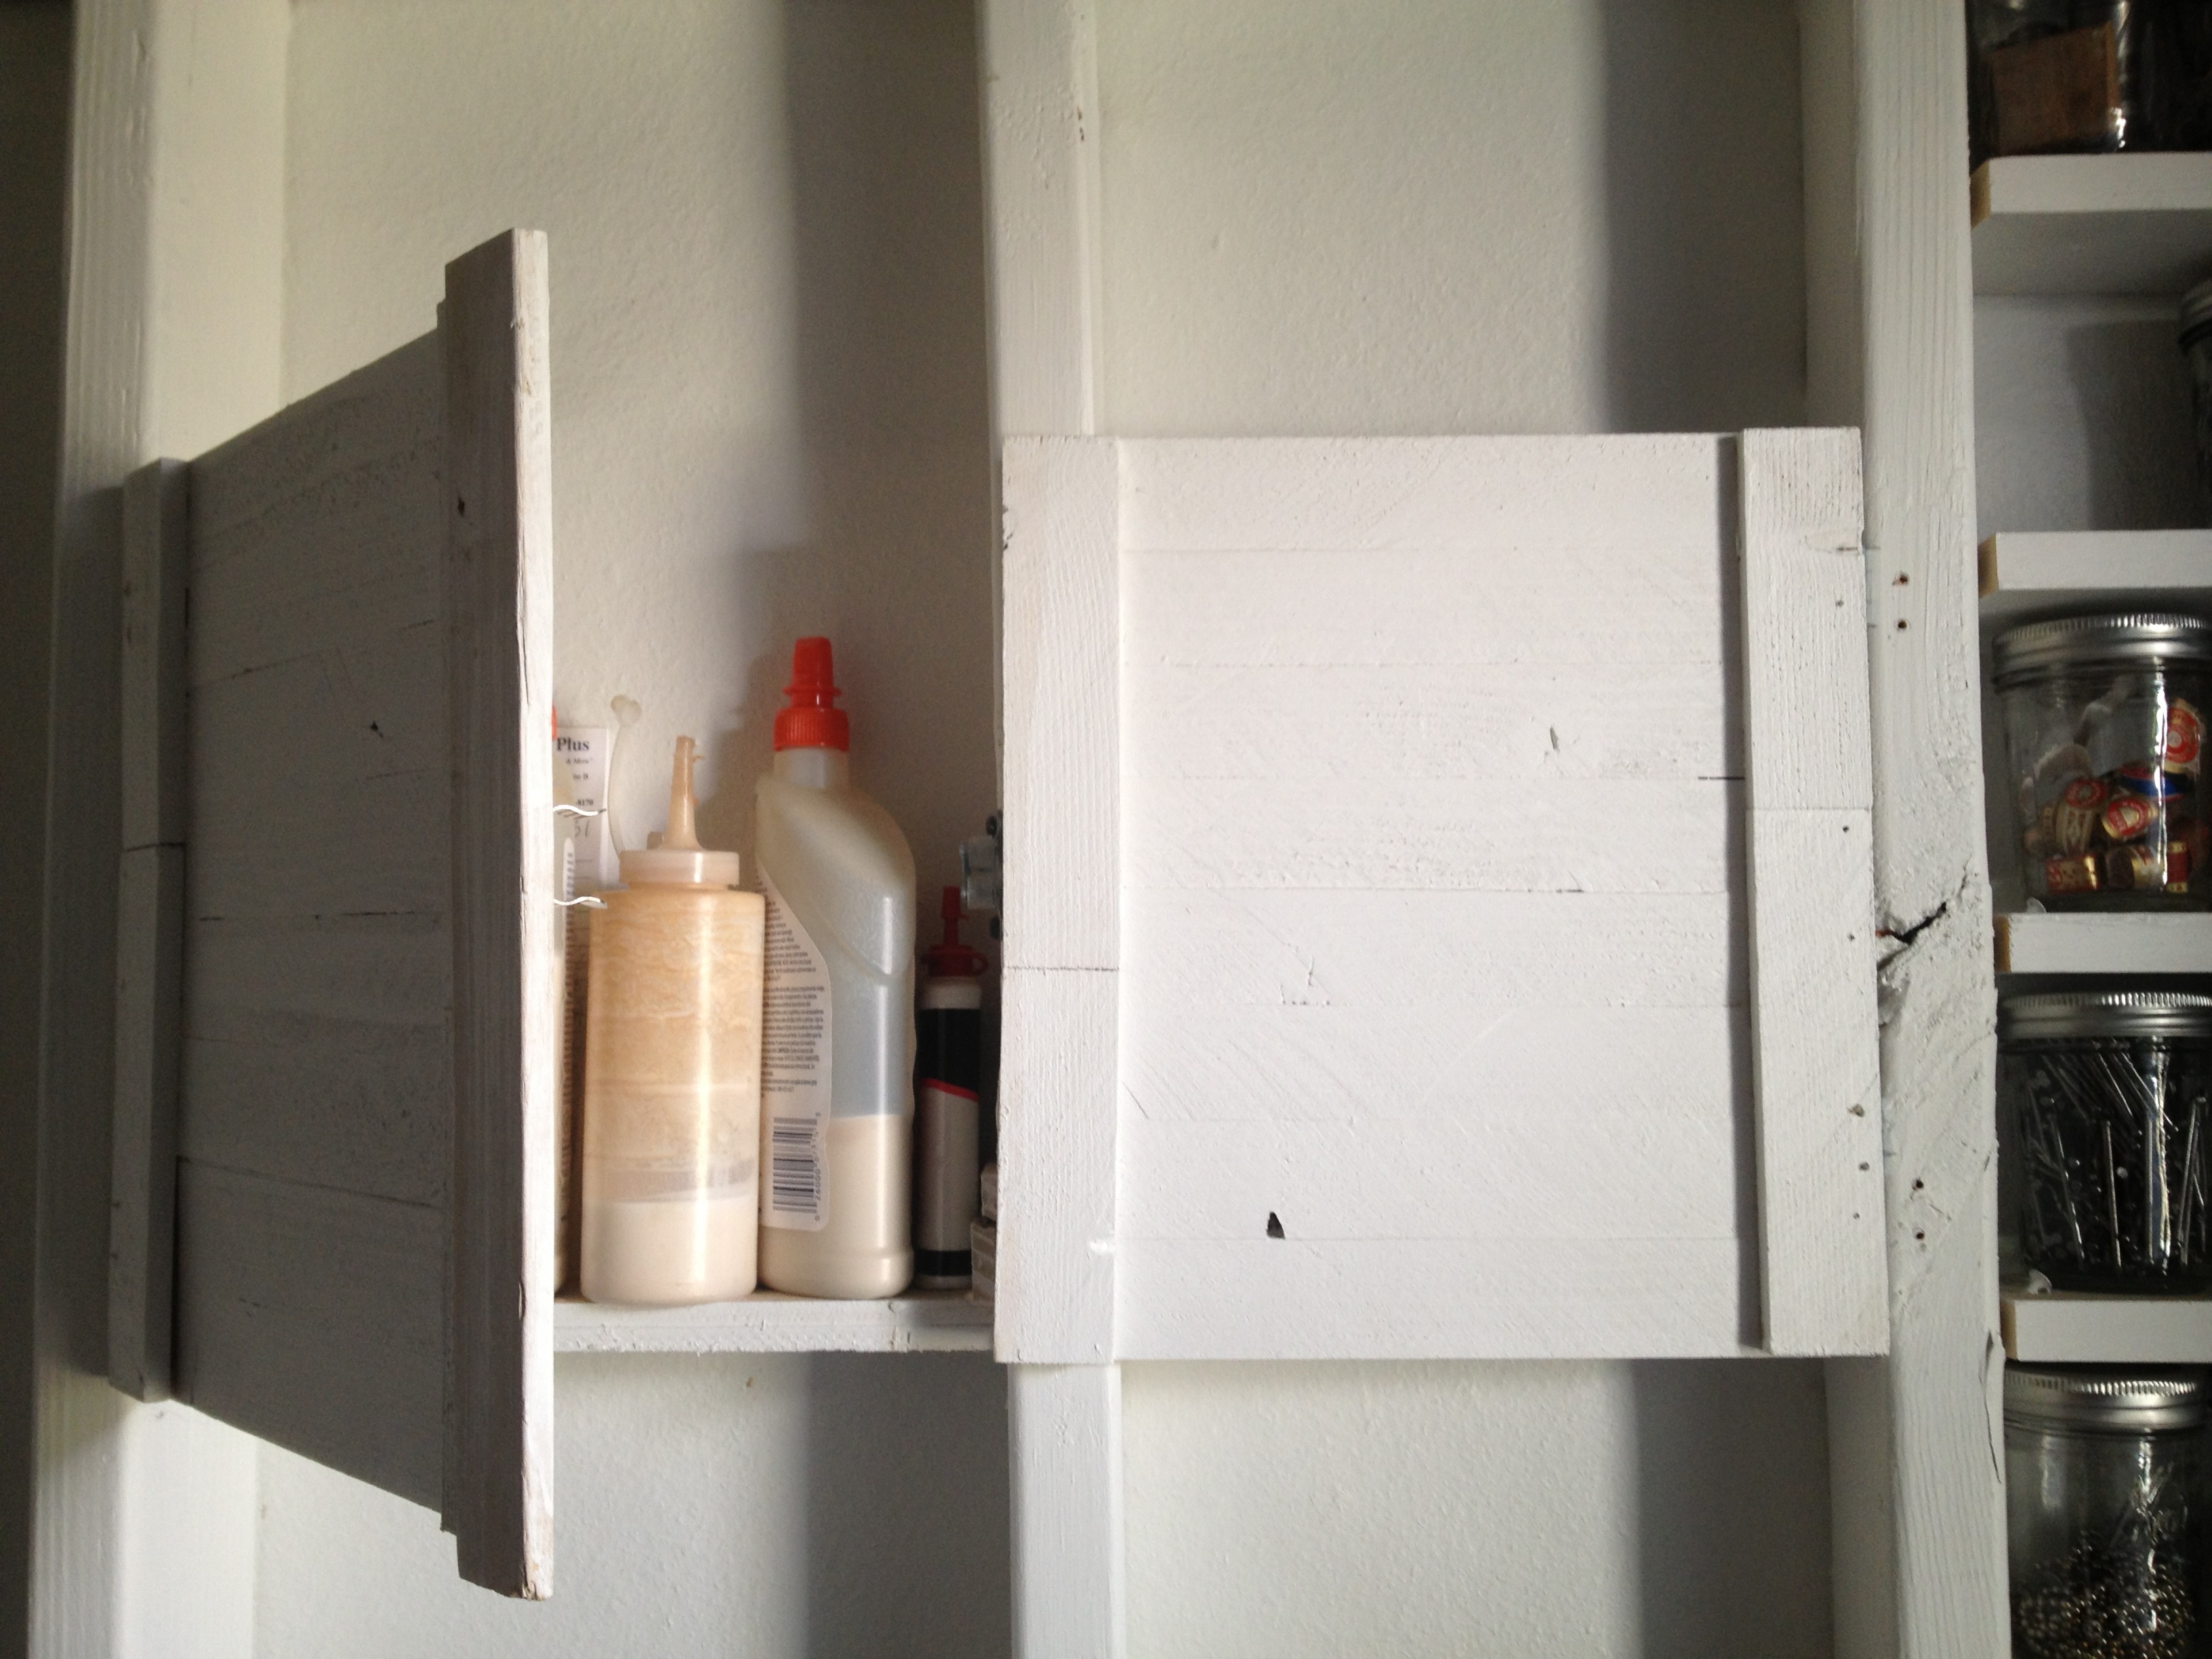
1. Additional shelves and paint inside the green cabinet {still haven’t done!}
2. Adding small shelf between studs with door for glues etc. {Done!}
3. Cement patio {Done! We added a rock patio area to match the other patios in the backyard} You can see it here at our yard after.
4. That Restoration Hardware Stool! {not yet!}

So do you have an old shed in the backyard?
What would you like it to be?
A craft room, sewing area, painting, or just a place to get away.
What are you waiting for…?

Update: Here’s a Periscope video sharing a behind the scenes of the workshop as it is 2 years later.
Linking to Meegan Makes


Jeanette, I love what you’ve done with your space. I’m featuring your home workshop (Linking to your blog) in my upcoming ebook on purposeful rooms for a purposeful life. I’ll be in touch to send you a copy!
Thanks, and thank you for hosting Tickled Pink!
Absolutely Incredible!! Sharing on my FB page right now!! Thanks for linking up to Tickled Pink Times two.
You are amazing Jeanette.
xoxo