Layered Frames
If you have a box of frames collecting dust, then this idea is for you. The hardest part of the layered frames project is getting the dust off the frames. But I have a tip for that too.
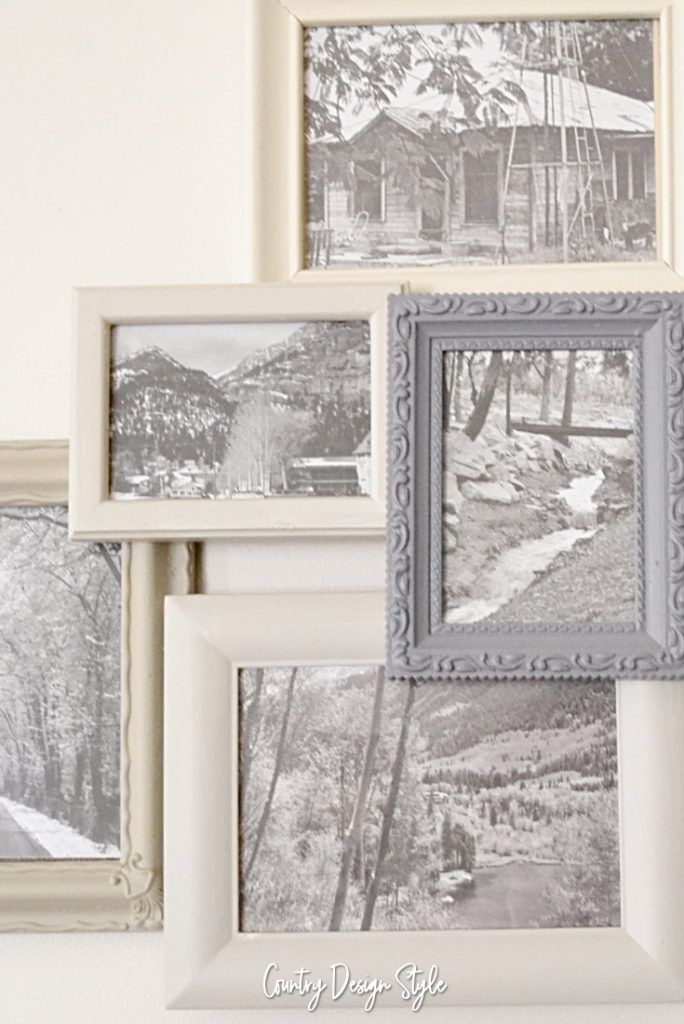
I love the layered frames pictures in those home catalogs in my mailbox. I was on the verge of ordering one when I remembered…
“the box!”
This post contains affiliate links. Click here to read my full disclosure policy.
How I ended up with so many frames
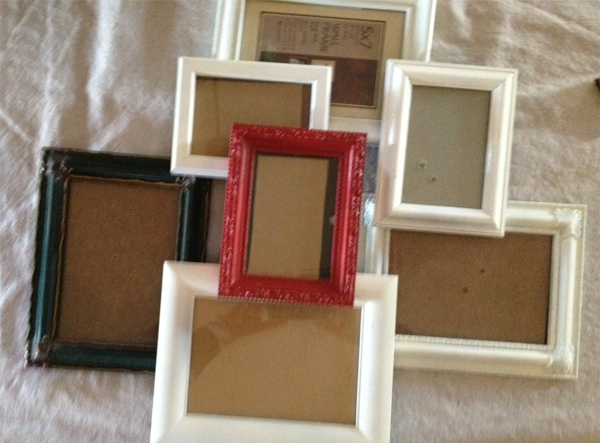
The box…stashed in the laundry room hidden in a top cabinet way in the back. It contained various empty picture frames from my mom.
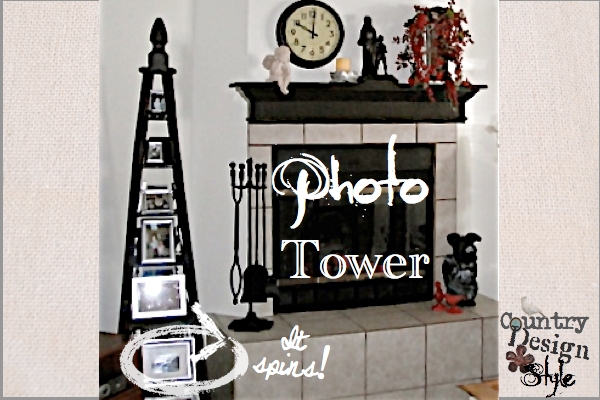
Mom displayed family photos on every wall. So, I make a photo tower for her collection of favorite family pictures. We used silver frames for the photo tower. So all the red, green, white, wood, metal and plastic frames ended up in “the box.” During a visit from mom “the box” ended up at our house in the laundry room top cabinet. 🙂
Plus, there is the thrift store frame obsession I have. I can’t leave a thrift store without a frame or two. Click here to see more thrift store frame projects.
The steps for making layered frames
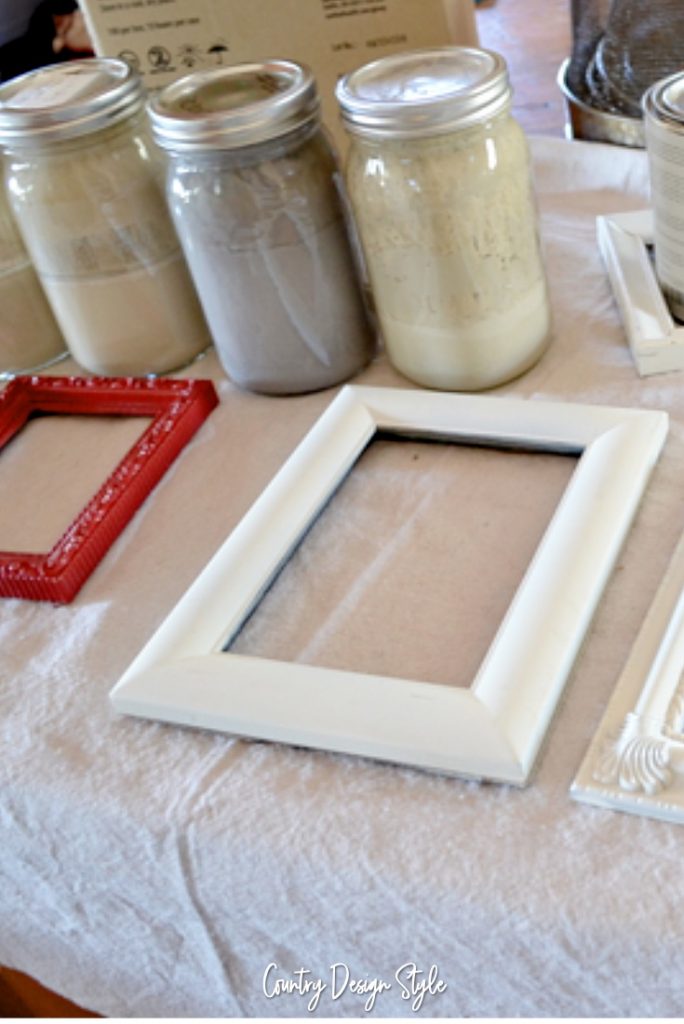
I removed the backs and glass.
Removing the dust and grime
The glass I placed in sudsy water. It’s the easiest way to clean glass. I used a damp cloth to clean the empty frames. Now, the frames are ready for paint! I picked out 6 colors most from the 15 shades of white we painted our cabin. Two frames I wanted the same color.
Just ignore the dog treat over on the right of the picture. It has nothing to do with painting frames…except to keep the dogs busy. 😉
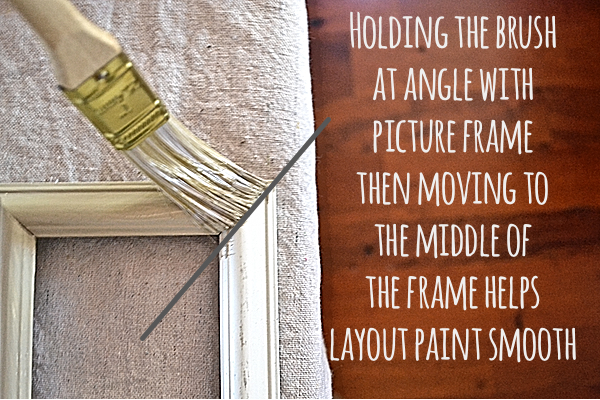
Tip for painting frames
Above is my best tip for painting frames.
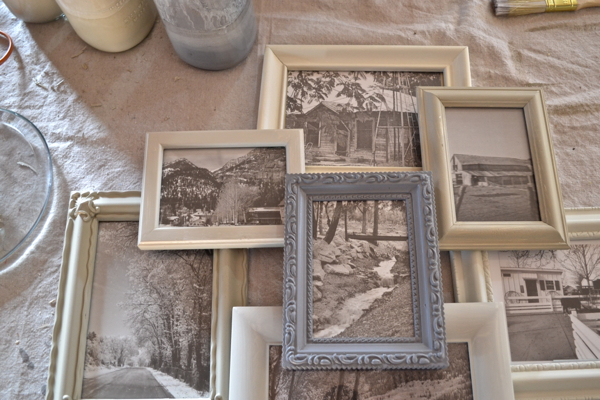
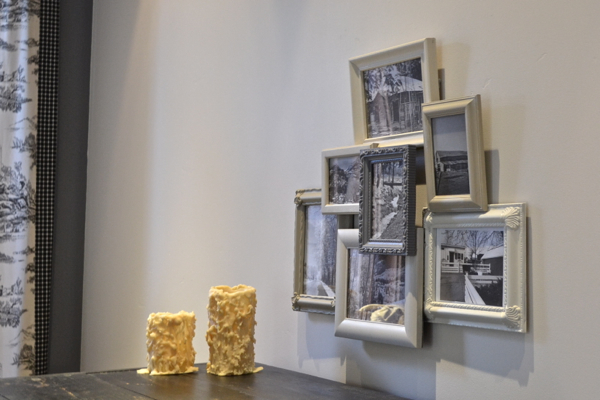
Next, I added black and white photos of our favorite places. That picture I took with my phone came in handy because I would have never remembered the layout!
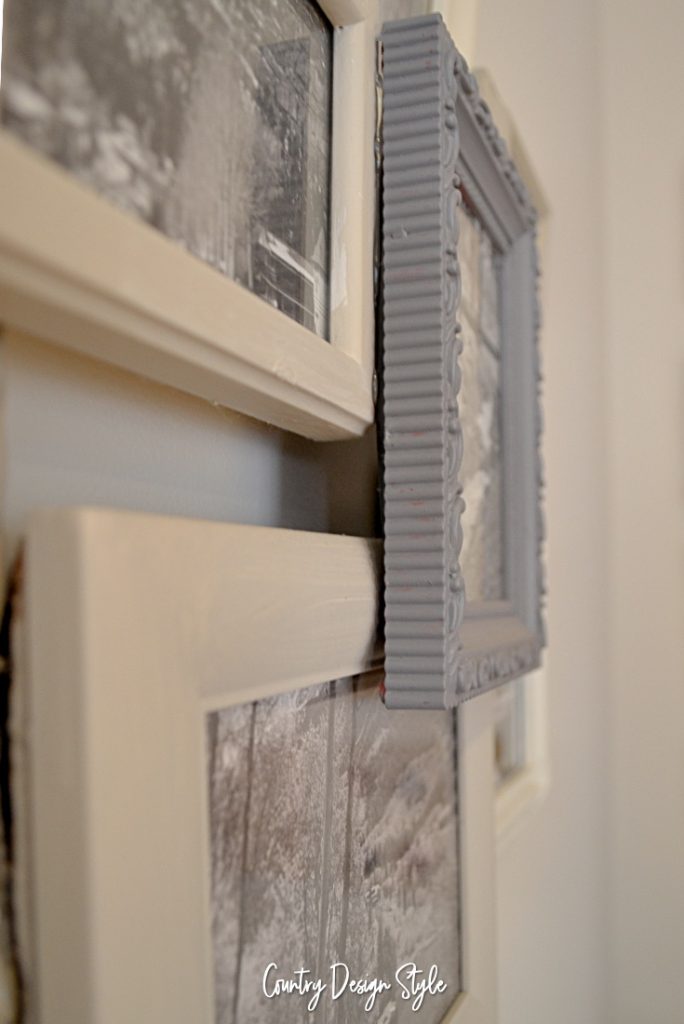
Now, my favorite hot glue gun was ready to go. A line of hot glue where the frames touched did the trick. You can read my hot glue gun tips here. With this project, the key was a good amount of glue and don’t move until the glue cools in each area.
Layered frames hanging
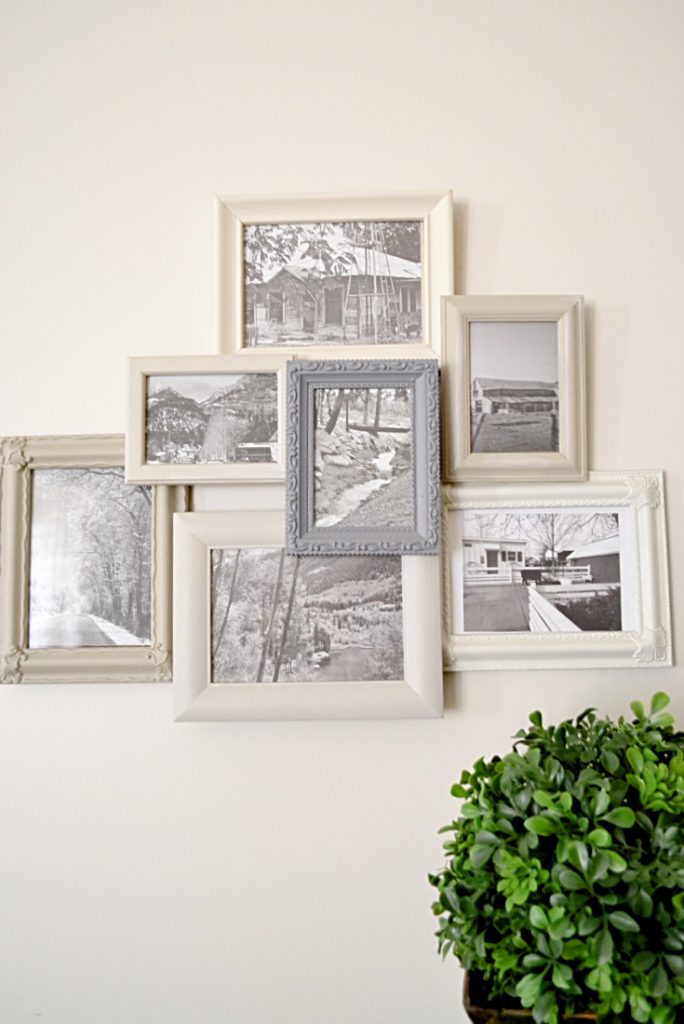
The layered frames hanging in our bedroom.
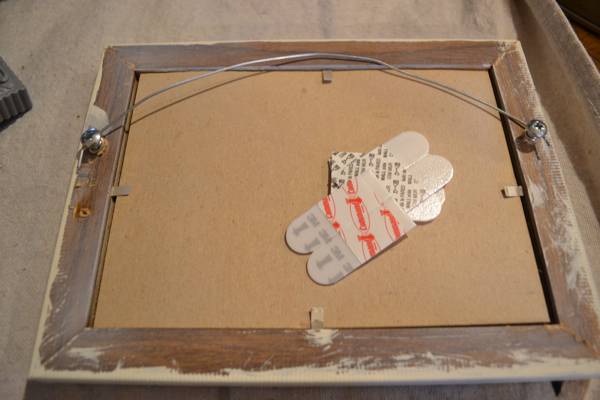
I did use one sticky strip on the left side to hang straight. Those chunky flameless candles are used them all over the house. I’ve made several in different sizes.
Update: As you can see I’ve updated the photos using a better camera. The frames are still hanging around and I move them to different walls for different decor.

Some of these frames have easel stand backs to sit on a desk. I left the easel thingy on the back.
Where is your favorite place?
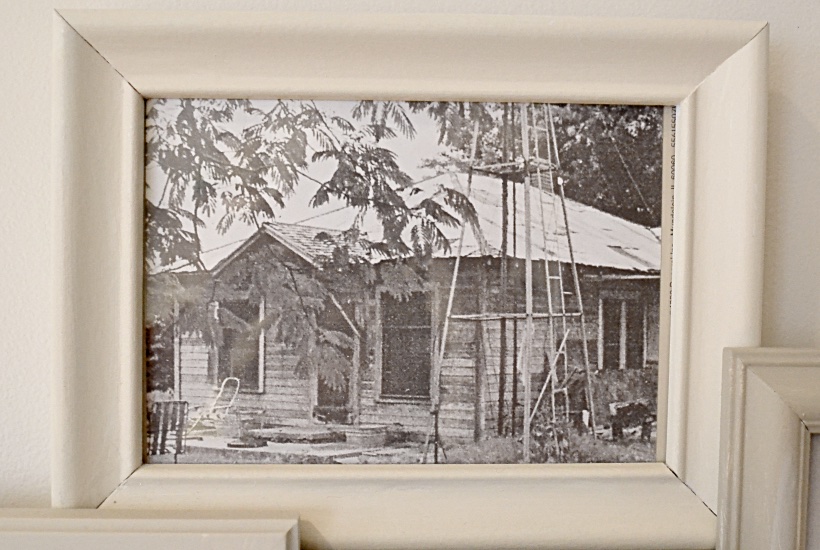
Our favorite places. The top photo was my grandparents home…without paint!
There is another box in our coat closet…wonder what’s inside it??
Join the newsletter

Subscribe to get our DIY HelpLetter each Thursday. Plus grab your Interior Decorating Ideas e-book.




Love what you did with picture frames… gonna give it a try!
Cathy
Hey, Jeanette i loved your concepts and creativity ideas. How much it cost for all the frame work? Thanks for sharing buddy
I love the look of these. Thanks for sharing this with us. I have one question..How did you mount these? Did you add a board to the back , I am confused about the hanging of this with so many overlaps, where do you put the mounting? Thank you…am just beginning.
Bonnie, I’m not sure you would have received my reply. I replied while on vacation using my phone. If you missed the reply, here’s what I did. I added a wire using two screws on the sides of the top frame. Then I glued the frames together. The wire is what I used to hang, but since the frames are not totally balanced I did need to use one of those sticky strips on the bottom of one side. Everything is doing fine and in face I moved the frames to another wall that is more prominent because we like the look of the frames. Thank you for reading. ~Jeanette
I love this Idea! I have so many pictures on my walls and sitting or laying around. I’m going to try this.
Jeanne, thank you!
These are to die for, I just love them, Jeanette!! Pinned and sharing on FB ~ Amy
Thank you Amy!!! 😀
Love the layered frames! I need to try this. I found you over at HomeTalk – I am now following you!
Cecilia, I’m so happy you found me at Hometalk! I love Hometalk. They are so supportive of all homeowner, diyers, crafters and professionals. Thanks for following! ~Jeanette
I absolutely love this!! thanks so much for sharing!
Pinning!
Nancy
Nancy, thank you for pinning! Cheers! ~Jeanette
Love this idea. Thanks forsharing all the tips to make it work.
Thank you Lorna for visiting! ~Jeanette