
How to make a Rustic Box
I found a rustic box in Big Lots a few days ago and while I liked the idea of it…I really didn’t like the neatness of the box. How to make a Rustic Box
The box was perfectly cut, made from pressed wood with a sign along the side. It was on sale for only $15. But I thought I could do better.
 I found a 6 foot cedar board in the workshop and knew I would need a couple more. I headed for Home Depot for two more cedar boards. So now I’m into my rustic box for $2.73.
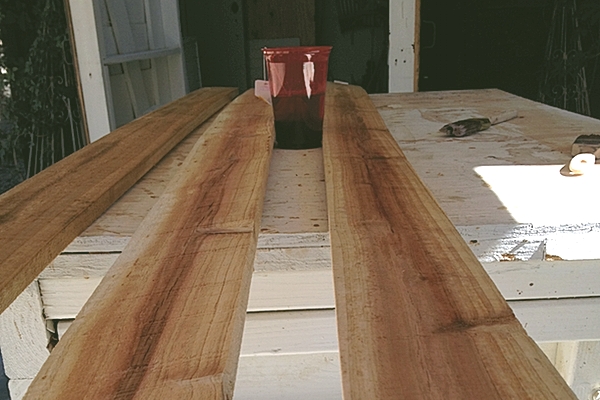
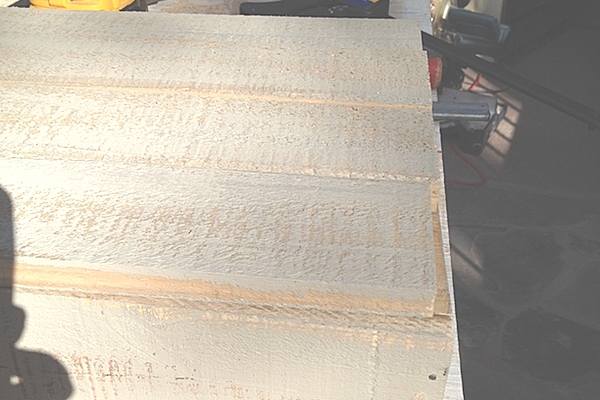
Above I “painted” the boards with hot tea. You can read why I would do such a thing at this old wood.
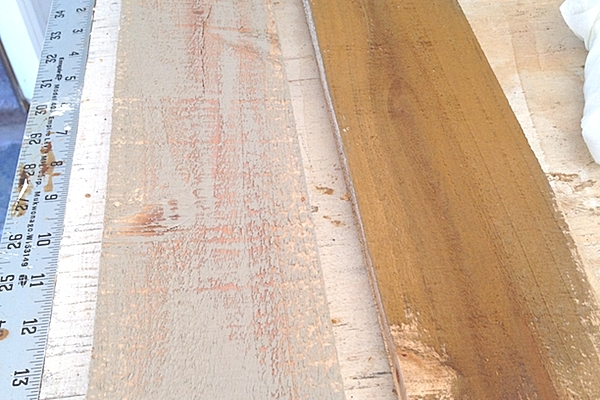 Above on the right side I started “painting” on my vinegar. The vinegar mixture is about 6 months old and was coming out too rusty. Again to understand the rusty vinegar check out this old wood. So I dried brushed on a light grey for a washed out look.
You might be asking why I’m painting the boards first. The thought of painting into 12 little cubbies with a paint brush didn’t fit into my schedule or interest. Since this is a rustic box I plan on touching up afterwards.
Now to cut the boards. All the boards are 1 x 4 cedar. Here’s my cut list.
2) 17 1/8 {top and bottom}
2) 16 1/2 {inside shelves}
2) 11 3/4 {sides}
9) 3 1/2 {dividers}
4) 17 {back, 1 board needs to be ripped to 2 3/4 wide}
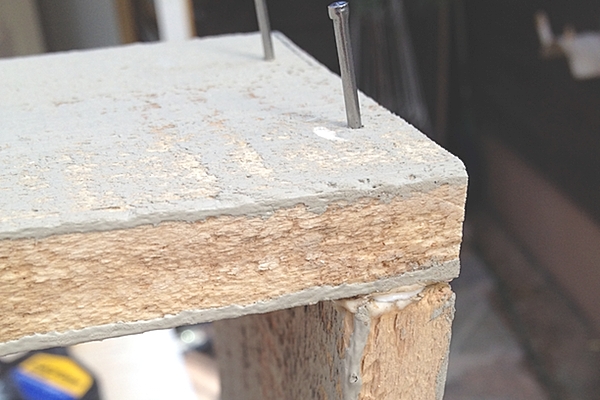 I made a box. Use good quality wood glue {I like Elmer’s Wood Glue Max} and finishing nails to hold everything together.
Note: Cedar wood, or any wood is not flat!
The rings of the tree causes the wood to bow as it dries. That was something I didn’t care about with this project. It’s rustic. But I did make sure the bottom board sat firm.
If I did care, I would have sent the wood through the planner a few times to level the surface.
 Here’s my goezintoos! Remember Jethro on the Beverly Hillbillies??
I can’t do my goezintoos without my trusty workshop calculator.
 Next I added the back. I wanted the back to set just inside on all edges.
 To get a rough guess where to place the dividers I found the center on the top and made a mark. Then from the mark found the centers to each edge. I lined the center of each board to the marks. I applied wood glue to three sides, placed them then added the top shelf also the glue on the three connecting sides.
 I continued till the box was filled. Then placed a clamp from top to bottom and left it to dry.
Now’s the time to wash all the glue off your hands. The glue in my hair will have to stay till later. 🙂
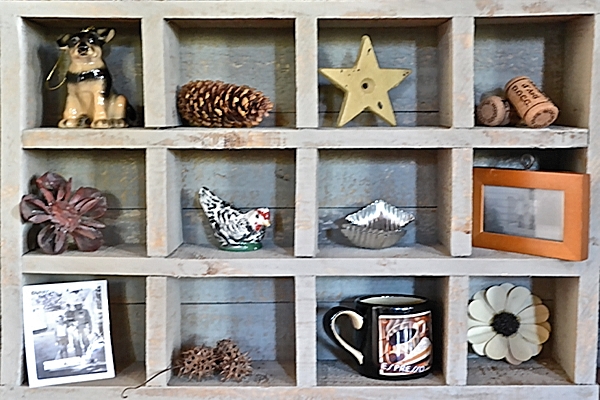
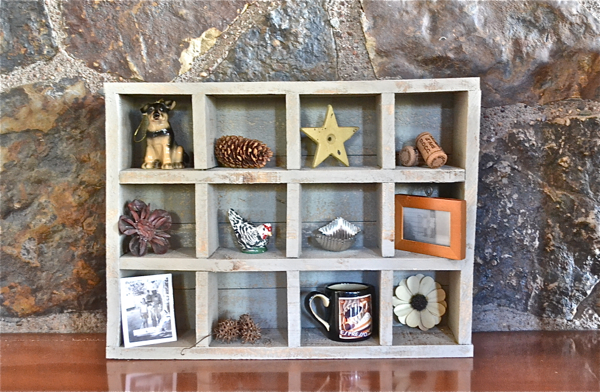 A couple of paint touch ups and it’s sitting with little treasure on the hearth of the living room mantel.
I excited to display my rustic box during the different seasons and holidays.
Oh, and it only cost 2.73 and two hours including stopping for lunch. 😀
Disclaimer: I have not received any compensation or products from any brands mention in this post. These are simply brands or products I purchased to use in our home.
You can see this in our Thanksgiving Simple Abundance post.


Andi, let me know if you make a box too! Would love to see it. ~Jeanette
This will be great to put my beach “Collectibles” in and display them! Thanks for this easy tutorial Jeanette 🙂 I’m going to check out your “this old wood” post now to find out how to use tea!