
Deconstructed Bench
Deconstructed Bench
How to take a perfect little bench and deconstruct it in a morning. Did I lose my mind making a deconstructed bench?
The best part of DIY is the ability to recreate the DIY all over again. Has your home style changed over the years? Think of how your home looked 15 years ago. Different, right?
Disclosure: This post contains affiliate links, which means that if you click on one of the product links, I may receive a small portion of any sales at no additional cost to you. This helps me maintain the website. I only share products I like, used and have ordered, OR the products I want. Click here to read my full disclosure policy.
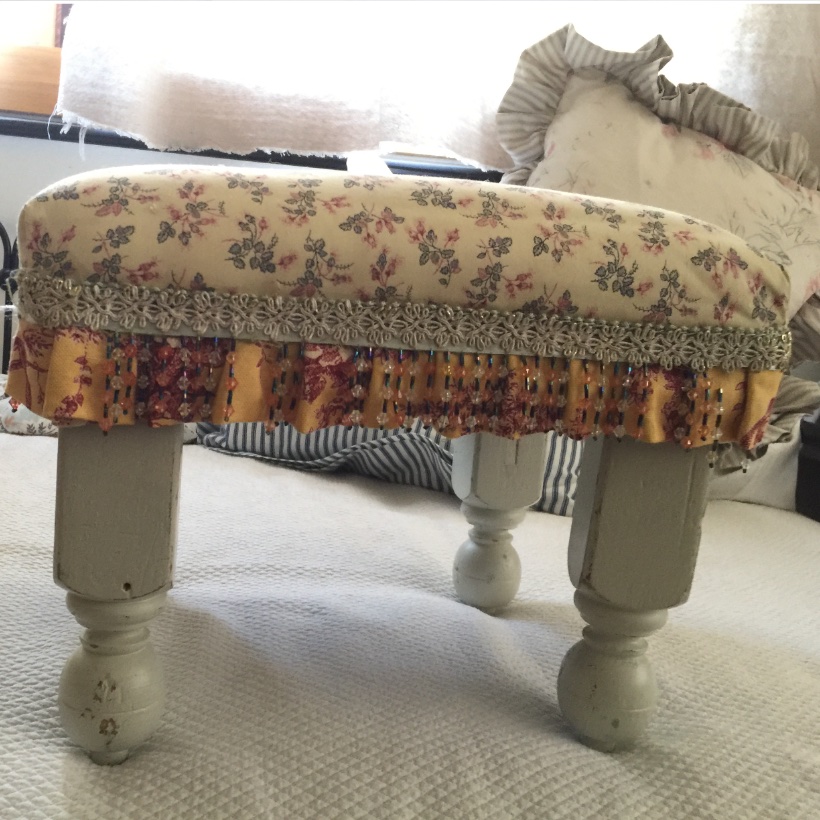
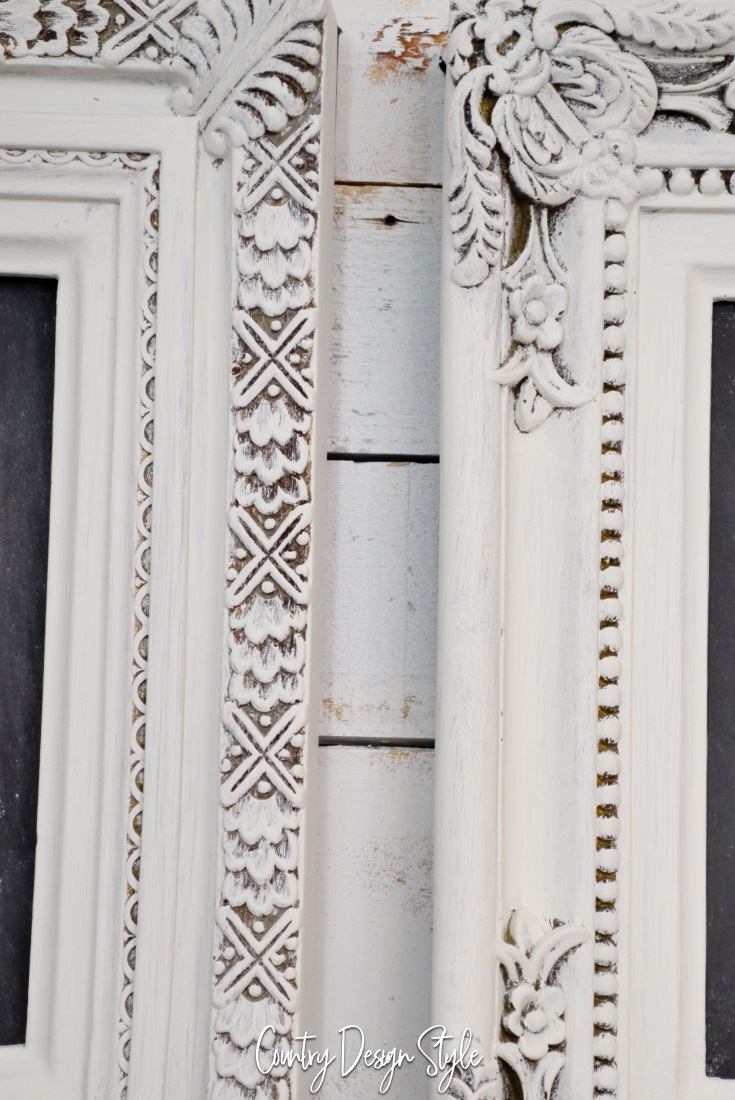
Twenty years ago shabby chic was all the rage. This little bench sat next to our fireplace. Now in our current home, it sits in a closet. 🙁

For a few months, it came out of the closet as a quick burlap covered bench. An easy breezy project made in 30 minutes or less kind of DIY.
Now let’s deconstruct it
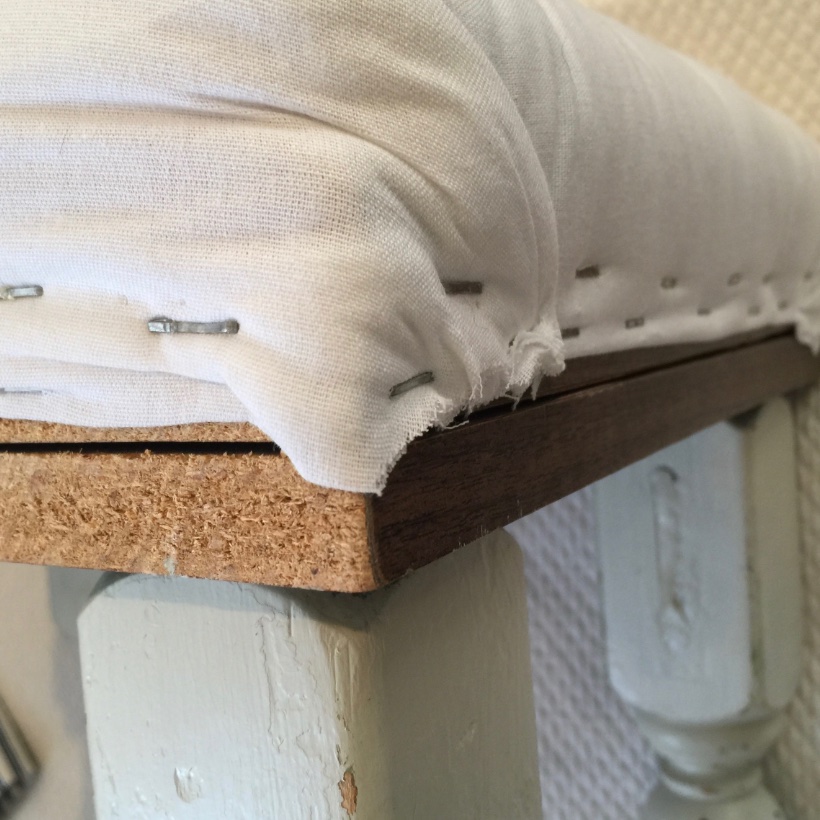
First, I removed the trims and fabric top.
Those legs

Then, I unscrewed the legs. I made the bench using particle board cut from…something?? Then screwed four spindles from an old wood twin bed. The bench is heavy! Notice the top leg and all the wood spackle I put in it way back twenty years ago. The slot held the board across the head and foot of the bed.

I knew removing the paint on the top of the legs is fast using a table sander. Next, I had to figure out a fast way to remove the paint on the turned parts. Notice, removing all the paint isn’t necessary for the look I’m going for.
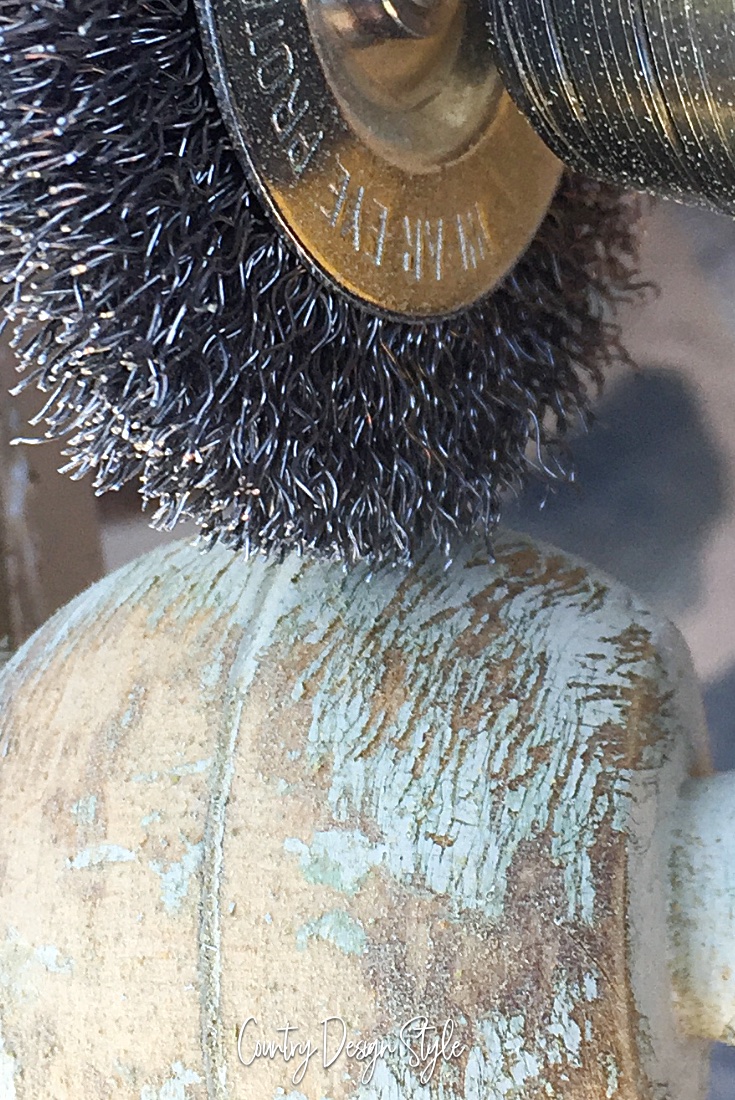
I remembered my brush drill bit. It worked rough, but again that’s the look I trying to get.
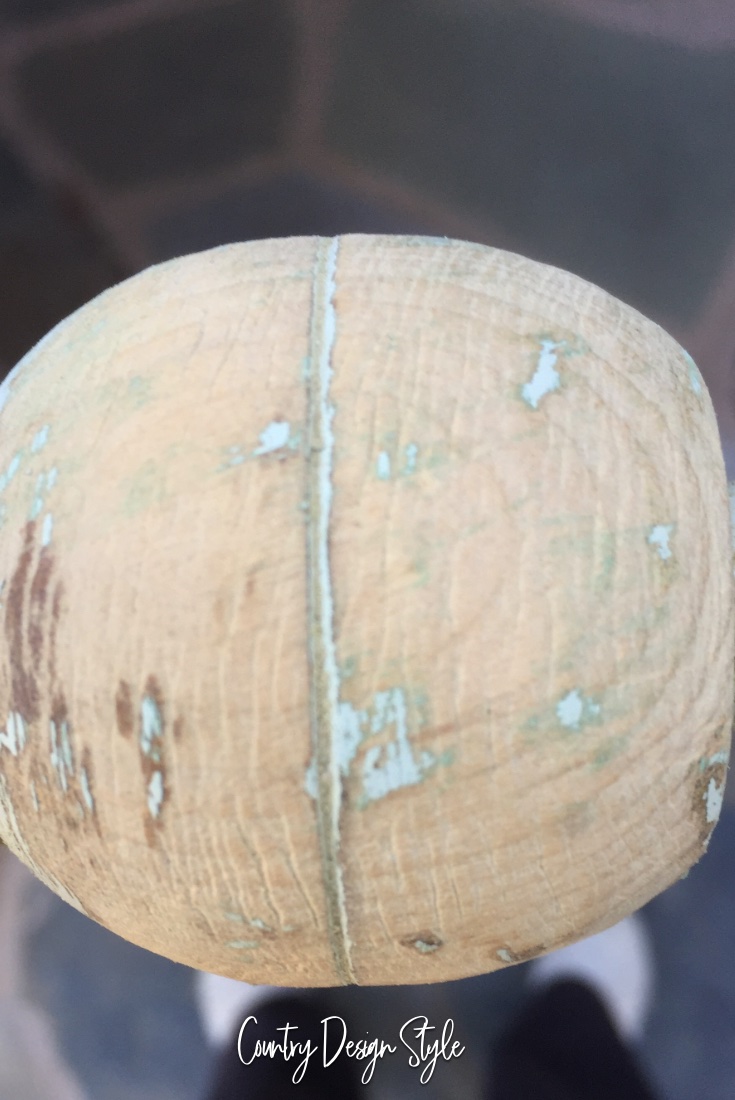
A bit of sandpaper and that’s the look!
Stealing Trim from the Osage

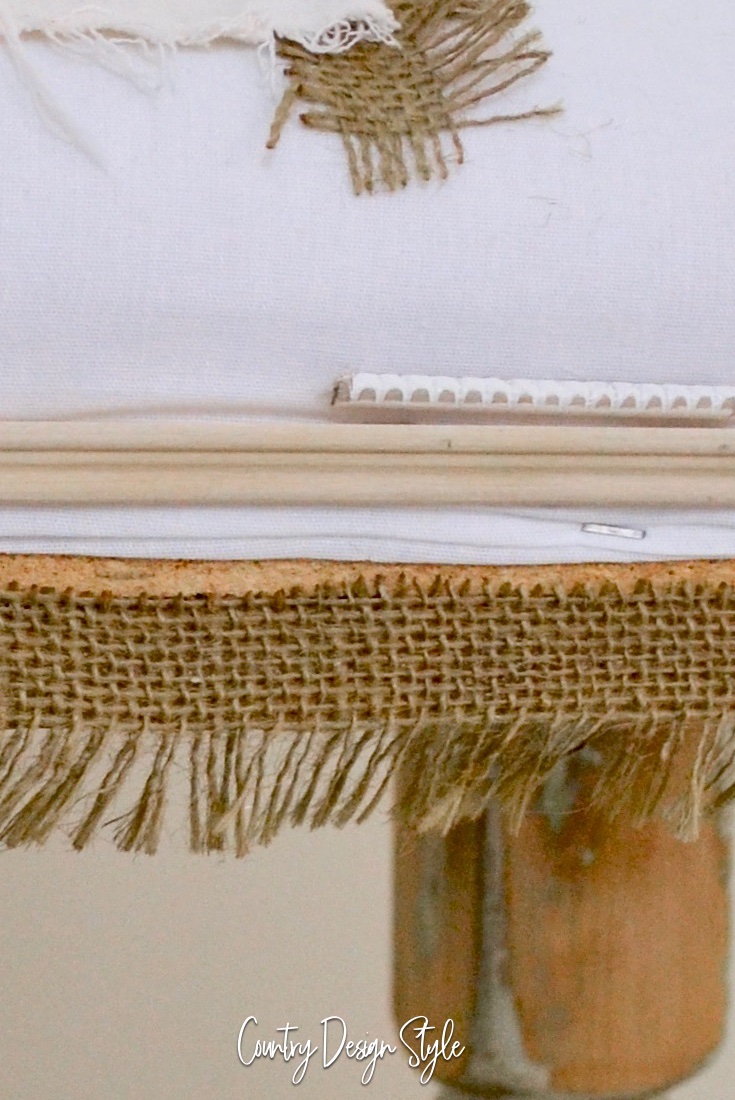
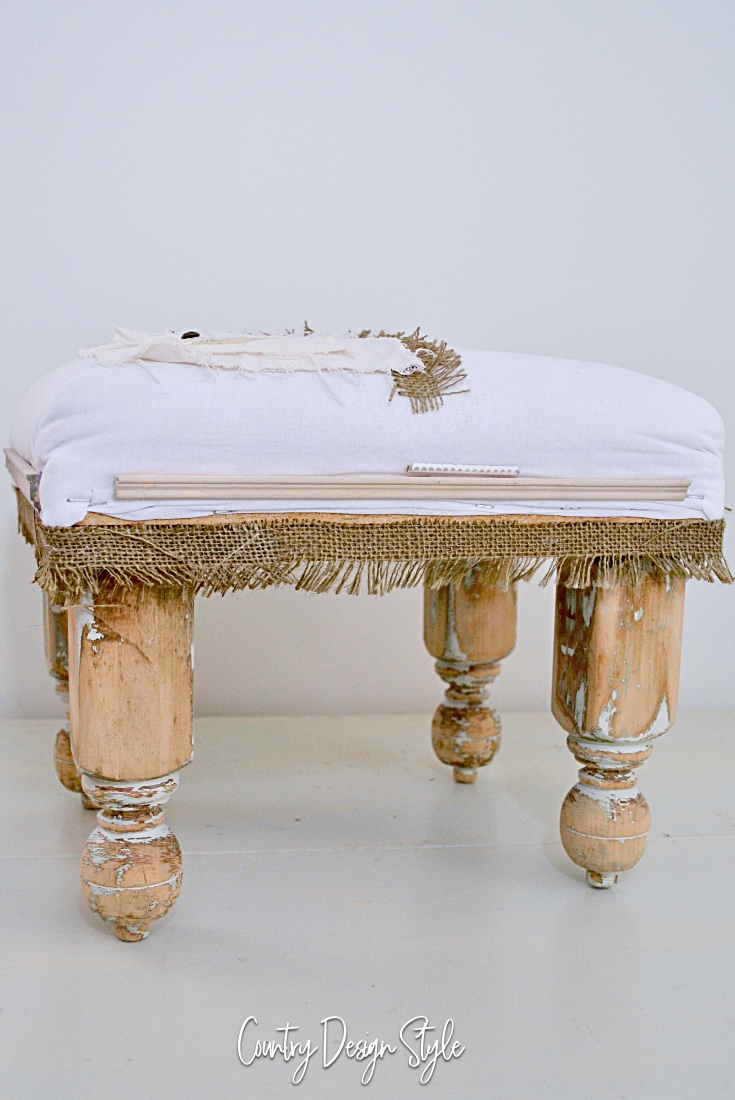
I used the edge of the Osage County burlap to make an edge for the new deconstructed look.
The top scrap
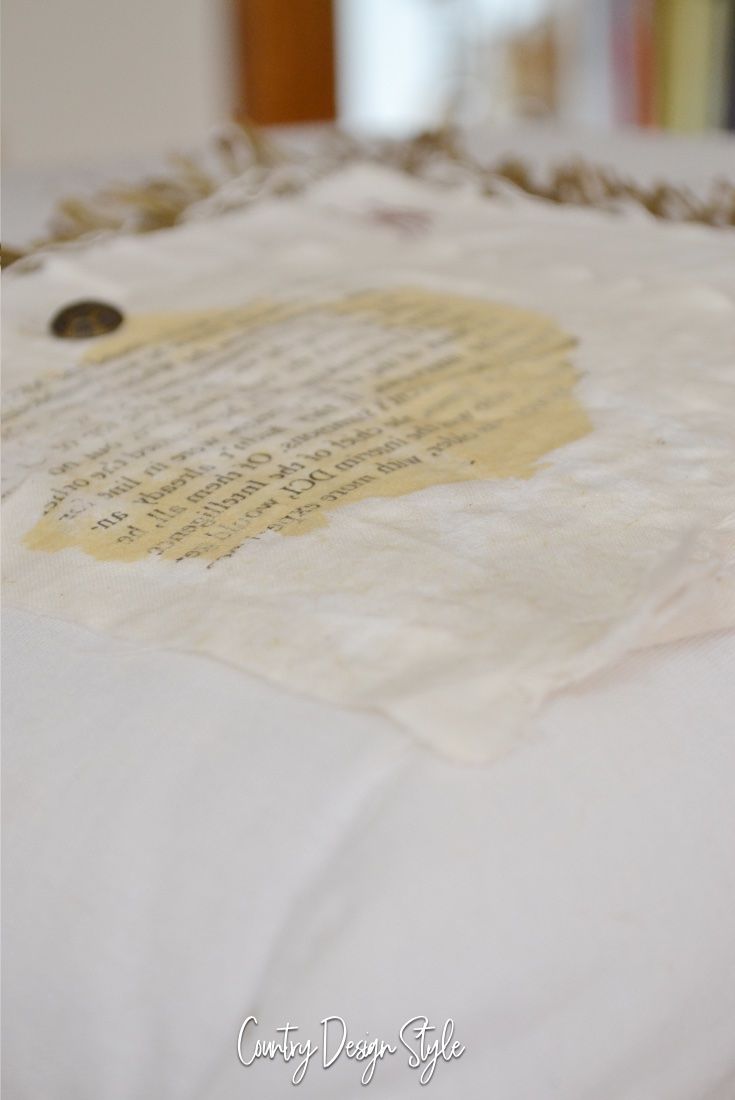
Above I added layers of scrap fabric. No ironing or sewing. This is the glue I used to keep the scraps on the bench and not on the floor.

Using a brown permanent marker, I added our logo in the corner.
Scroll back up to the previous photo and then look at the photo above. Notice the difference? The previous photo has the focus on the front and above the focus is on the back. It’s simply moving the square focus box thingy to other areas.
Wood trims glued here and there

I used regular hot glue to apply the burlap “fringe.” Then I peeked and poked around the workshop for wood trim. These are what I found. Next time you’re in a Home Depot, check out the “small” trim section. Notice the trim feels a bit too new. So I aged them with tea and vinegar. I aged the burlap too. 🙂 Then applied them randomly on the sides using hot wood glue. Read more about hot wood glue here.
Learn a bit more about the tea and vinegar below.

Tools to help deconstruct a bench, chair or whatever
Hot Glue Gun
Scissors
Burlap
Staple Gun
Sandpaper
Sander, Palm or this is my exact table sander
Wood trims
Fabric Scraps
Staple puller
Wire brush for drill
Drill
Guts to destroy a piece of furniture
Deconstructed bench after

The new old look for a DIY bench.
Pin this while I try and find my mind.


I adore your work, including this gem you’ve created! I may try it on a piece I have! 💚
Thank you, Sherri! It’s a fun project. You can send photos of yours by clicking the “share your project” above.
Jeanette! I have to be honest here and I say this with love :D……..the emperor has no clothes!
Hey; Contance, I knew this one would NOT be for everyone! I do appreciate the love AND your honesty! Hope you come back soon to see more mayhem and hopefully more normal projects. Hugs!