Making clay potpourri
 As I get older I’m feeling panic that I won’t finish all those projects bouncing around in my head.
Today I finish one from years ago and the best part…
it worked.
It’s simple and inexpensive. And I’ve bought expensive ones in the past. It’s also hard to find, but this idea will recycle or upcycle your old potpourri.
The steps in making clay potpourri
This post contains affiliate links. I will make a commission for your purchase at no extra cost to you. This helps me maintain the website. Thank you for your support. Think of it as a friend letting you know where I found a product I use, love or want. Click here to read my full disclosure policy.
Supplies
Molds
White air dry clay
Plastic knife
Cooling Rack
Plastic Baggie
Essential Oils
I used a white air dry clay and
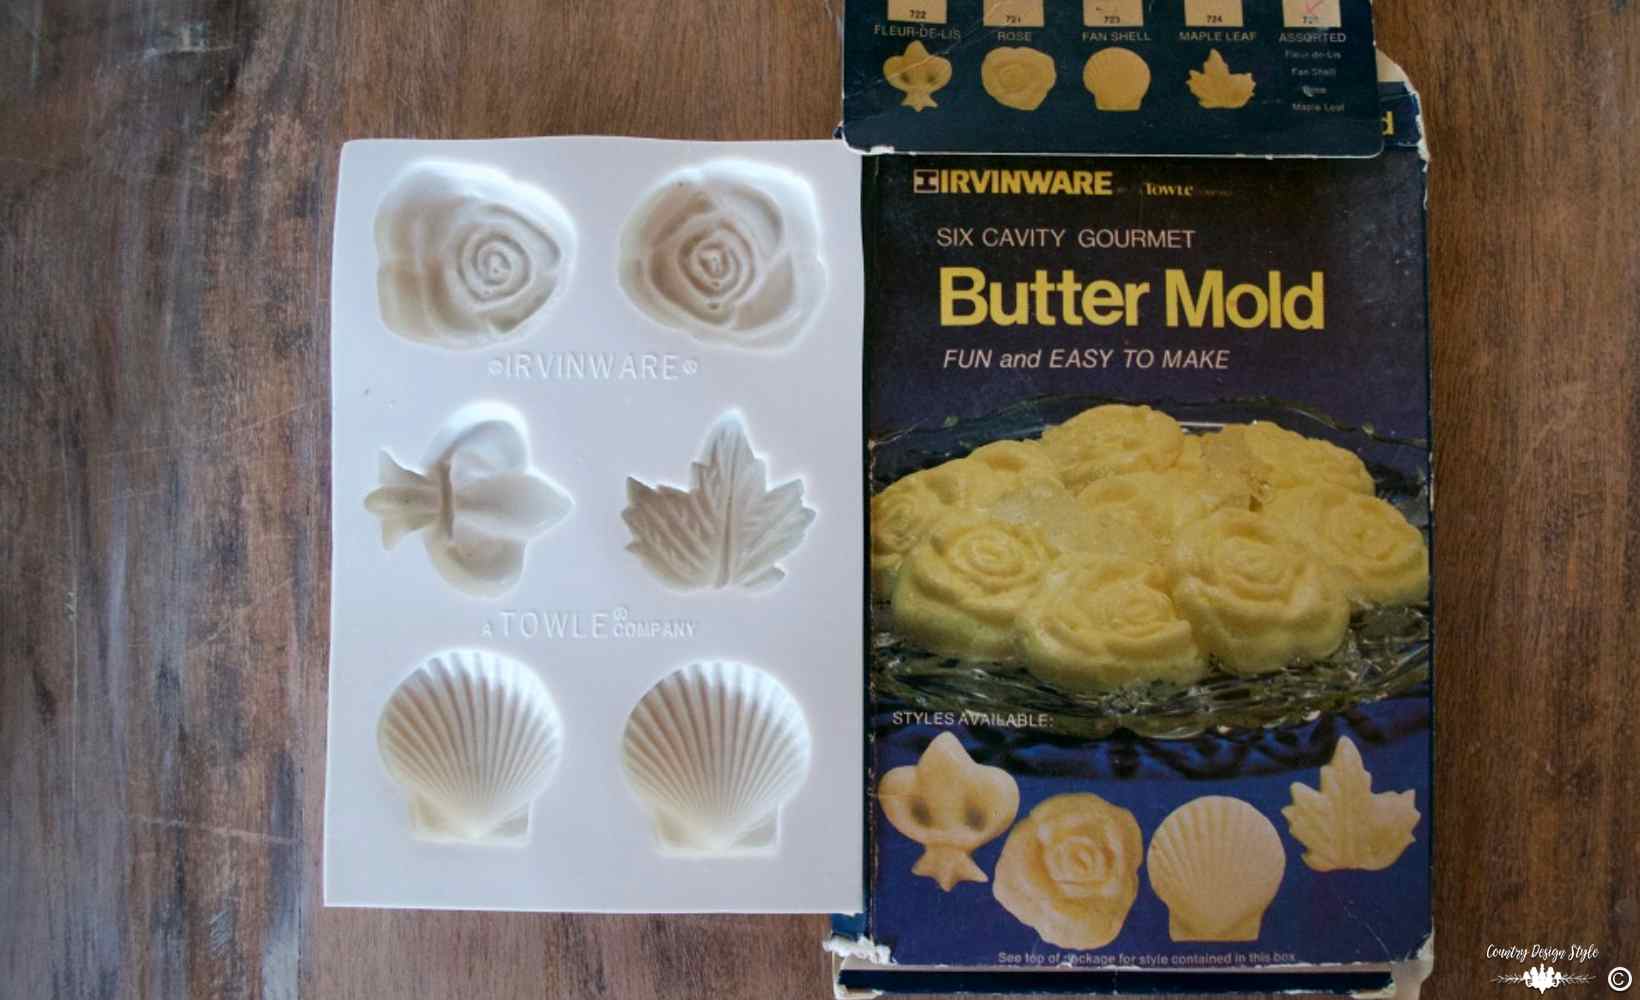
these vintage butter molds. I’ve actually used them to mold butter. But guests think your nuts when you bring out butter for their pancakes in the shape of a rose.
You can also use these molds.
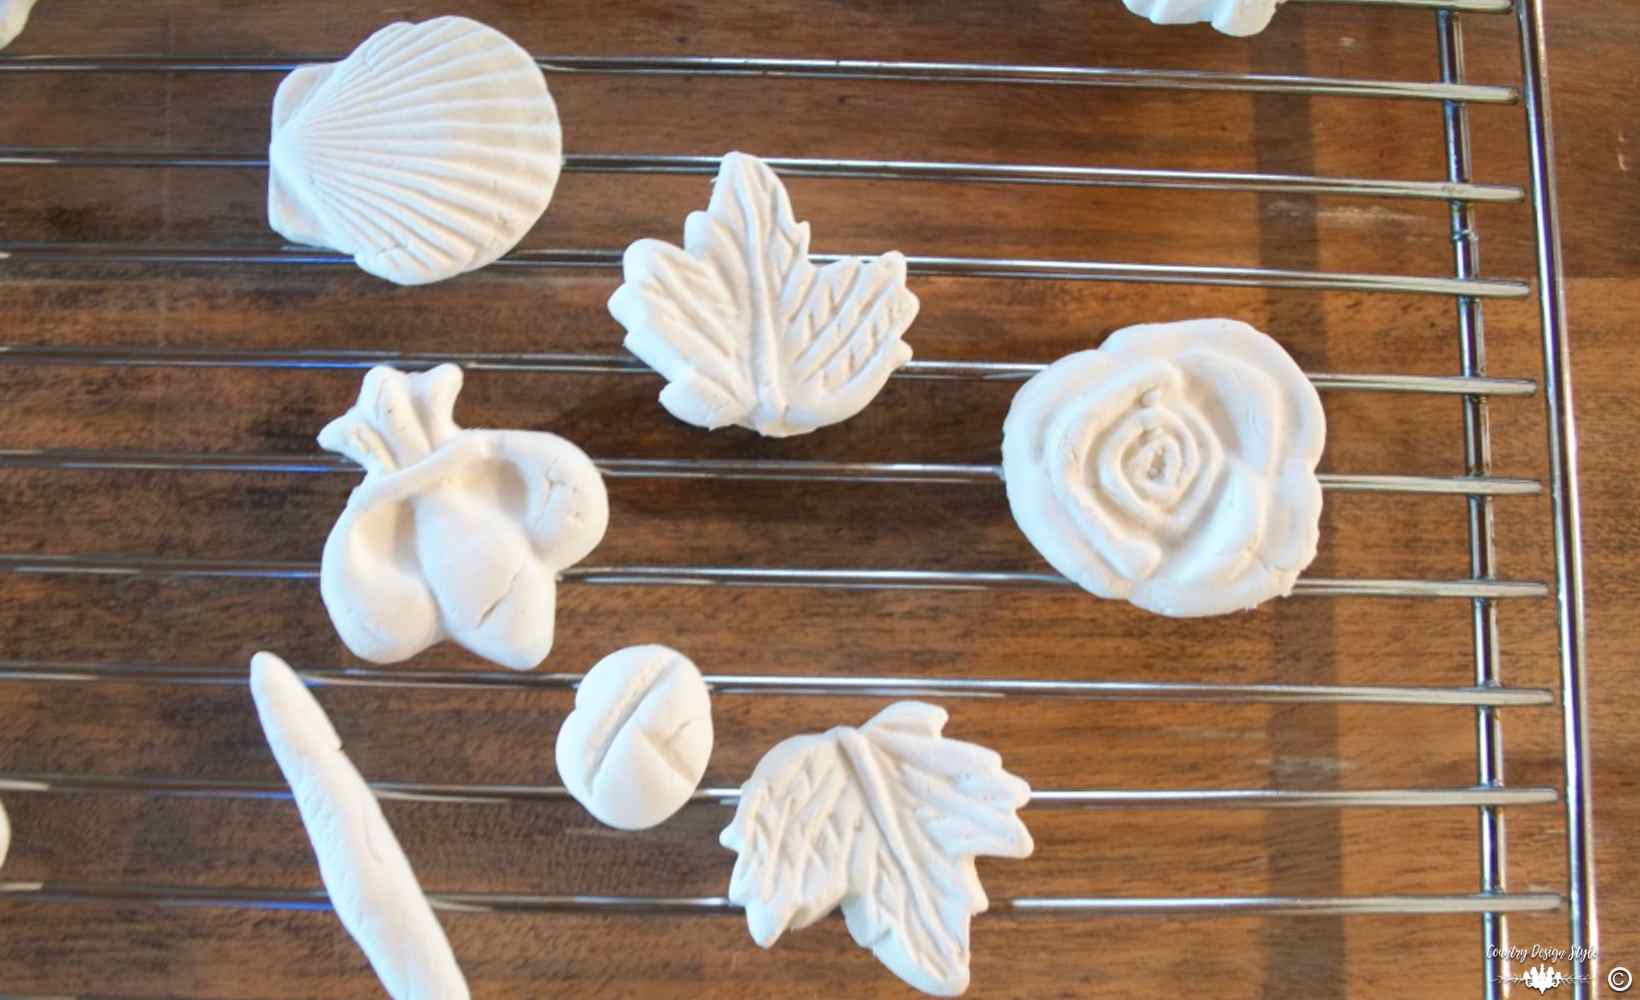
I tested two ways. First I rubbed essential oils into the clay. Then shaped the clay. This didn’t work as well as the second try. The oils made the clay slippery and hard to mold. I also felt I was wasting oil.
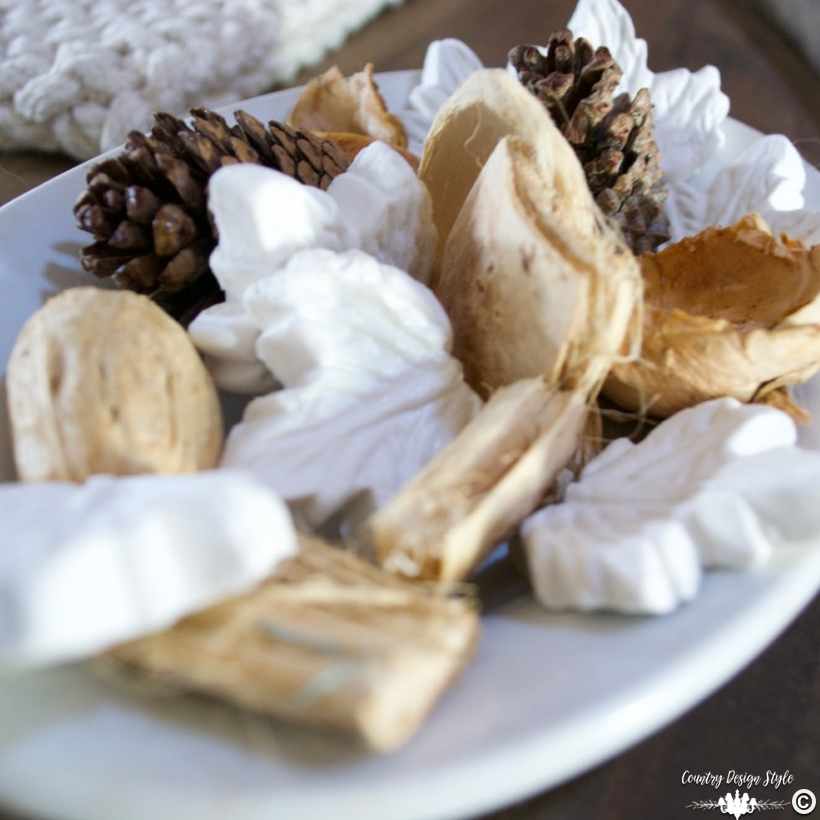
I made the shape. Let the clay dry for 24 hours. Then added drops of oil to the clay. The clay dries with a matte finish and absorbed the oil. This is the best way in my opinion.
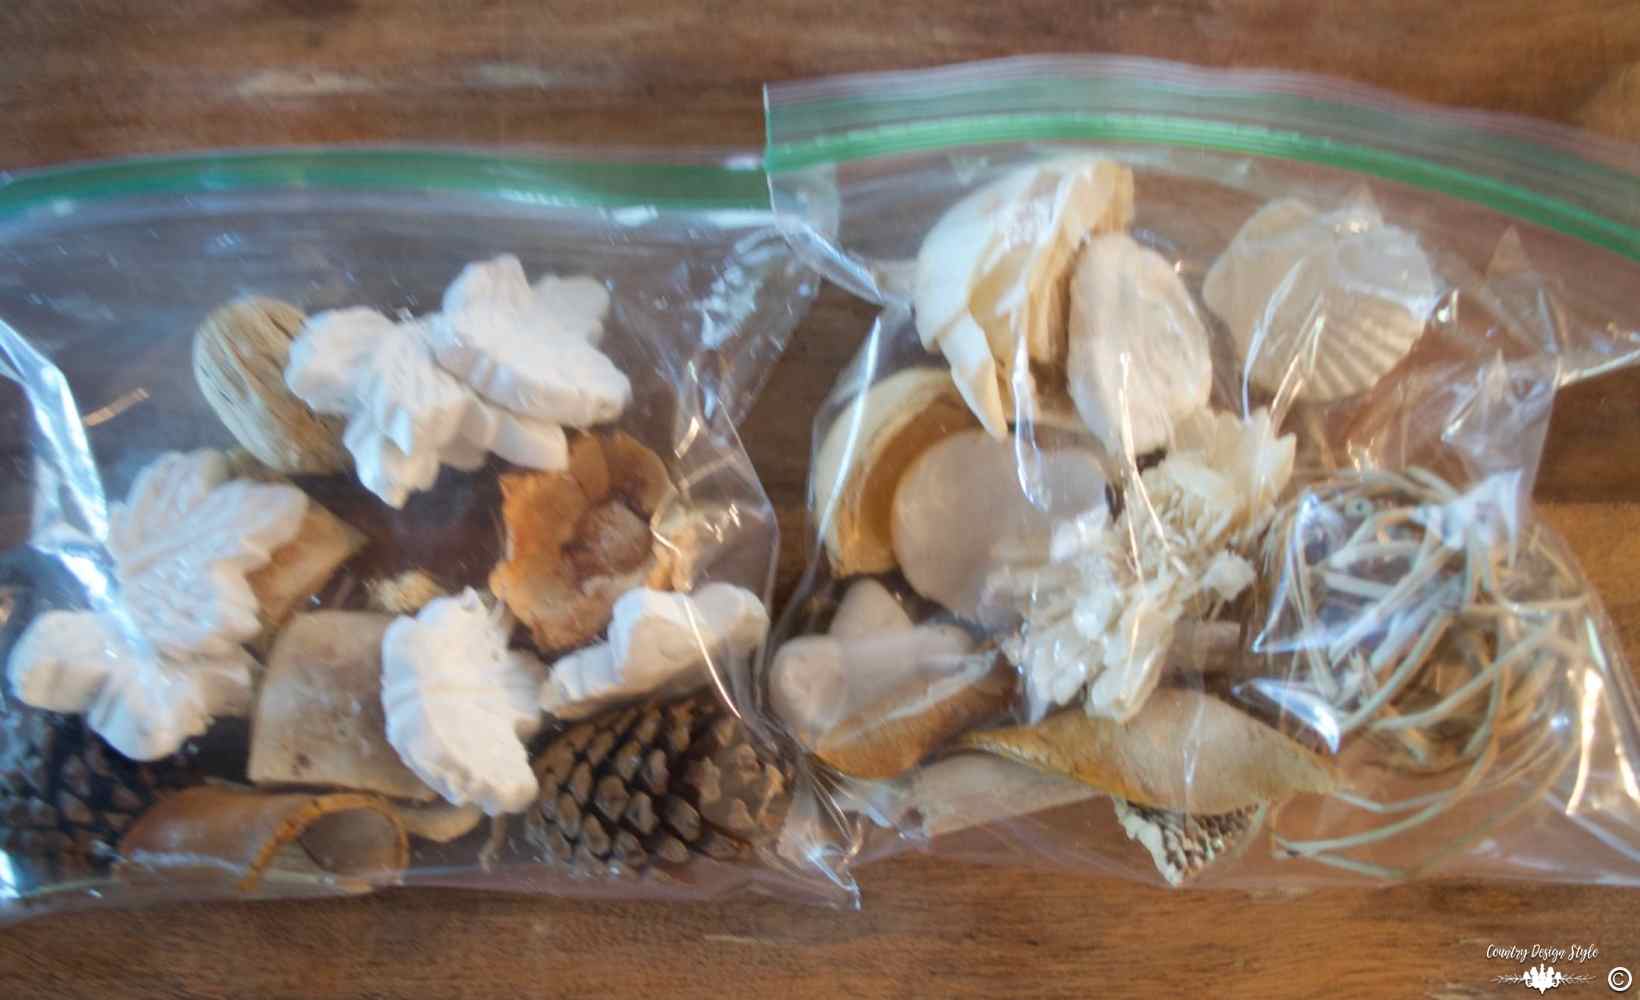
Next, I added the clay to baggies along with old potpourri pieces. Then added about 1/8 of the bottle of oil. I used spearmint and lavender. Then set the bags in a closet for a week. Each morning I turned the bags to coat well.
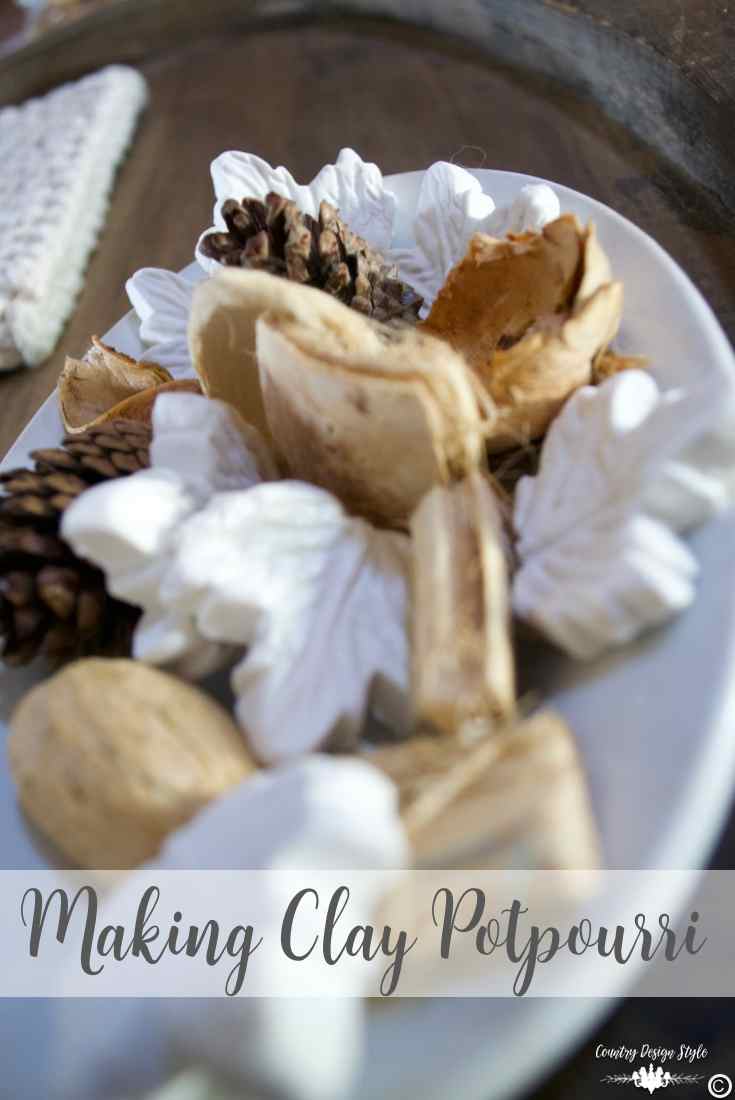
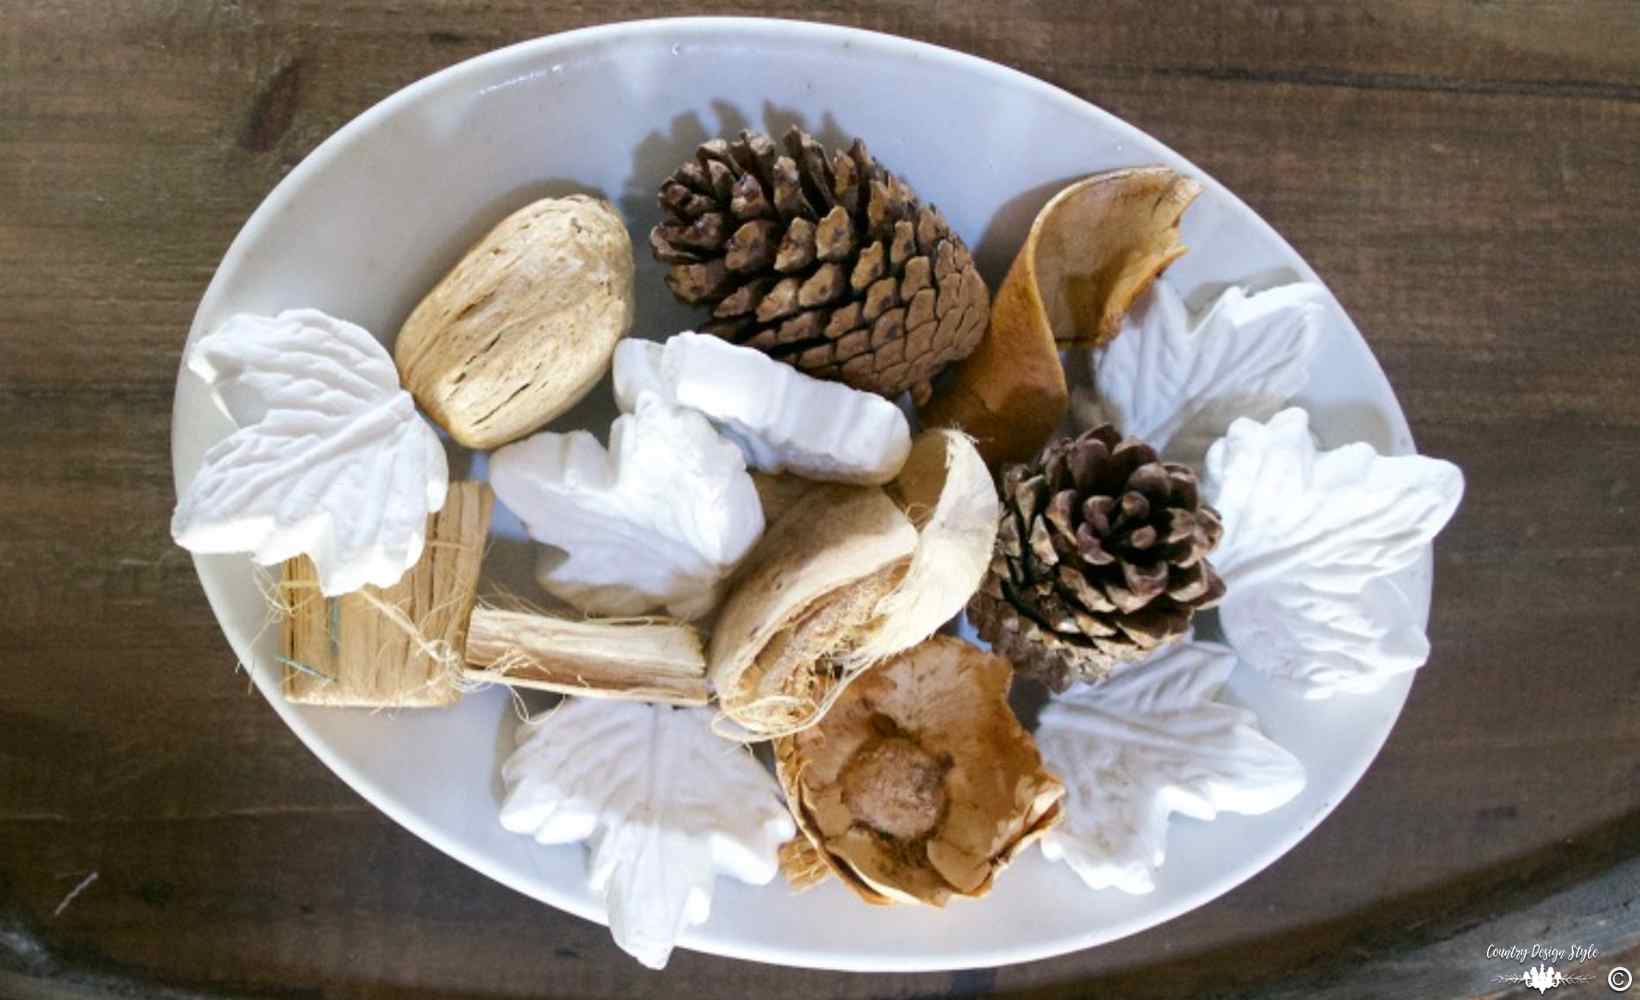
Then dumped the clay potpourri and pieces in a dish. Aw!!!!
I guess!
When you get older you lose your sense of smell, so I hope this worked!
Join the newsletter

Subscribe to get our DIY HelpLetter each Thursday. Plus grab your Interior Decorating Ideas e-book.

