How to Make a Cute Pumpkin and Twine Stem
This 30 minutes or less cute pumpkin made using felt will put a smile on your face. The stem idea works on those ugly plastic pumpkins too.
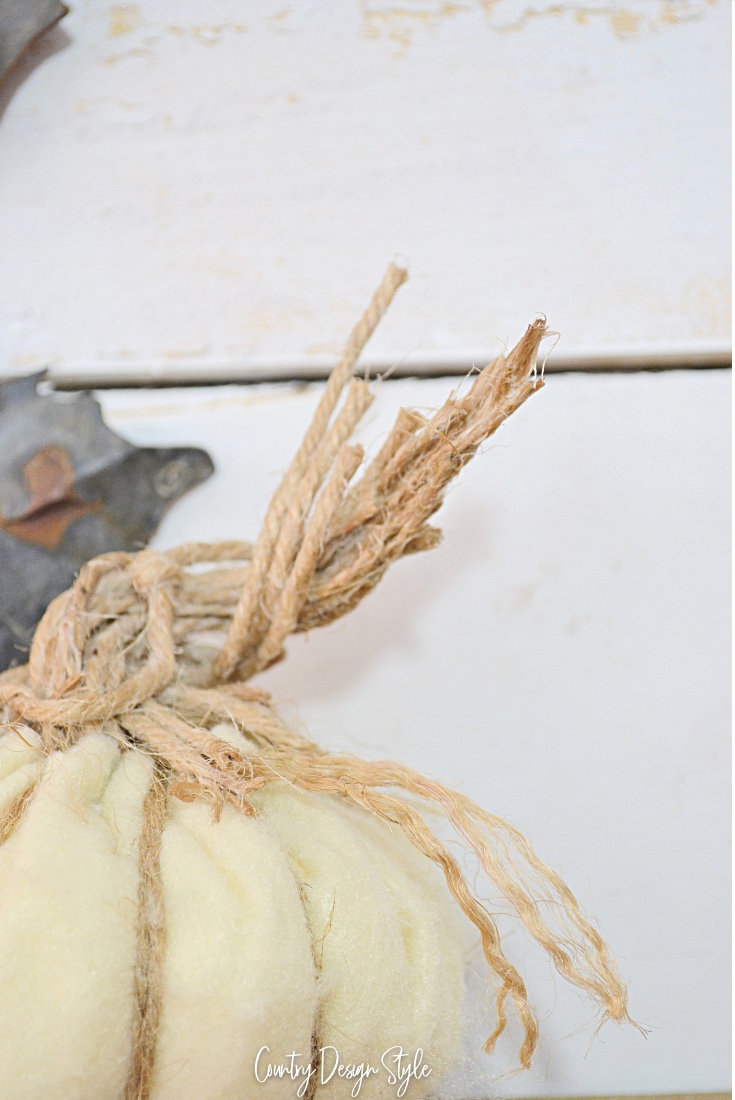
Not only will you learn to make a cute pumpkin from a piece of felt, but you’ll learn to make a stem too!
This post contains affiliate links. I may make a commission for your purchase at no extra cost to you. Think of it as a friend letting you know where I found a product I use, love or want. Click here to read my full disclosure policy.
Let’s start with the cute pumpkin
Supplies and tools
A piece of felt in your choice of colors, just remember it’s the color of the pumpkin. My piece is 10 by 14.
Scissors
A piece of twine {I used thin and thicker twine for the stem} The pumpkin used the thin twine.
A large needle
Cotton Balls
Pencil
Cotton Twine
The steps for the cute pumpkin
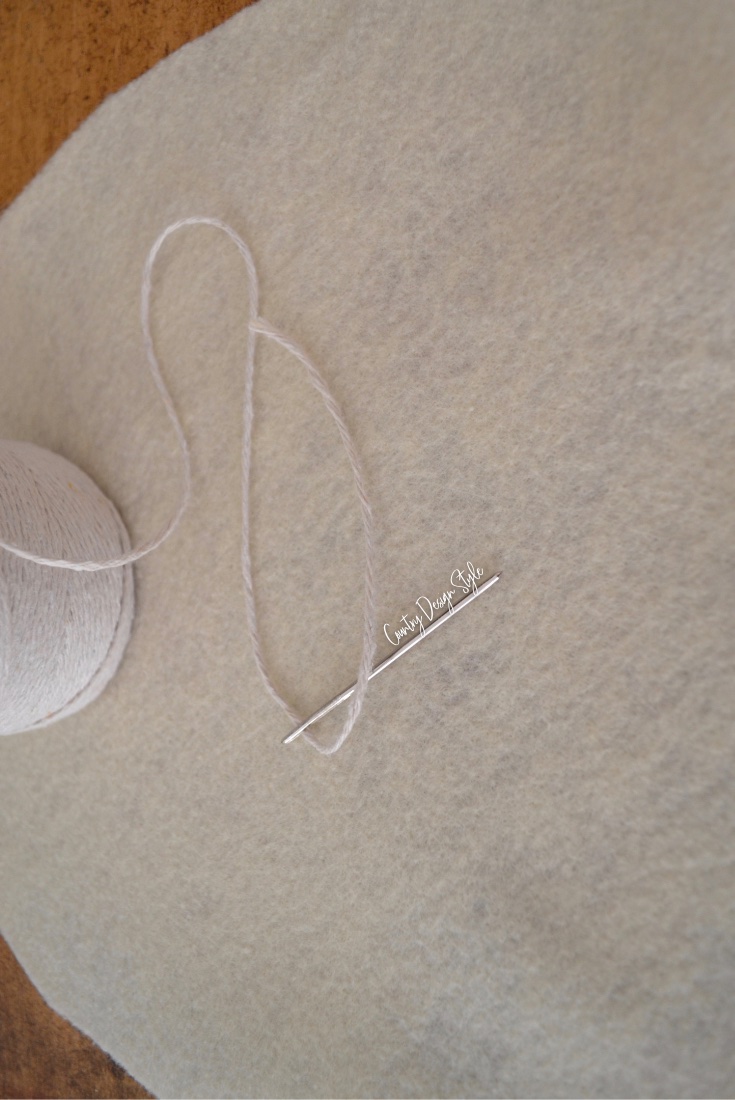
Use a plate to draw around using the pencil. My circle is about 10 inches. Cut out the circle. Next, thread the needle with the cotton twine. Don’t worry take your time…I’ll wait. 😀 Threading needles was easier years ago, right? Why did they make the holes in needles smaller! Lol!
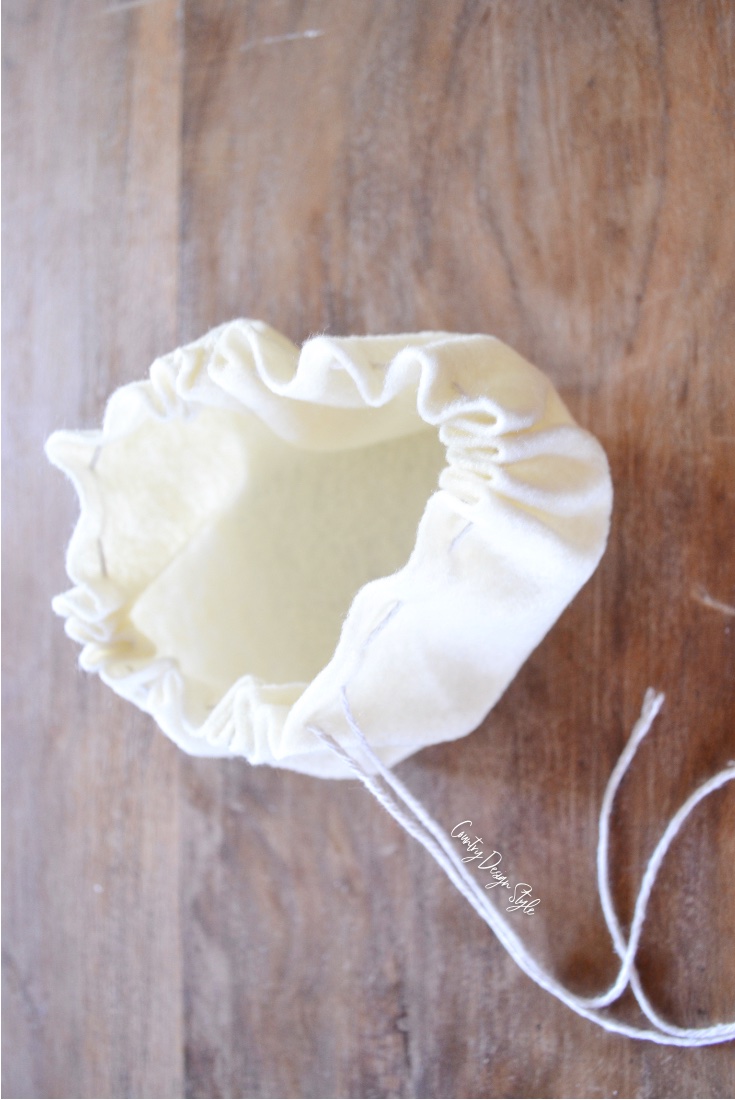
Sew around the edge using 1/2 inch stitches. Tip, if the needle becomes hard to poke through, run the needle carefully through your hair. Makes the needle slide easier. I learn that when disposable diapers first appeared. Mom had twins!!!! Those disposable diapers saved us, but they didn’t have the tape. Diaper pins through the hair helped get those pins through all that padding.
Pull to make sorta a bonnet shape.
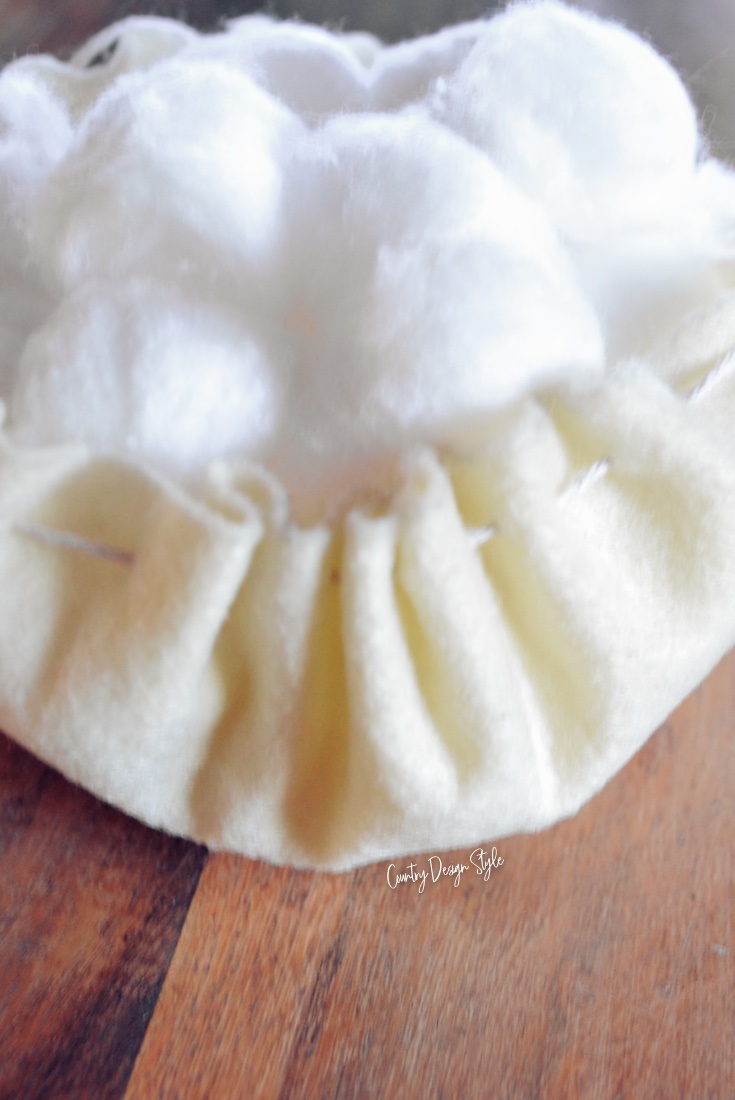
Now, stuff your bonnet with cotton balls. I used approximately two handfuls. Don’t overstuff.
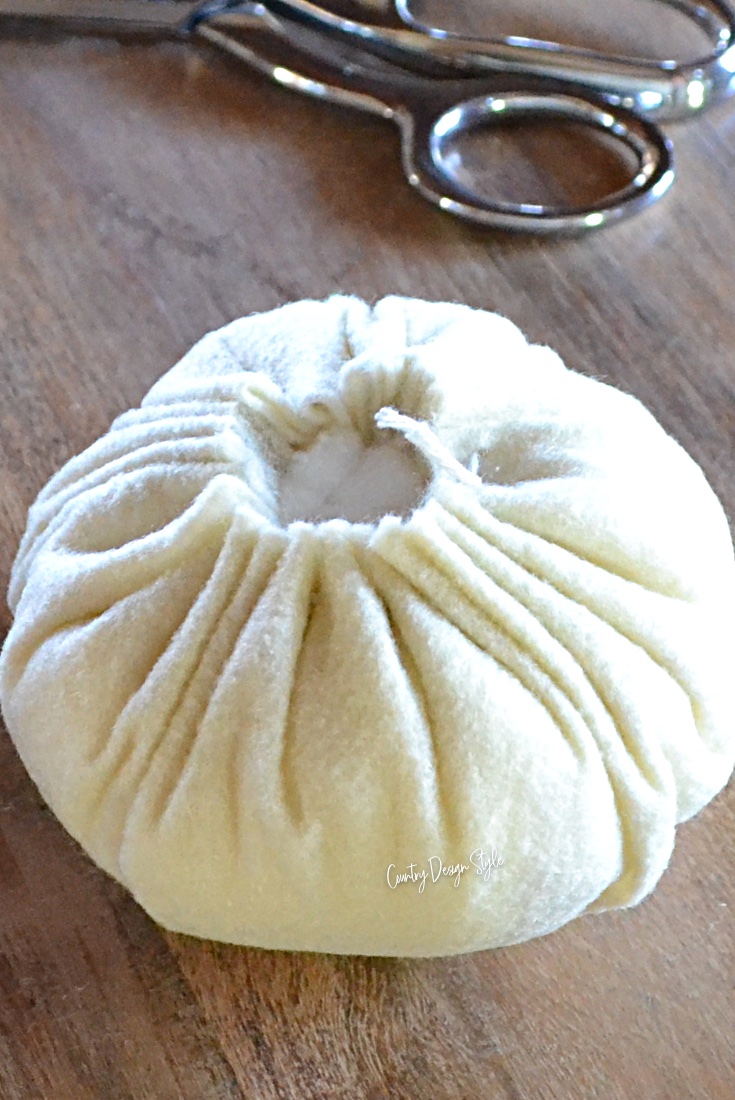
Pulling tight make a cute pumpkin shape. Tie the cotton twine.
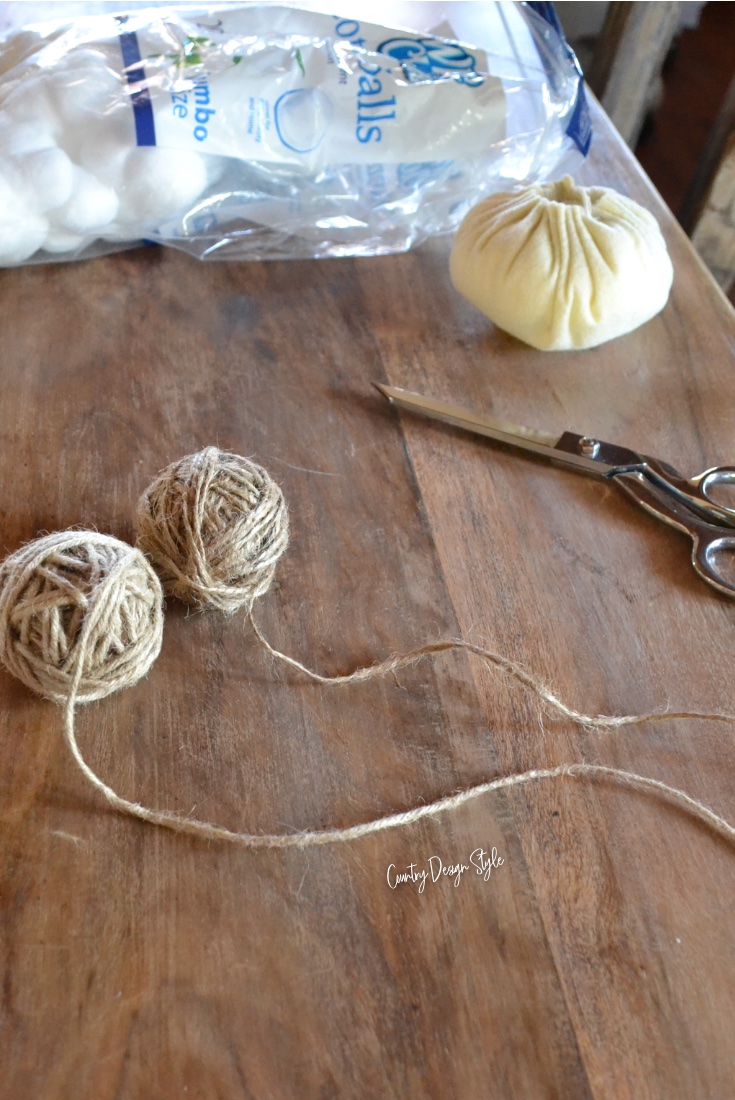
Above are the two twines. The thin one I used to wrap around the pumpkin to make the grooves.
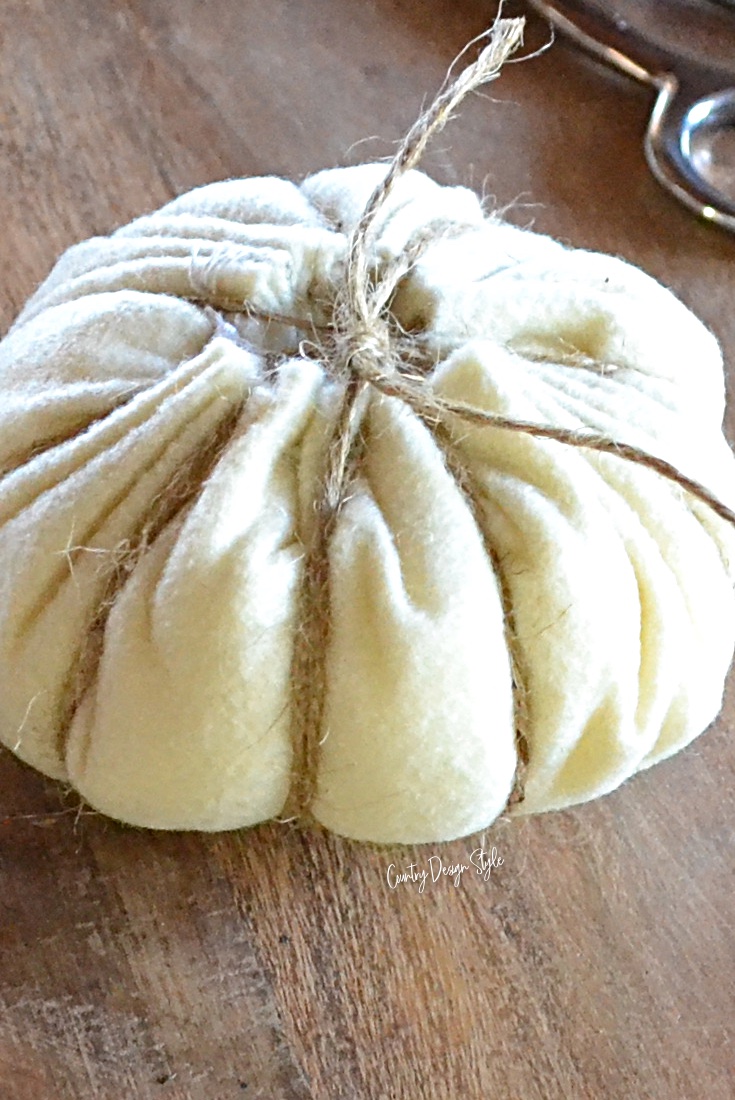
Done worry about even groove spaces. Nature isn’t perfect and this cute pumpkin isn’t either!
Tie at the top. Cut the extra twine leaving about 3 inches. More on that below.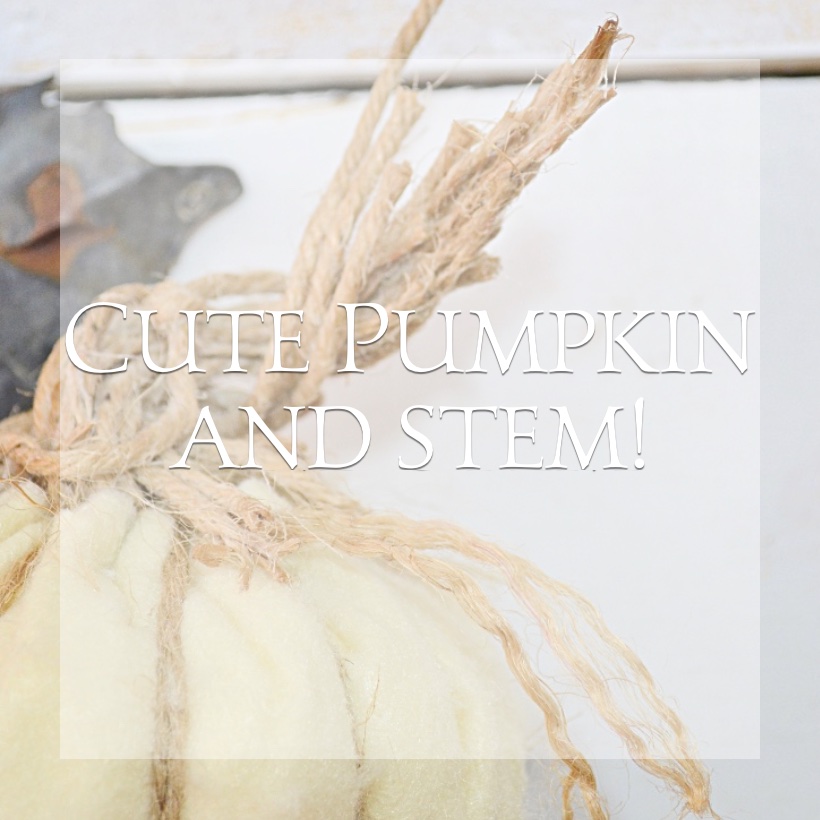
How to make the twine stem
Supplies and tools
Thick twine for the stem
The thin twine from the pumpkin
Scissors
Mod Podge
Wax Paper
Let’s twist and turn and make a stem
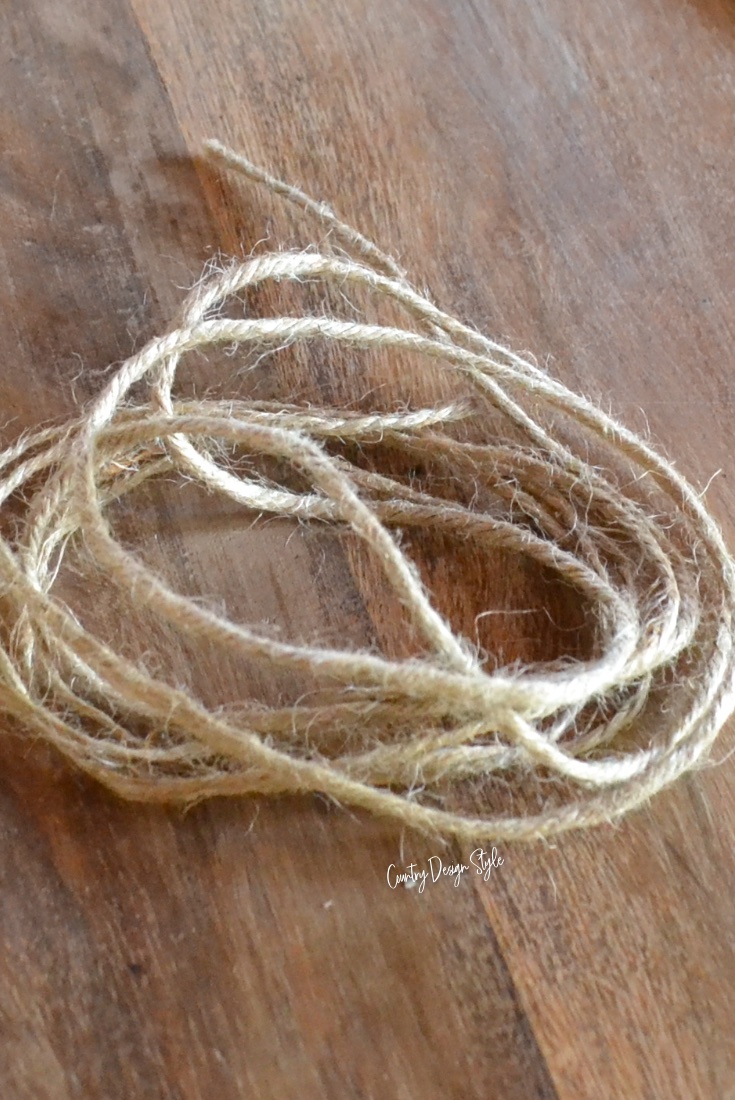
Cut pieces from both twines between 4 and 6 inches long.
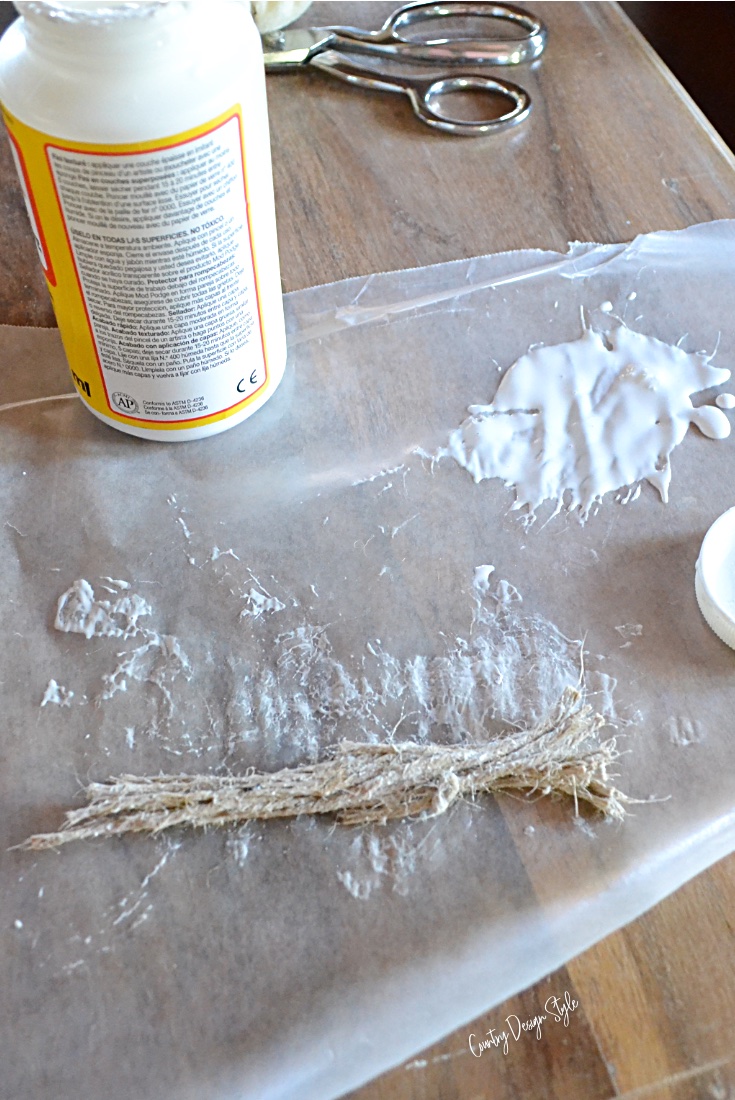
First, lay down a piece of wax paper to protect your tabletop. Drop a dollop of the glue on the paper. Then, drag the pieces through Mod Podge. Tie a random knot or two in a couple of pieces. Gather the glue covered twines keeping one end even.
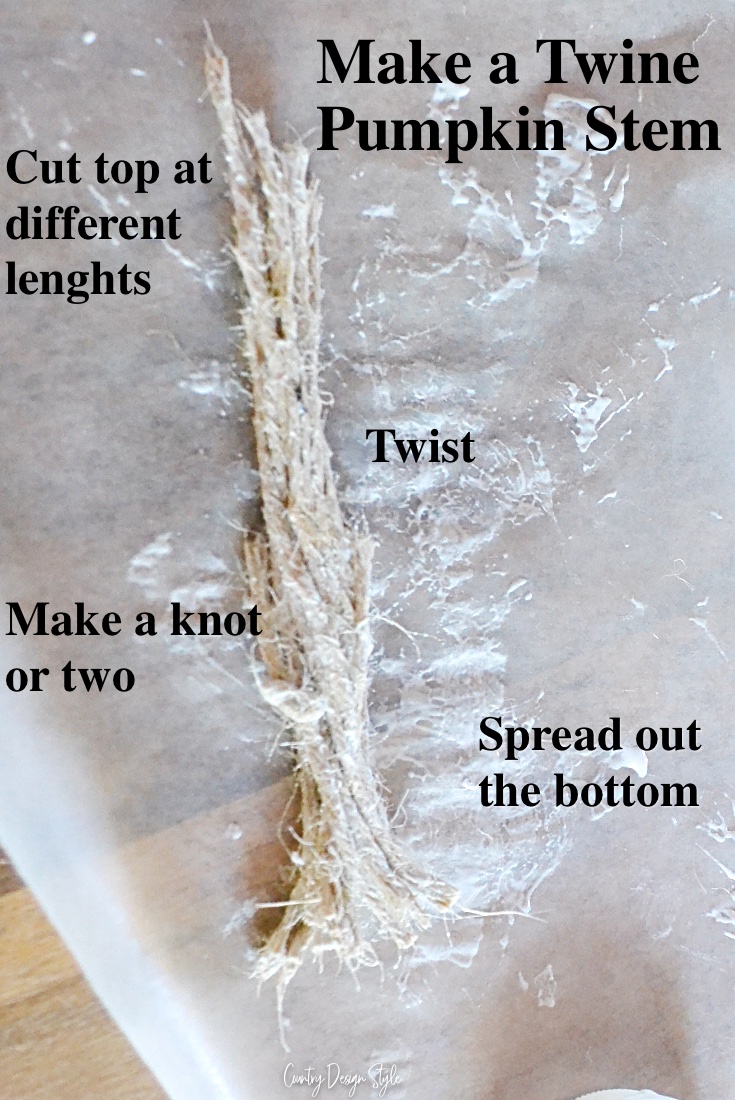
Spread out the bottom of the stem. Ugh, I didn’t like typing that!!!
Twist the twine lightly and leave to dry for a few minutes. The amount of time will differ according to the weather. I waited about 15 minutes, but I live in Arizona where it’s very dry.
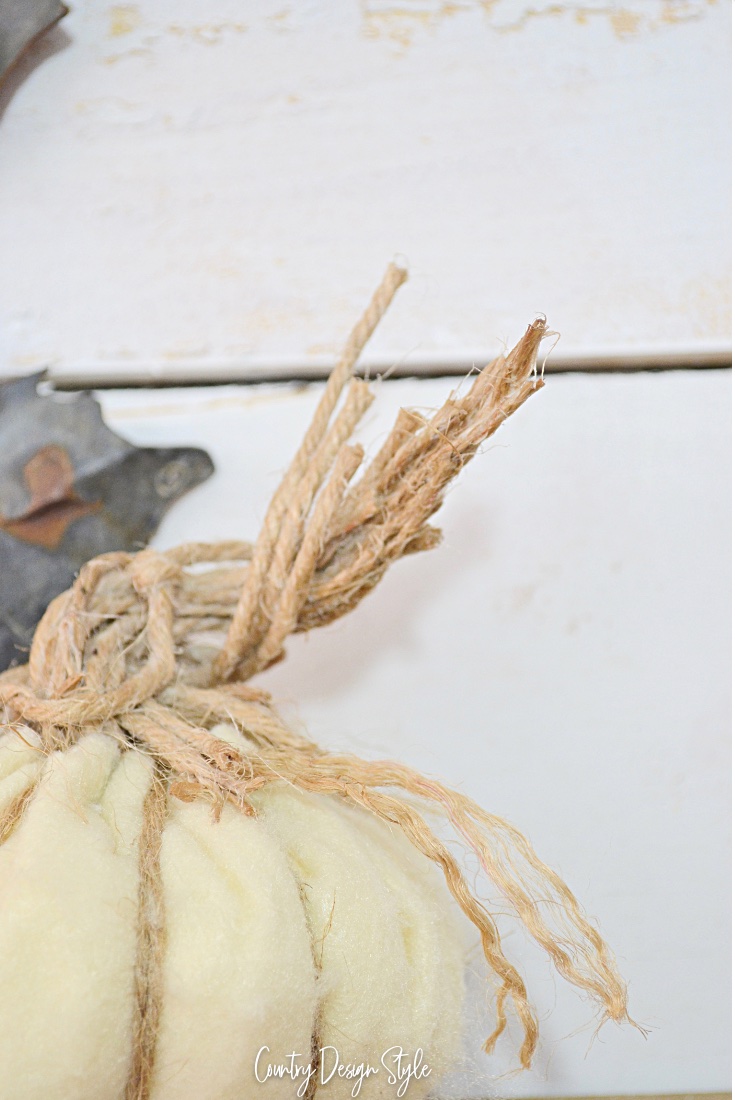
Then add more glue and set in the middle of the pumpkin. Notice I unraveled those 3-inch pieces of twine used to make the grooves.
Make it fuzzy
Remember fuzzy-wuzzy was a bear? Well, not fuzzy-wuzzy is a pumpkin! I used my finger the pulled at the felt to add fuzzy-wuzzy texture!
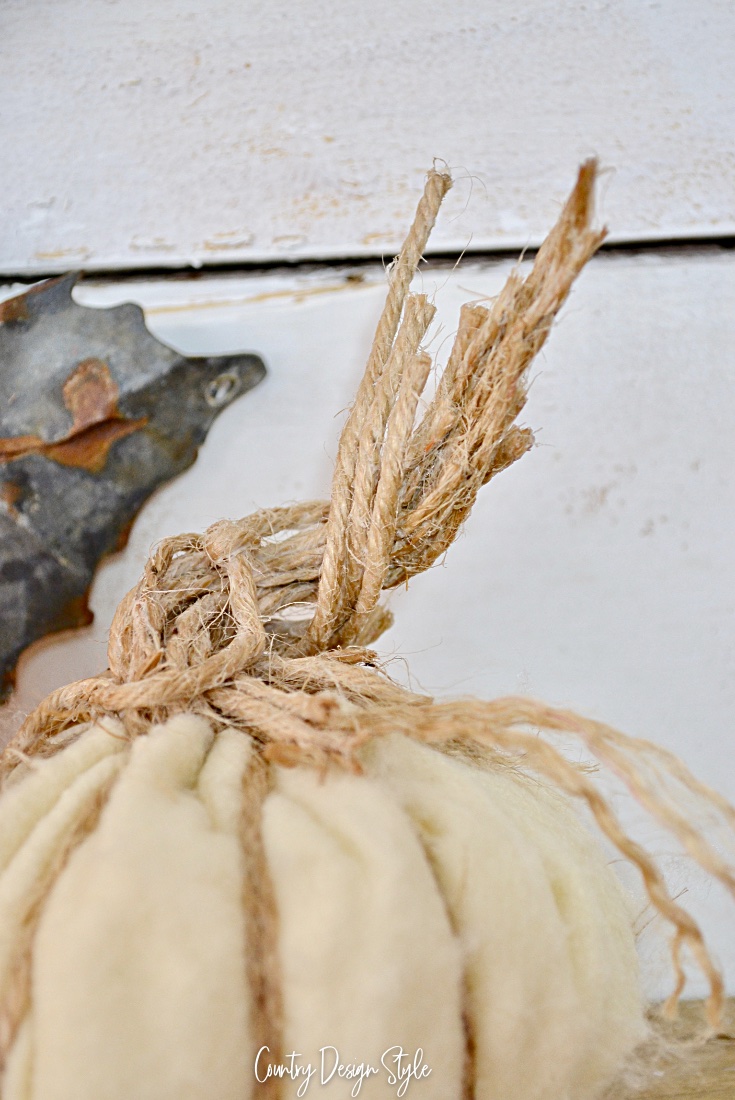
I’m really loving the twine stem. It’s perfect for those plastic pumpkins we paint too!
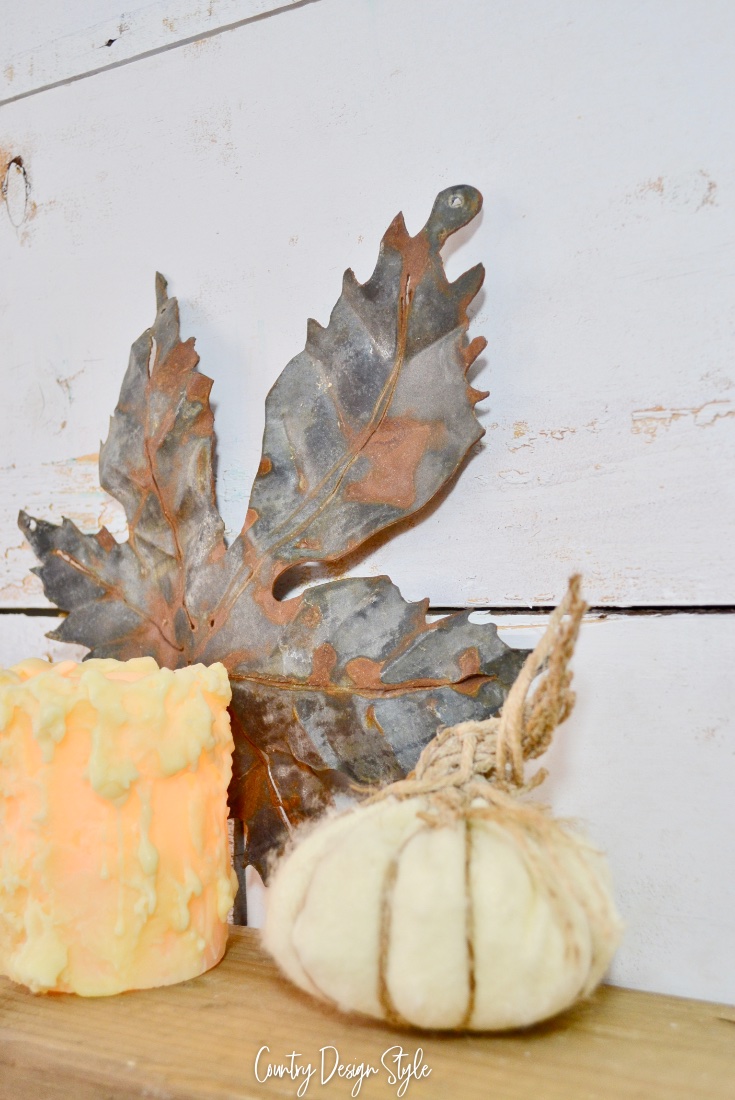
It hard to get a sharp picture of a fuzzy pumpkin!
I’m smiling now thinking about fuzzy-wuzzy, but tonight when I can’t sleep and fuzzy-wuzzy keeps popping in my head, I won’t be smiling! :/

Join the newsletter

Subscribe to get our DIY HelpLetter each Thursday. Plus grab your Interior Decorating Ideas e-book.

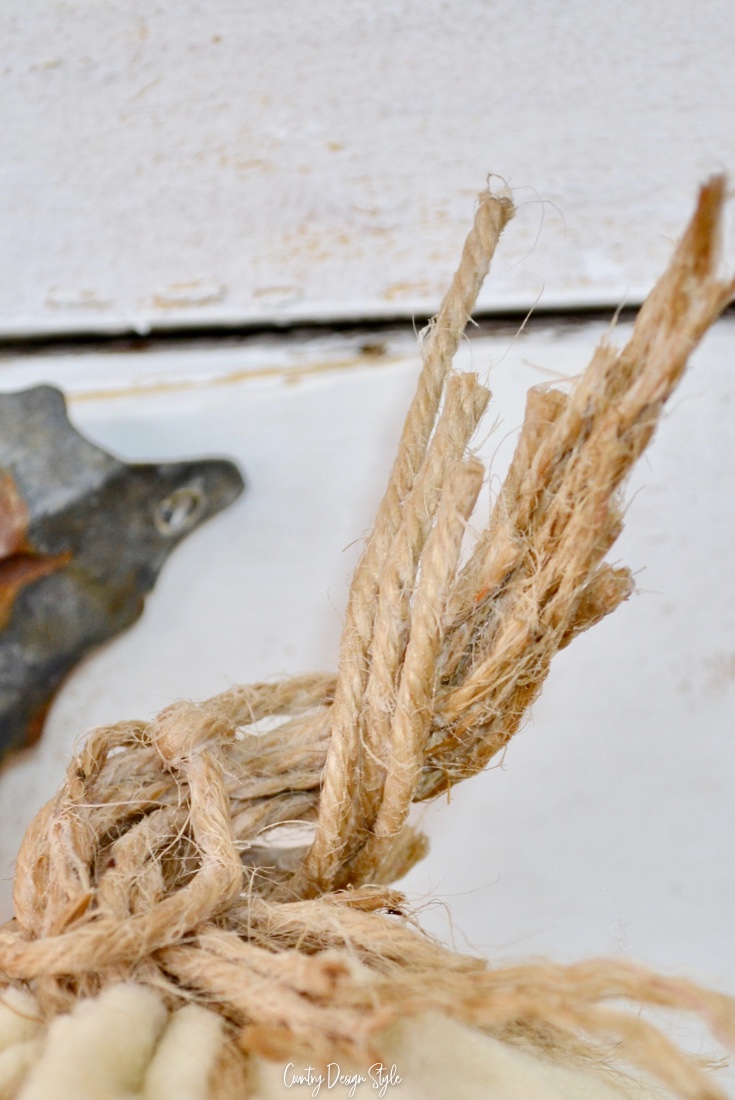

Thank u for the stem idea…for I’m making some pumpkins out of sweaters…
You are very welcome!
Oh my goodness! Thank you for sharing this! I have wracked my brain to come up with a different idea for stems every year since I began making fabric pumpkins! I love & use the “stick” stem but I also wanted options, lol. Either/or, both? With the “stick” stem you can’t achieve the much loved (by me anyway) curlies & with your “twine” stem that is suddenly so do-able! Thanks again!
Charity, I’m so glad you liked the idea for a twine stem. I know they will look amazing on your fabric pumpkins.
Too cute ! And easy!!
I have to admit, I’m in love with this little pumpkin! Thank you for following along. ~Jeanette