
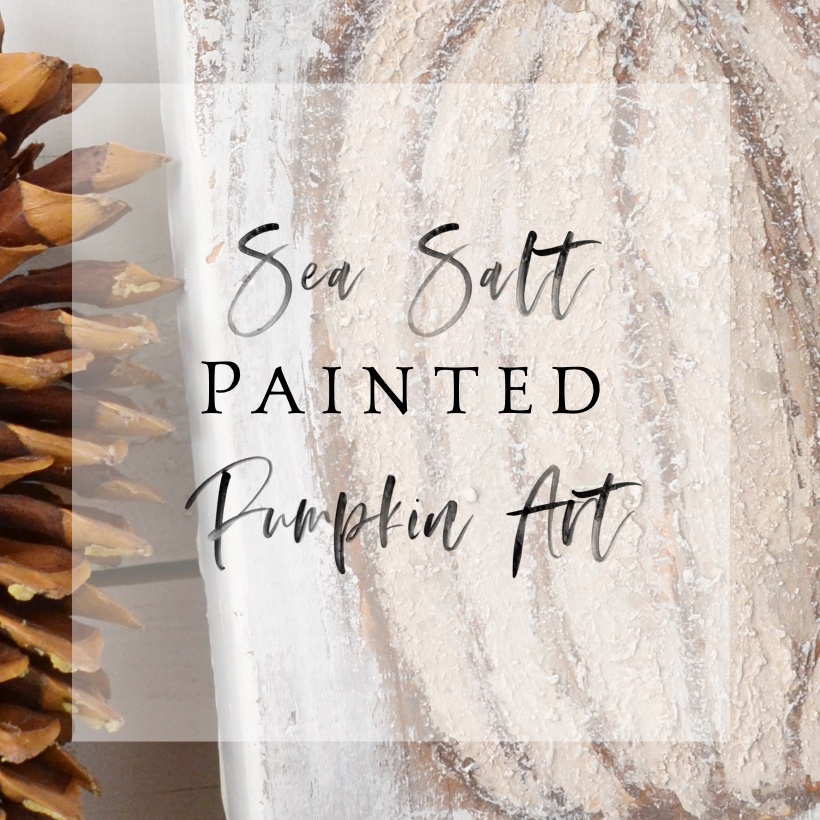
Sea Salt Paint Pumpkin Art
Is your painting looking like a 5-year-olds? Well, add some salt! Homemade sea salt paint. This is when lumps are a good thing.
I wanted to practice this idea on a scrap piece of wood. In case it didn’t work, I could trash it. It worked better than expected and now I wish I used a better piece of wood!
This post contains affiliate links. I may make a commission for your purchase at no extra cost to you. Think of it as a friend letting you know where I found a product I use, love or want. Click here to read my full disclosure policy.
The supplies
A good piece of wood
A collection of craft paint in your favorite pumpkin colors
2 tablespoons of sea salt course
Pencil
One half inch artist brush
A piece of foil to mix paint
Paper towels
Cup of water
Drawing a basic pumpkin

Draw a simple pumpkin shape on the wood with your pencil.
Painting the lines

Paint in the lines in the darkest color of paint in your collection. Be a bit messy about this.
Layering the paint

I wanted to white pumpkin with shades of orange peeking underneath. So I started with shades of orange. I started with the darker orange moving to a lighter orange. Again don’t be perfect, let it be messy. Apply the paint thick in some areas and thin another places.

Now I let the paint dry. Next, I’m using white and I do not want the orange and white mix.
Mixing in Sea Salt
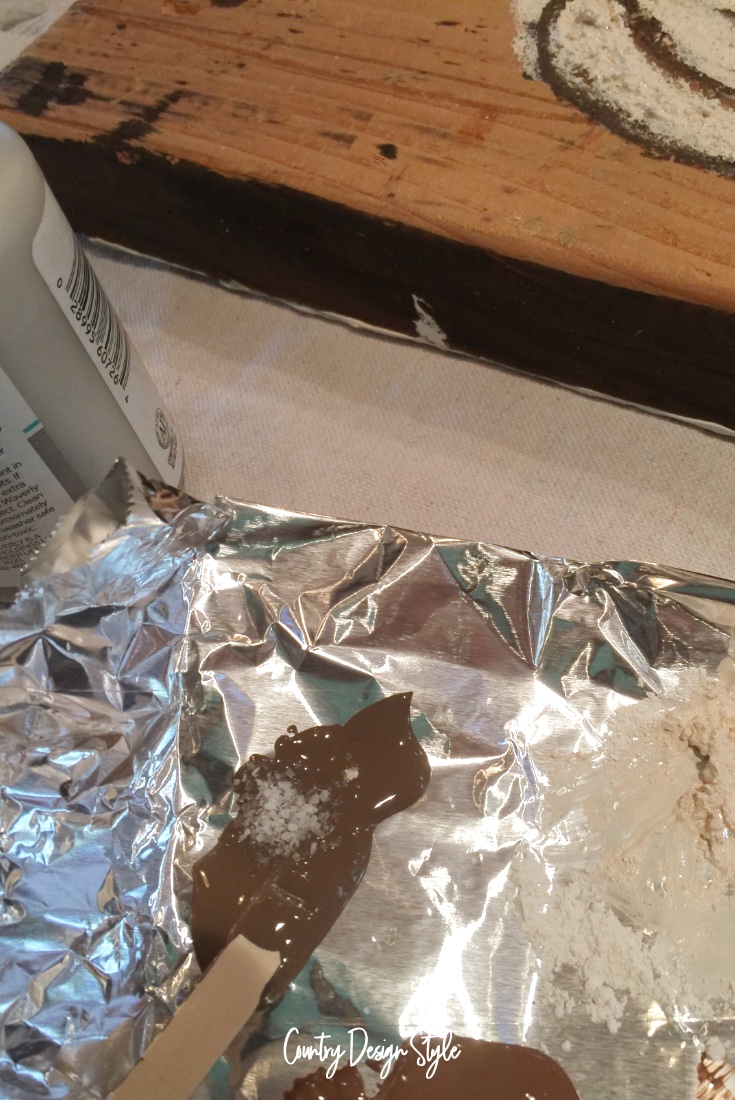
On the foil, add a dollop of paint, then sprinkle sea salt over the paint. Mix. I had to retake the picture. Come to find out the white sea salt doesn’t show great on white paint. So, I also sprinkled some on the brown paint.

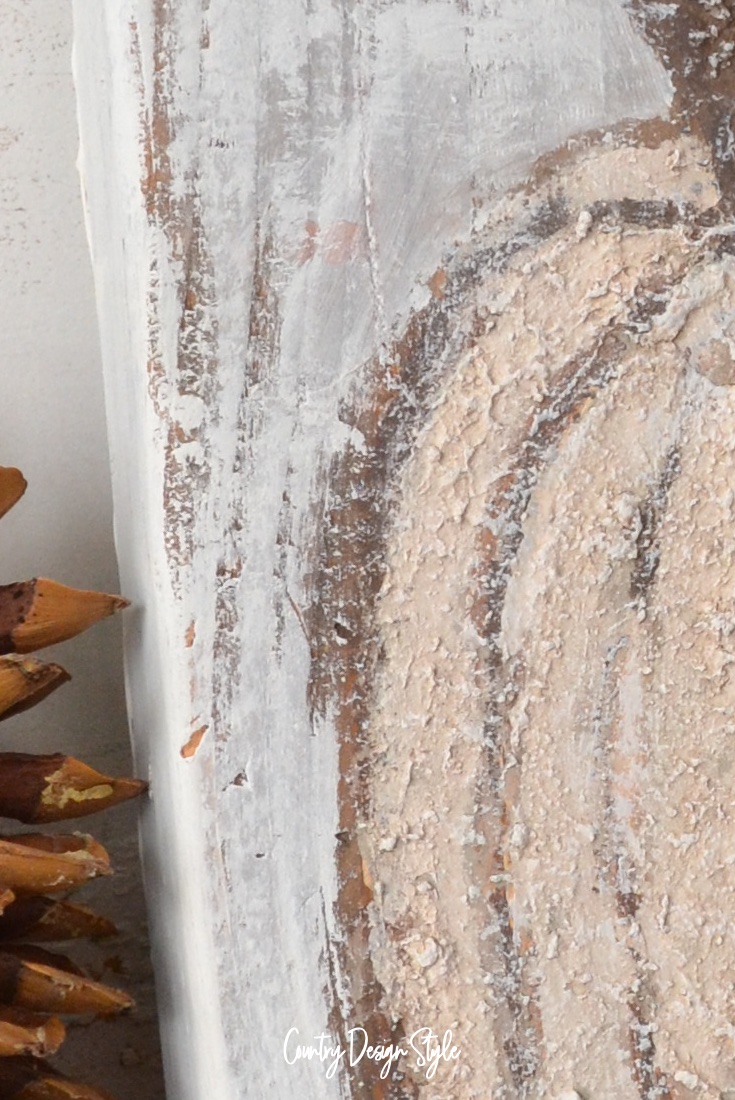
Start painting with the lumpy paint. Squish swirl and tap the paint around the area.
Make sure to leave areas for orange to peek through. Let the paint dry completely.

At this point, I decided I wanted to paint the background so I dry brushed white paint.
I like this better than I expected. I plan to leave it next to the front door on Thanksgiving day.
Lumps are a good thing!


Love this! Will try as soon as I find time!
Lorraine