Stay updated with this one board project calendar

A one board project where there’s nothing left but sawdust and maybe some paint under the fingernails.
Today’s post is in black and white.
Why??
The color was donated to Sherwin Williams Paint Company. When you donate your digital color {by uploading black and white photos} to the website Sherwin Williams is donating color to a community in need.
Read along and let’s pay it forward to communities in need.
One Board Project
This post contains affiliate links. I will make a commission for your purchase at no extra cost to you. This helps me maintain the website. Thank you for your support. Think of it as a friend letting you know where I found a product I use, love or want. Click here to read my full disclosure policy.
Donate your color! I donated the color for the project to Sherwin Williams Paint Company. {External link} Click to learn more.

I make a one board project calendar.
The board

I used a 2 by 2 by 3′ long board. These boards are in the trim section at Home Depot. I cut two pieces {or blocks} 1 1/2″ long. Those will be the date blocks. I cut the leftover into three 11″ pieces.

Then I painted the pieces a dark brown in a chalk-based paint.
Then I sanded all the edges. I didn’t sand first because I wanted distressed paint on the edges and in high areas.
Hand Lettering Tips
When your handwriting is as bad as mine!!!

This is my calligraphy brush I love to use for lettering. Notice the bristles are flared out. But when the brush is wet from water or paints the bristles come to a fine point.
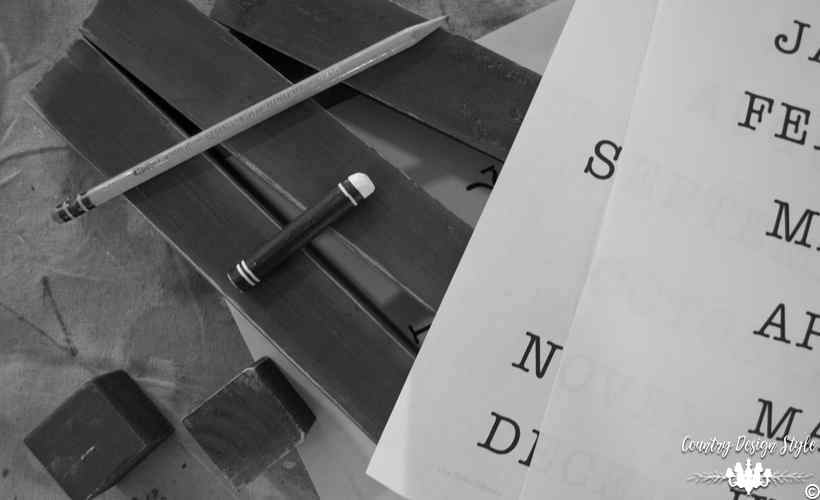
Start by using a printout of the lettering you wish to use. You can download the lettering I used for the calendar here.
Supplies for hand lettering
Soft Pastel stick {pick a color that will lightly show on the paint. I picked white.}
Print of your lettering
Pencil
Paint for the lettering {I used chalk-based paint in light gray}
Calligraphy brush
Paper towel
Cup of water
Painters tape
- Rub the pastel over the back of the lettering.
- Tape the lettering in place on your project.
- Using the pencil outline the lettering.

Peek to make sure the pastel is transferring okay.
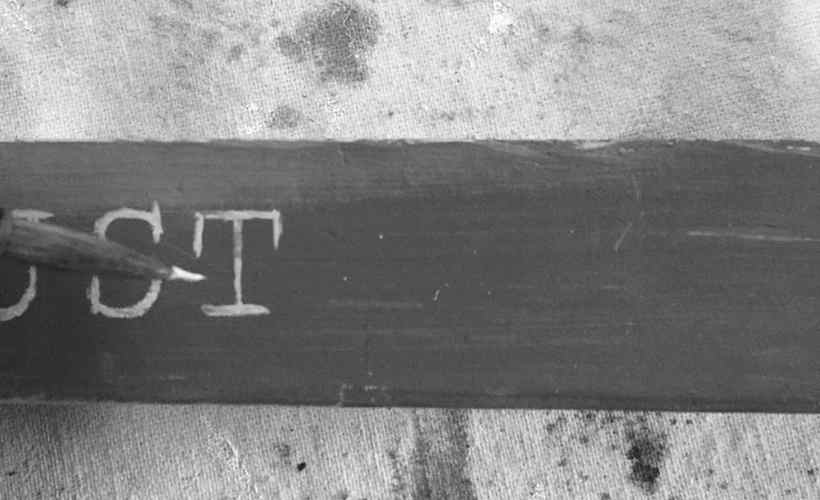
4. Dip the brush in water. The calligraphy brush will form a point.
5. Dip the very tip of the brush in paint. Use the bead of the paint to flow into the lettering. Let the tip of the brush do the work.
Additional Tips
If you’re left-handed like me, start from the right side.
Don’t worry about imperfections…it’s “hand” lettering.
Remember you are painting on wood which is a natural product and will have knots, bumps, and ridges.
Do not let your brush sit in water for a long period of time it will cause the bristles of the brush to break and bend.
I like to use shampoo and conditioner to clean and keep bristles soft.
Let brushes hang to dry. I use a clothespin to hang my calligraphy brush.
I’m terrible at calligraphy!
Back to the calendar
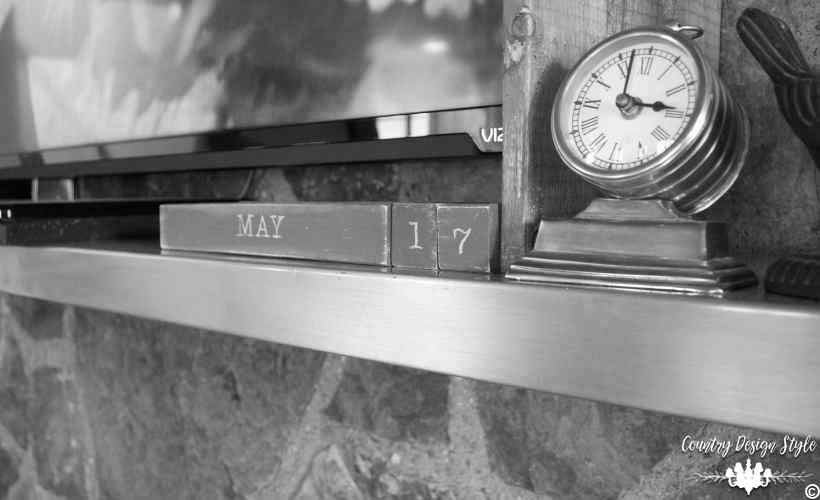
The three long boards have the months lettered on each side. One of the blocks has 1-2-3-4-5-6 on each side. The other block has 0-1-2-7-8-9. The blocks are turned and rotated to show the date.

Wonder who’s job it will be to rotate the block each morning to the correct date?
You can check out the photo’s in color on the social media of your choice below.
While you’re doing that, I’m redoing my nail polish.
Join the newsletter

Subscribe to get our DIY HelpLetter each Thursday. Plus grab your Interior Decorating Ideas e-book.

![Footstool makeover [DIY] with chalk based paint](https://countrydesignstyle.com/wp-content/uploads/2017/02/footstool-makeover-spindle-Country-Design-Style-countrydesignstyle.com-.jpg?x17166)
I love this! I use to make calendars years ago that were little houses with the blocks. But this would be so much easier, and now that I am getting better a stenciling I will have to give this a try. Thanks for sharing! Pinning!
Sweet DIY easy-peasy project! I’m a lefty too, and often forget to start on the far right of a stenciling project…good tip! (My blog link is a work in progress – had to restart a template – excuse our construction, LOL)
Thank you for visiting and commenting, Liz! You will get there with your website. Keep at it. You would believe how mine looked when I started. UGH. Reach out to me if you need help.