Winter Snowman…Plastered!
Do you love to collect themed winter decorations? I have friends that collect Santas and some that collect the Christmas tree and others that collect a whole town. Those winter villages are awesome sauce!
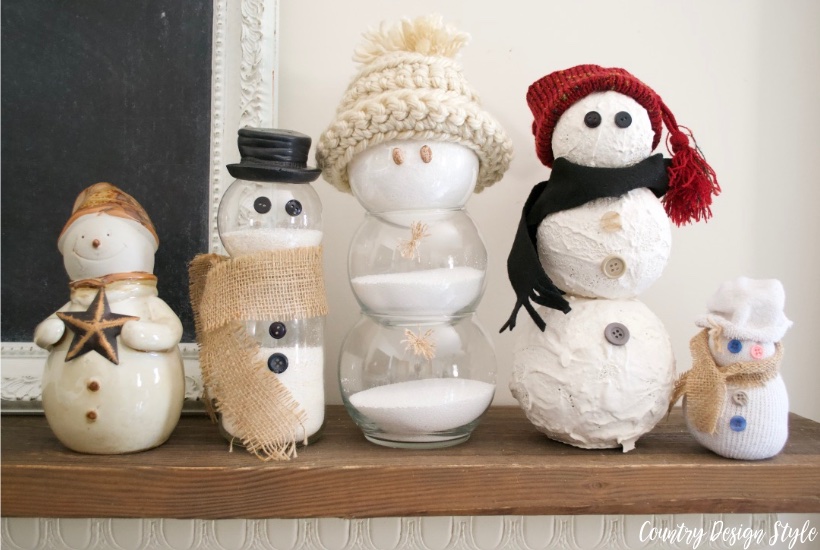
I collect snowmen. My collection consists of one store bought snowman. All the others I’ve made. Including this plastered snowman!
Winter Snowman
For your convenience, this post contains affiliate links so you can easily find the products or similar items at no extra cost to you. Click here to read my full disclosure policy.
The Supplies
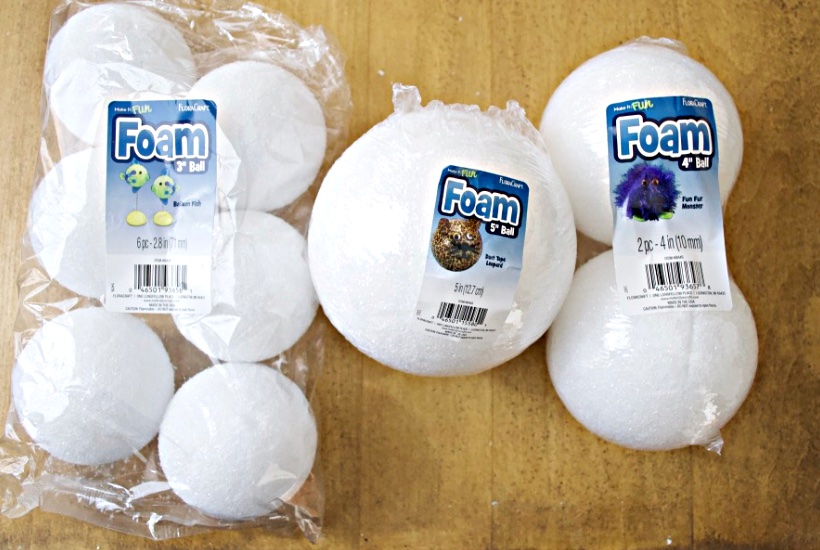
3 styrofoam balls in gradual sizes {I used 3″, 4″, and 5″}
Sharp knife {but not necessary, keep reading}
Water
Wax Paper
2 Toothpicks {not necessary}
Spoon or stick to stir the mixture
Medium size bowl
Glitter {I love the rich look of this glitter}
Buttons, rocks, lumps of coal, for eyes and buttons.
Boot topper, sock {one from the laundry room without a mate} or very small knit cap
A piece of felt to make a scarf
The Steps
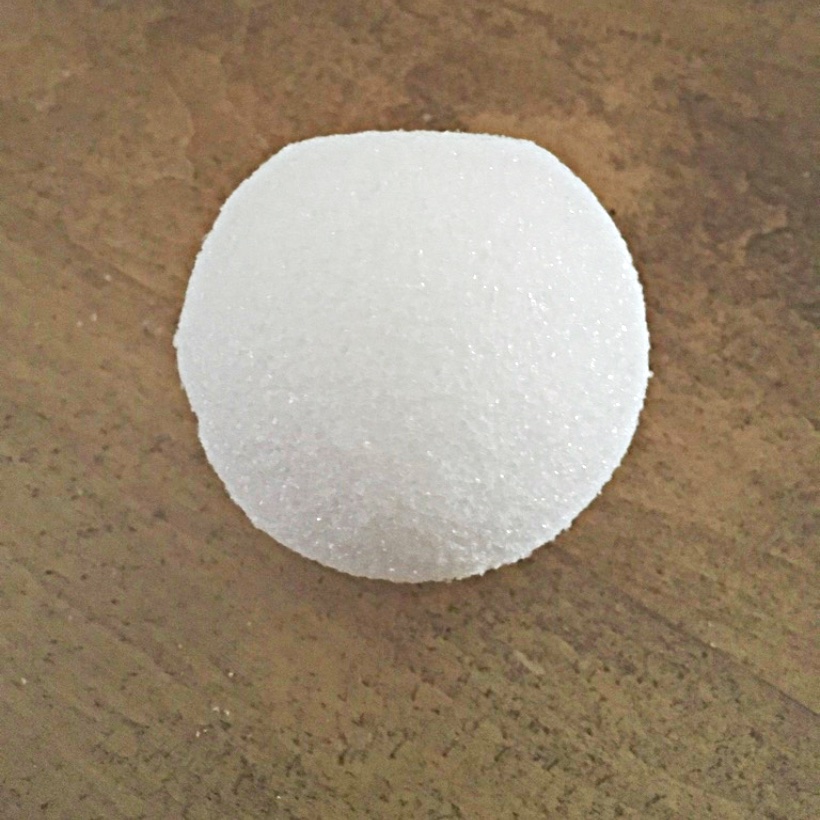
Cut a flat bottom and top to the largest and middle size balls with a knife. Then cut just a bottom on the smallest ball. Or do as I did and press the styrofoam down on your surface until it makes a flat area.
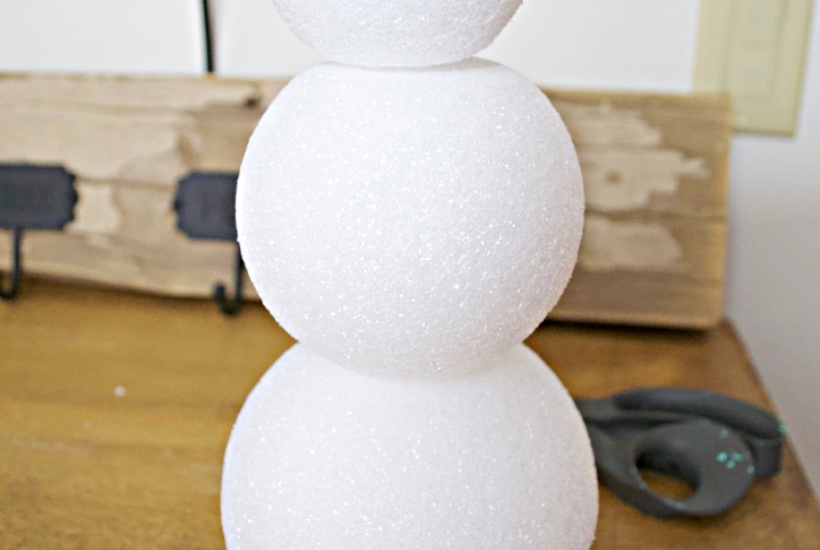
This will keep the snowman from falling over.
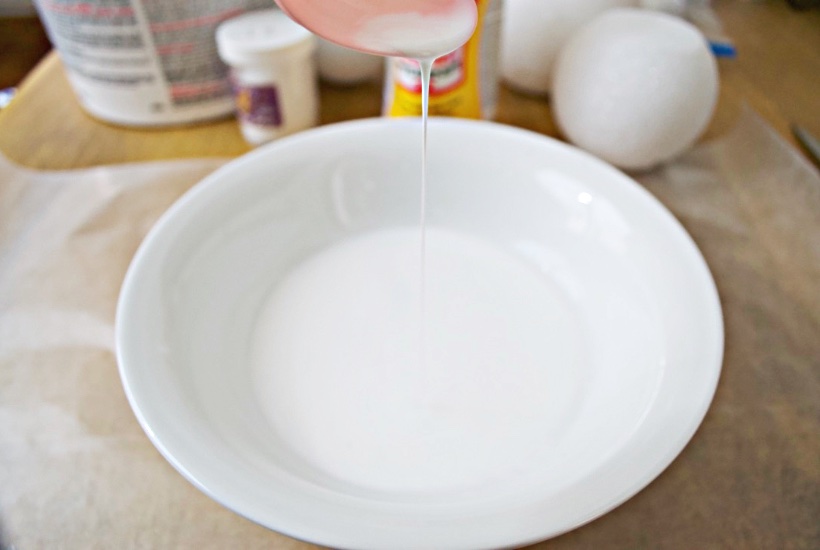
Add 1/2 cup Mod Podge to the bowl. Mix in 3/4 cup water. Stir well. Start sprinkling in Plaster about 1/4 cup at a time. Mix until smooth. Continue adding Plaster until the mix is like a thick soup.
Adding Mod Podge to the plaster makes it stronger. Otherwise, it can crack and flake off. I wish I tried to add Mod Podge back years ago when I made these art blocks before blogging.
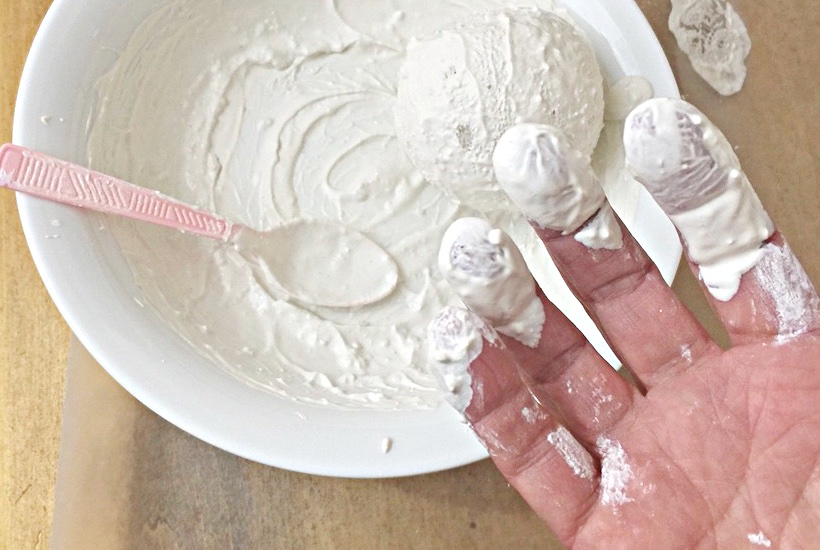
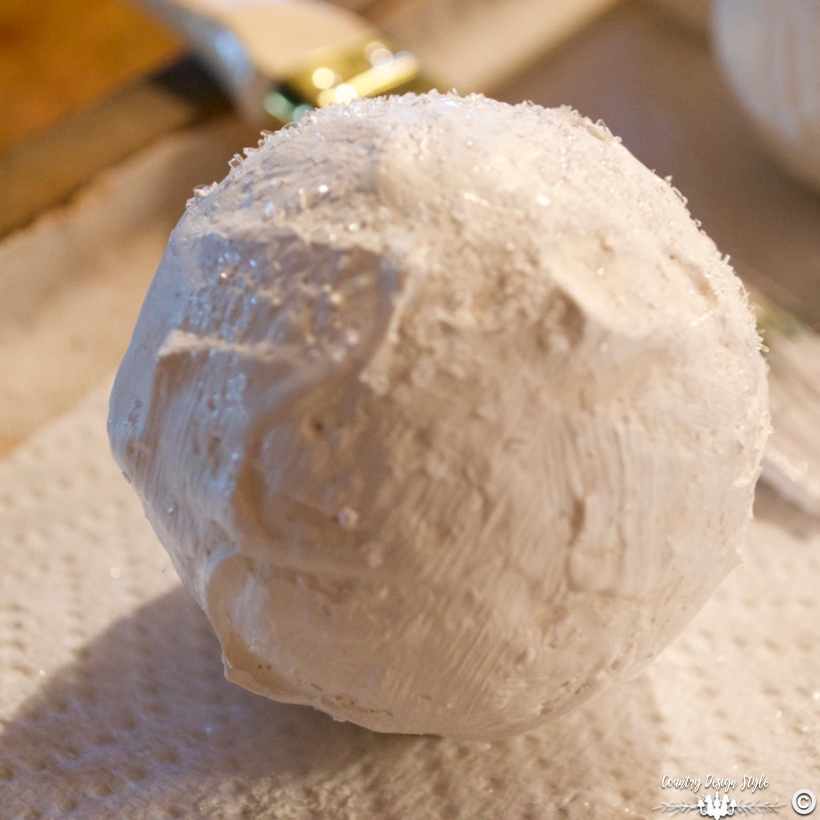
Place the largest ball in the bowl and roll around covering the styrofoam. Set on a piece of wax paper. Working quickly, do the same with the middle and the small head ball. When completely covered stack the balls. This will help “glue the balls.”
This is messy!! I use wet paper towels to wipe my hands. It’s best to not dump plaster and Mod Podge in your drains.
Quickly sprinkle with glitter. I also toss glitter on the sides.
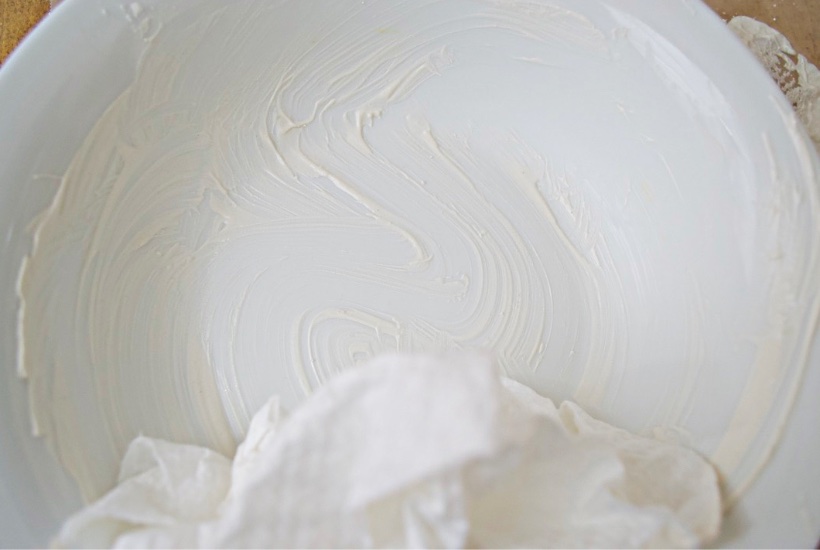
Clean everything with wet paper towels removing most of the plaster and Mod Podge. Again, save your drains.
When the plaster dries, you can glue them in place.
To make a scarf
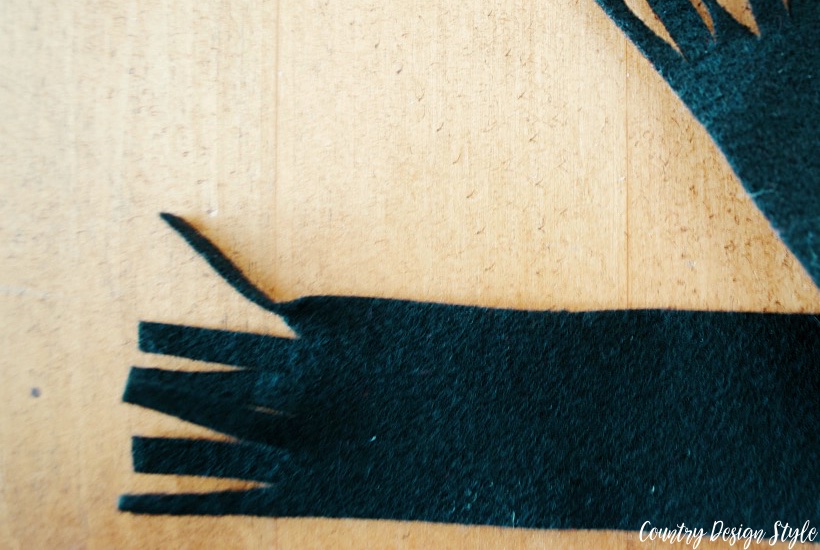
Cut a piece of felt 1-inch wide by around 14 inches. Then use scissors to cut into the 1-inch ends about every 1/4 inch.
Dress the snowman
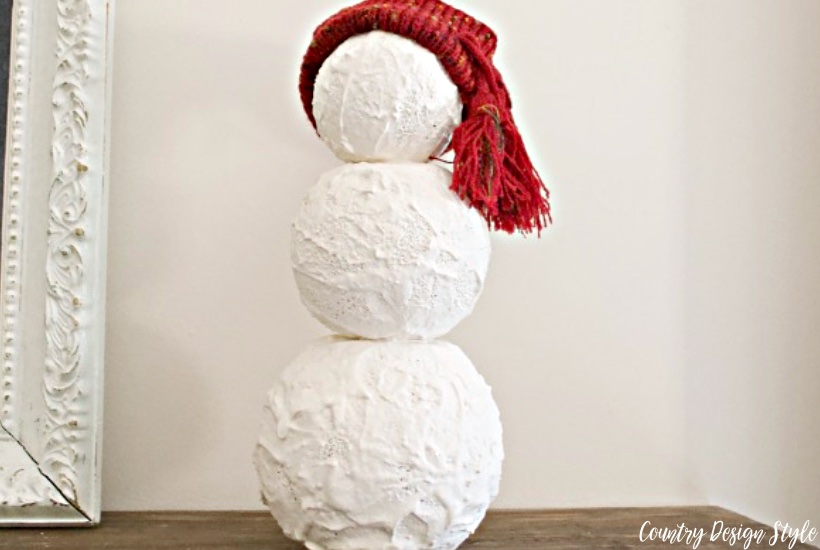
Dress your winter snowman in a knit hat or sock, and scarf.
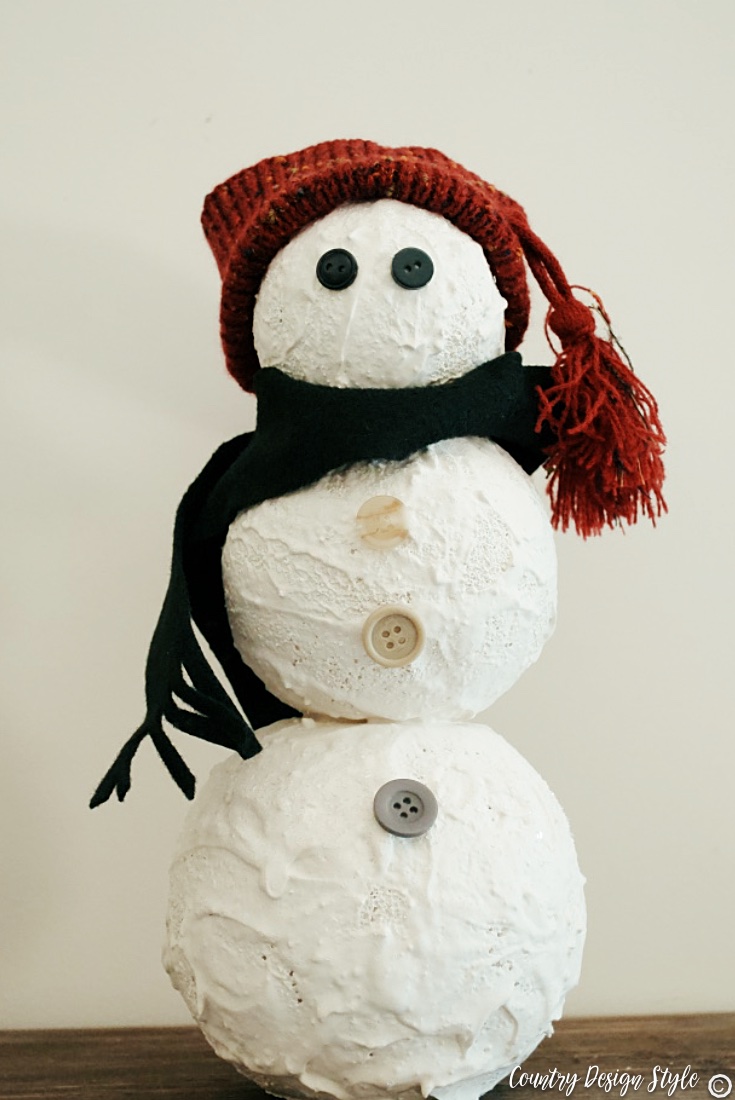
I glued on buttons for eyes and buttons for…well…buttons! And my snowman is done.
Here the snowman’s favorite pin
https://www.pinterest.com/pin/98657048078267789/
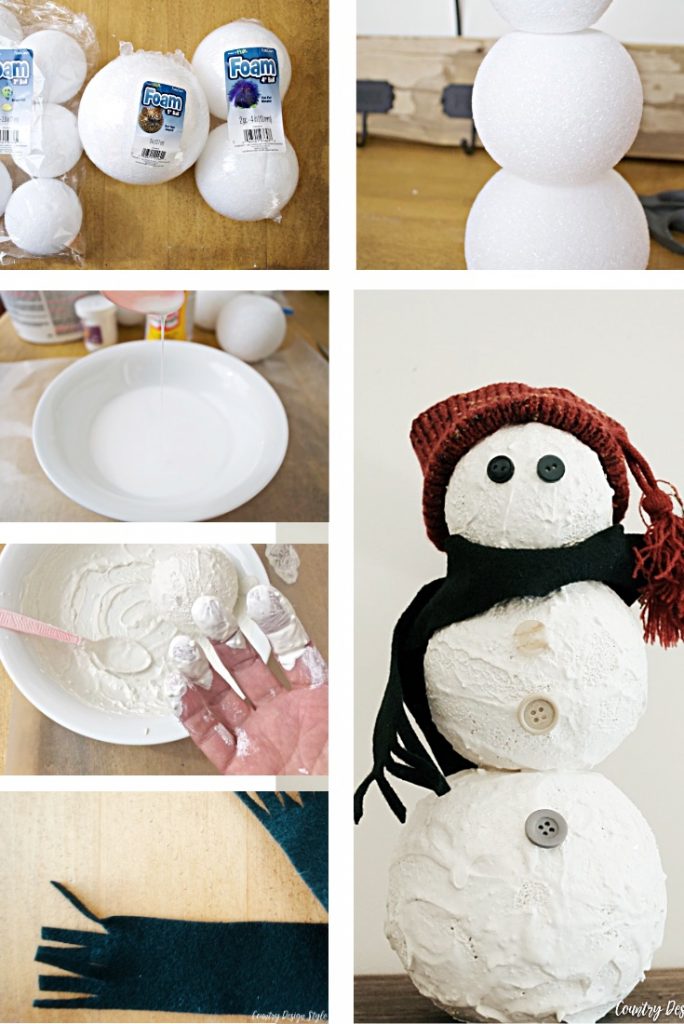
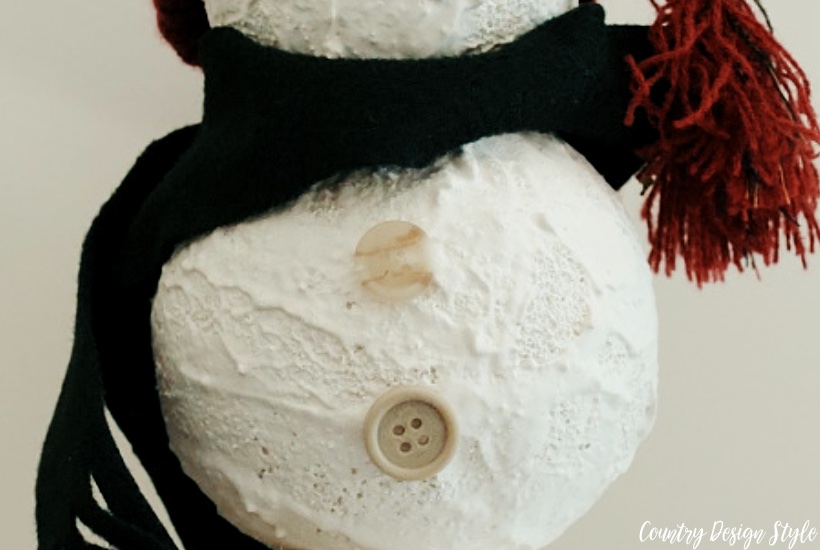
One thing I like about this technique…if you have little ones helping it’s okay if the ball doesn’t get completely covered. 😉
Below are more ideas for plaster or snowmen. Click over to see how I light up the snowmen…while I clean up my plastered bowl…before it remains…plastered! 😀

Join the newsletter

Subscribe to get our DIY HelpLetter each Thursday. Plus grab your Interior Decorating Ideas e-book.


There all so cute. I made a glass bowl snowman with lights inside.i made his hat with a coffee can and an old record ,he turned out really awesome .i seen them on Pinterest and loved them all.xmas crafts are my favorite.❤️
too cute!! Wish I had an extra month, I need more time!!!
*hugs*deb