
Melted Crayon Art

When is the last time you’ve seen the Wizard of Oz?
It’s been over 20 years for me. The first time it was scary. When the wicked witch melted into a brown pool of yuck, I was done watching.
Now I’m creating melted crayon art and thinking about rewatching that wicked witch melt.

I have the tremendous opportunity to do a live demo video on Hometalk’s Facebook Page. The melting Christmas tree is one of my popular tutorial posts on Hometalk. Perfect for a live demo. Here are the times: 10 am PST, 11 am MST, 12 noon CST and 1 pm EST.
Here’s a “commercial” Hometalk made for the demo.
Since it’s way too early for Christmas…Pinterest, I recreated the project for autumn.
A pumpkin.

The supplies
Board to mount the melted crayon art {mine is 15-inches square 1/4 inch plywood}
Square piece of burlap slightly smaller than the board
Scissors
Paint for the board
Paintbrush
White craft glue
Pencil
Large knife
Cutting board {or just an extra old board}
Crayons {I used 5 large white crayons for the pumpkin and one regular size brown crayon for the stem} Yes you can buy boxes of one color crayons!
Craft heat gun
Basic shape drawing {more on this below}
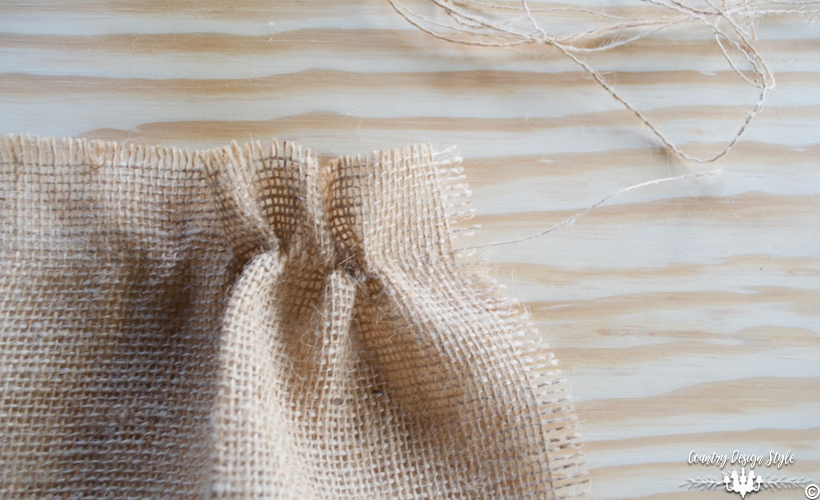
If you’re anything like me you have scrap pieces of burlap stuffed in almost every drawer and closet.
None of which are square. To cut a square pull out threads the size you need.
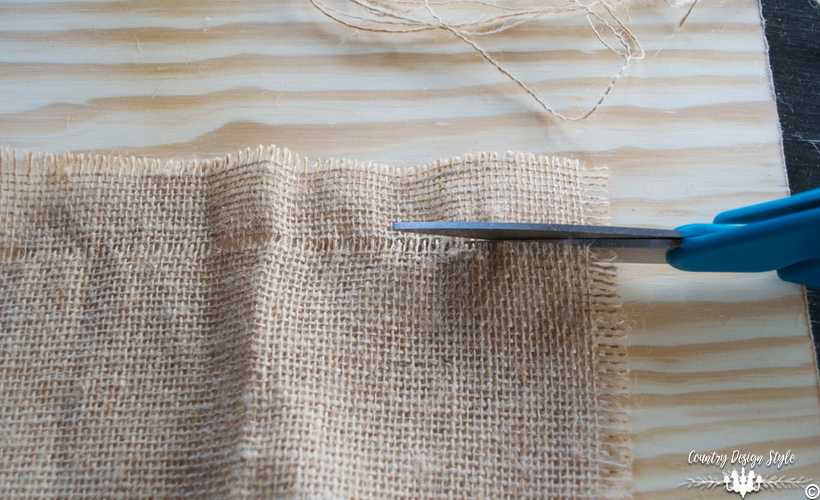
Then cut along the line where the thread was in the burlap. Do this until you have a square slightly smaller than your board. I pulled out three threads from each side for a fringe. Save some of the threads for the tie around the stem.
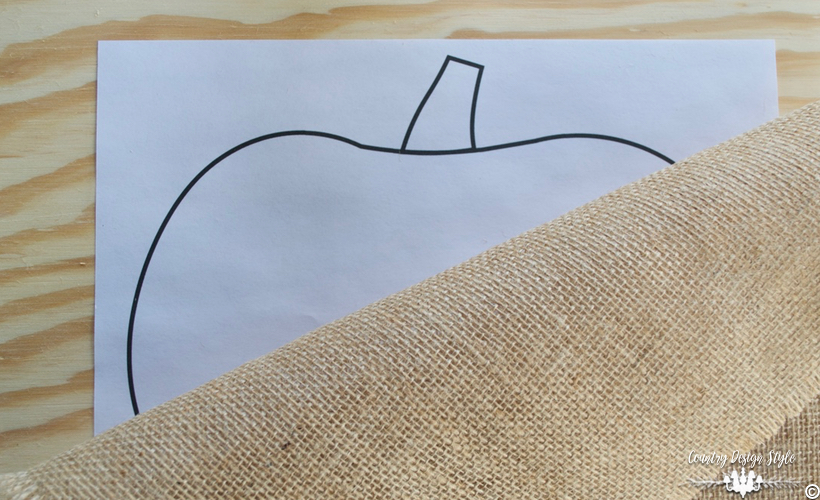
I drew a basic pumpkin shape on the computer. You can download a free print by clicking here.
Lay the print down and center the burlap over the top.
You can see the pumpkin through the burlap.
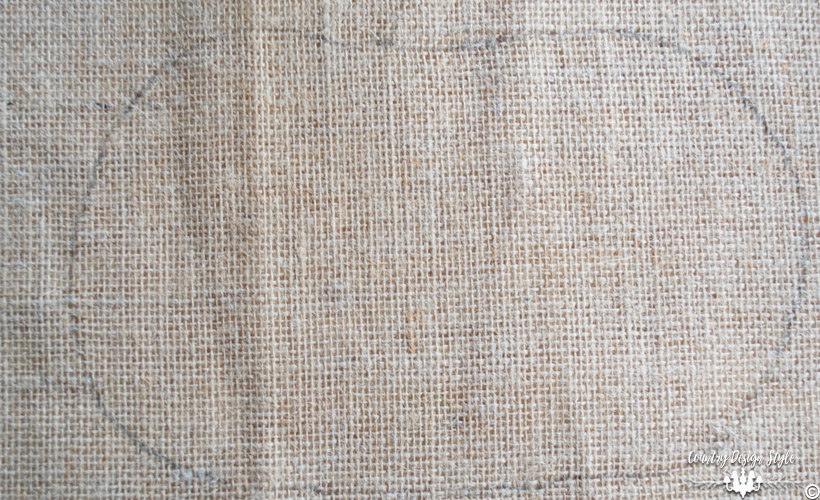
Draw the pumpkin shape on the burlap using the pencil.

Next is the hardest part of this project.
Peel the paper off the crayons!
Then using the knife chop the crayons on the cutting board. Cut just like you’re chopping carrots. Place one hand on top of the blade holding the handle with the other. Rock the knife up and down keeping the blade on the cutting board.

Chop until the crayons are about the size of whole grain oatmeal. Of course, some pieces will be smaller.

Sprinkle the pieces inside the lines. Then using the heat gun S~L~O~W~L~Y melt the crayon pieces. They will melt and stick to the burlap.
Let the melted crayons cool before moving.

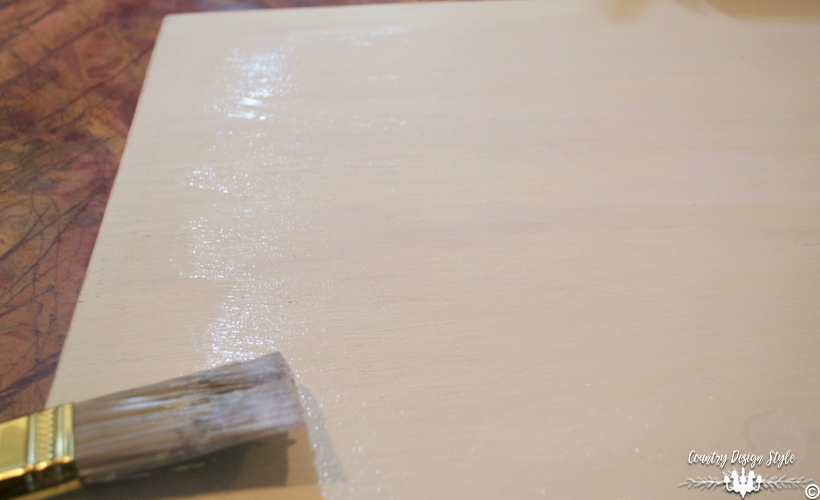
While the crayons cool, paint the board. I used a soft white chalked based paint. Any paint will work.
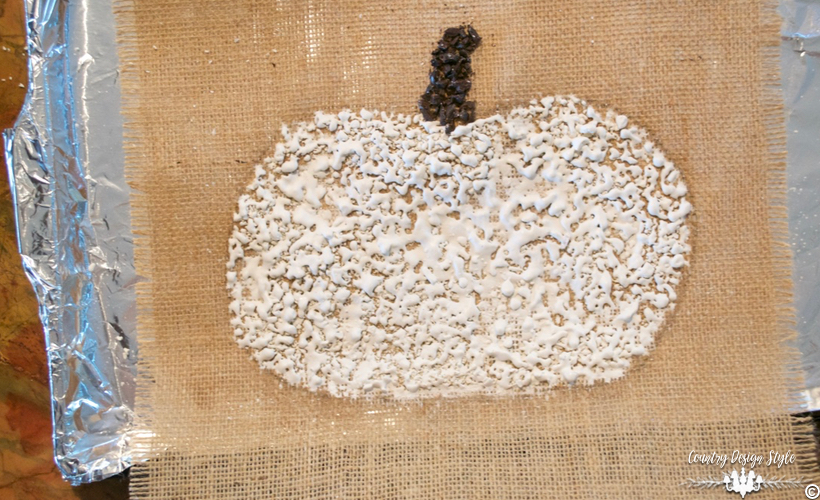
I used one brown crayon for the stem. While the stem cools…
I painted craft glue into the middle of the board.
Those burlap threads can be threaded through a ribbon needle and added to each side of the stem.
Then center the burlap on the board. Smooth the burlap down. You will notice the melted crayon is stiff.

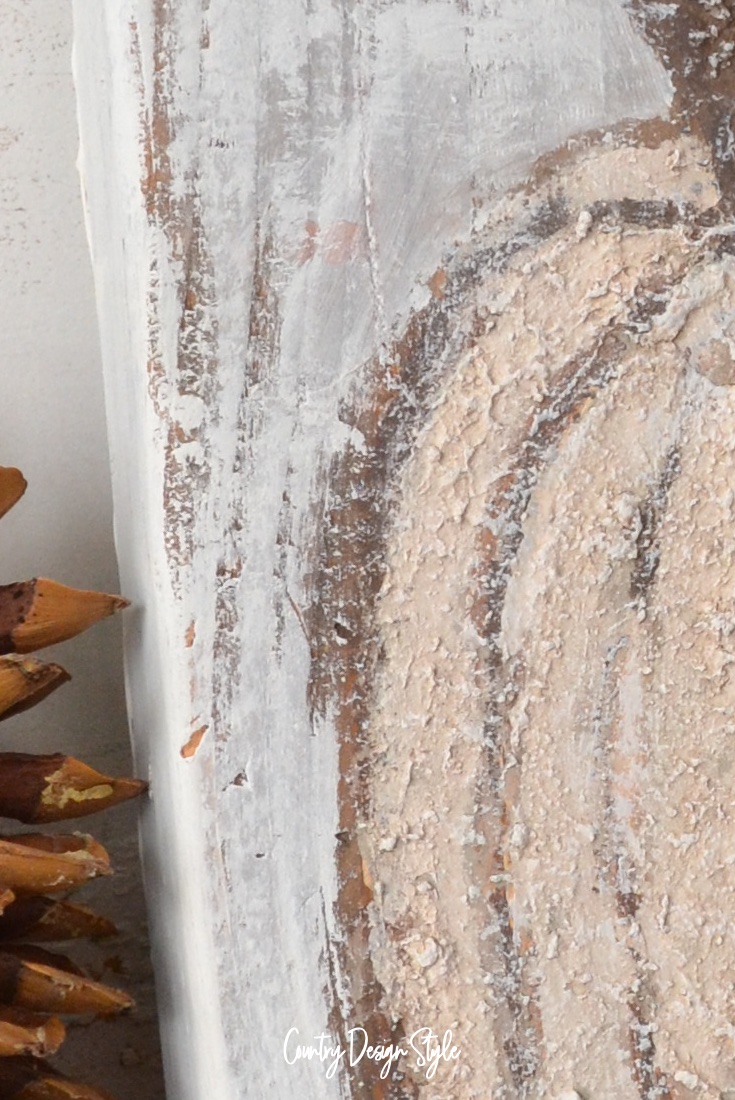
I sat the melted crayon art on the mantel.

Last autumn I tried an autumn leaf and melted it directly to a piece of wood. It’s okay but a simpler basic shape like a pumpkin or Christmas tree is easier.
The crayons melted with a mind of their own!
Furthermore, an apple for the teacher this time of year is another idea. You can find basic shapes in a kids coloring book.


It’s like a hair blow dryer, less sir flow and more heat.
Pat, thank you so much for your help! My blow dryer didn’t work even with the diffuser!!!
I don’t understand the concept of the heat gun. How it works. Are there directions with the gun to show you how to use it?
Josephine, I can’t remember if my heat gun came with instructions. :/ But I will be adding a recorded live video to the post later today that shows more. In the meantime, the craft heat gun blows soft gentle air that’s not too hot. It was created for scrapbook embossing projects. It slowly melts waxy type products to emboss onto paper. They are easy to use. Just an on/off switch and keep moving the gun over the area. This is an adult type task for the project for kids safety. Let me know if I answered your questions. 🙂
Yes it did. Thank you very much.