How to create this mammoth farmhouse shelf
There is crying in DIY. Sitting on the garage floor with salty tears streaming down my cheeks. Tears melting into my crown molding…there’s is crying in DIY!
I was attempting to cut crown molding for a wood valance for a client. The tears fell because it was not a regular 45° angle. The valance was for a bay window.
I had installed crown molding to every room in our home. Made several shelves and mantels with crown molding for clients. This one angle had me dumbfounded. After dillydallying with the angle, I worked through it by drawing my angles in chalk on the garage floor.
That visual worked.
How to create a Farmhouse Shelf
This post contains affiliate links. I will make a commission for your purchase at no extra cost to you. This helps me maintain the website. Thank you for your support. Think of it as a friend letting you know where I found a product I use, love or want. Click here to read my full disclosure policy.
Creating another bay window valence is not on my Rolodex of projects. But, I will share how to cut a 45-degree angle for molding.
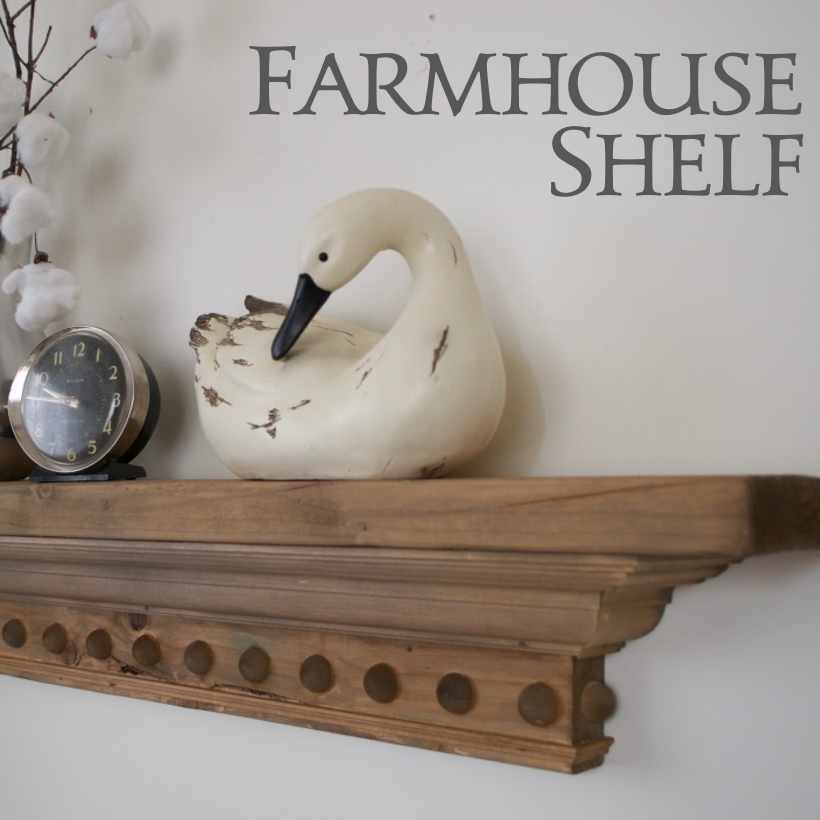
This project was born from an idea for using half wood circles.
A brief rundown on making the shelf
I’m making a mammoth farmhouse shelf for our home.
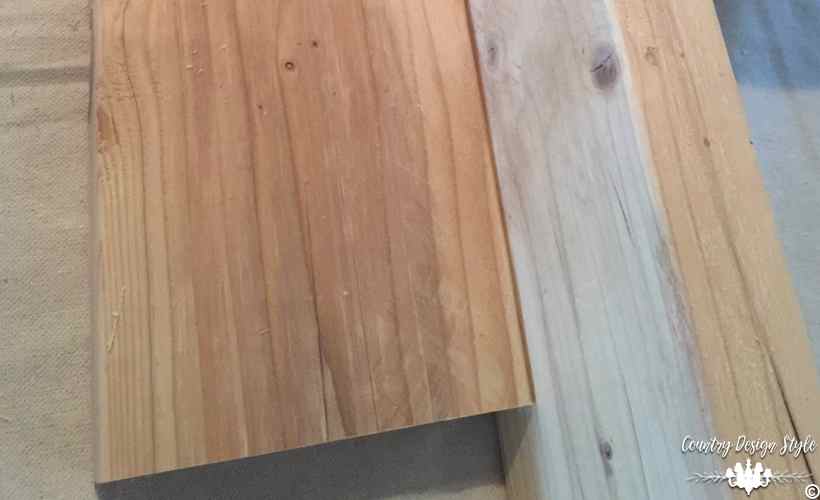
The shelf starts with two pieces of 2 by scrap wood from the construction site. I asked first if I could use the wood from the scrap pile. A plate of cookies sealed the deal.
I attached the wood using my Kreg Jig. The longer piece will be the top. The shorter will be the base.
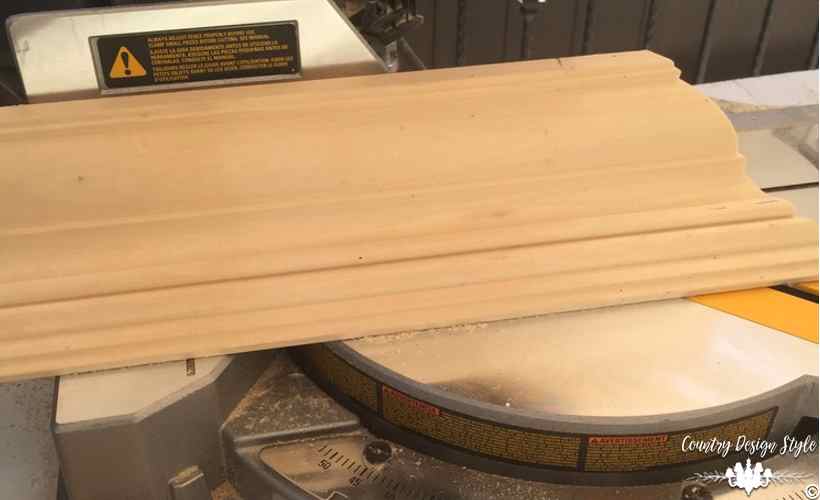
Crown molding is cut upside down. The crown molding sits flat on the miter saw and flat against the side. Cut at a 45-degree angle.
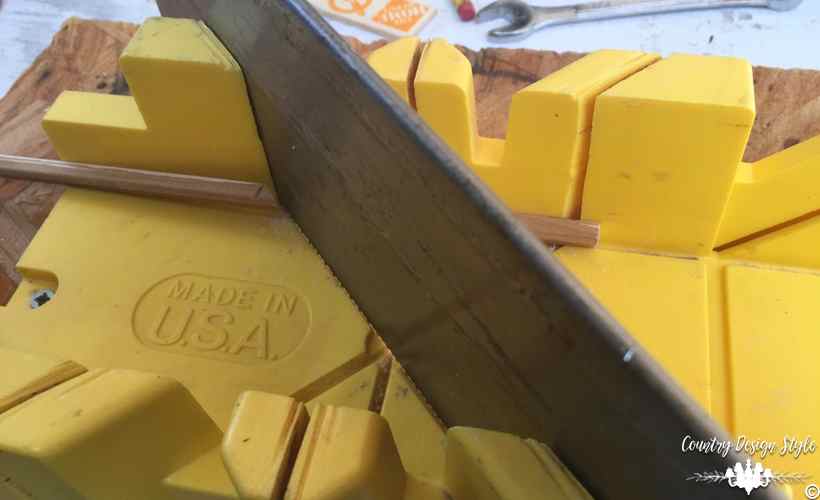
Do the same if cutting with a hand saw and miter box. Make sure the molding is upside down and the top and bottom sit flat against the bottom the side.
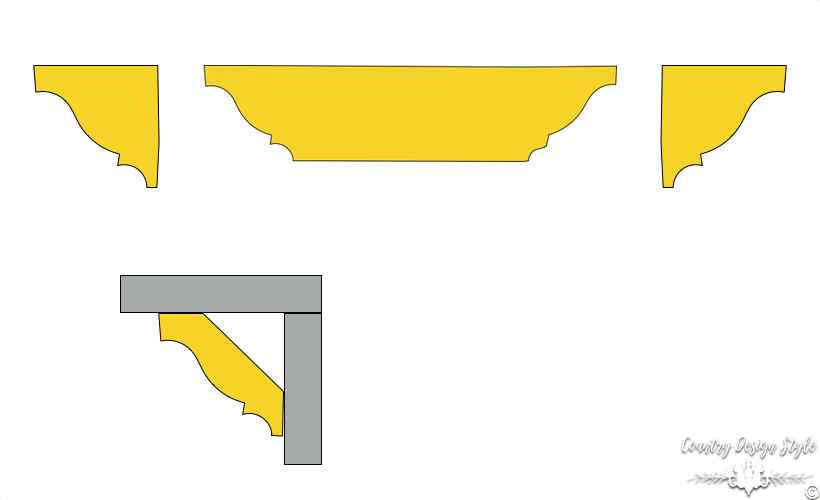
Above is my funky computer drawing of the three pieces of trim to cover the front of the shelf and the two sides. Plus, how the trim sits against the top and side of the shelf.
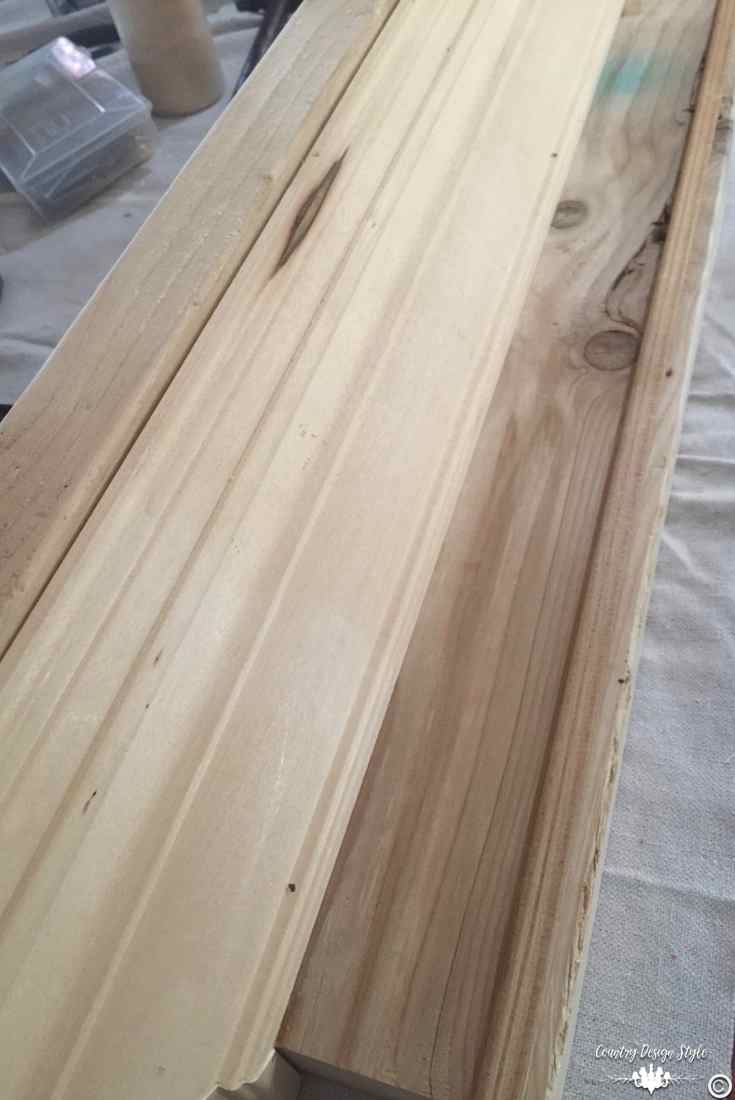
The moldings and trims were added using a quality wood glue and finishing nails.
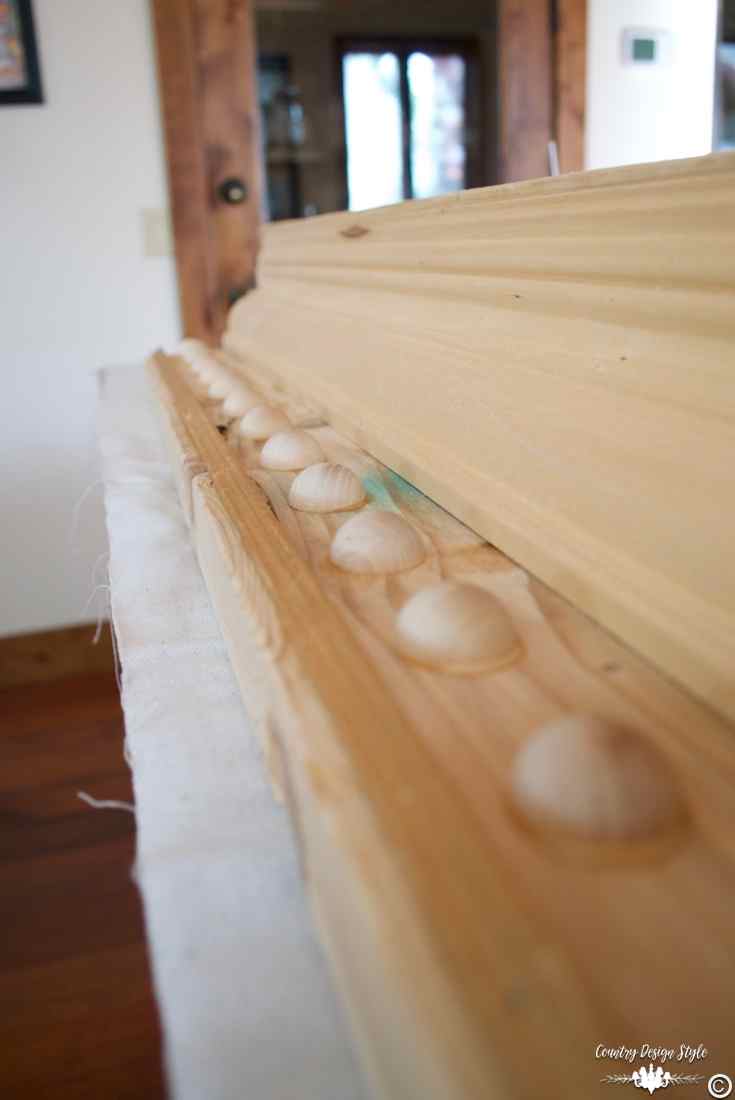
The half circles were added using only the wood glue. It’s good stuff. 🙂
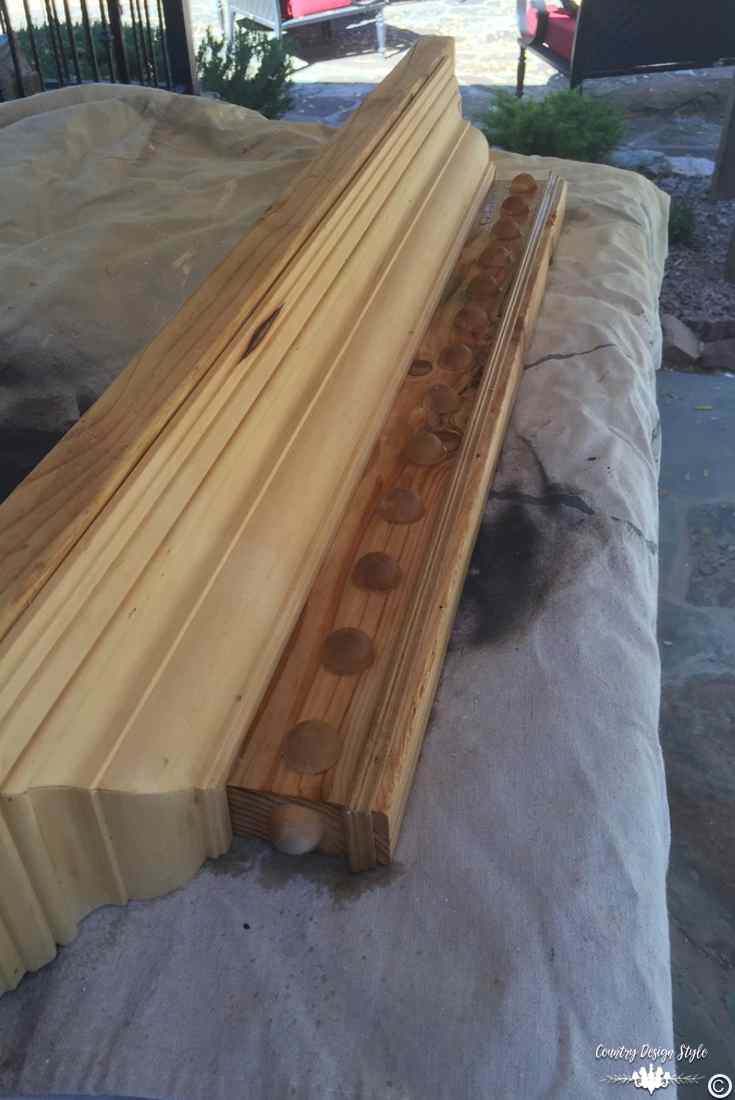
Wood shelf ready for painting….or aging!
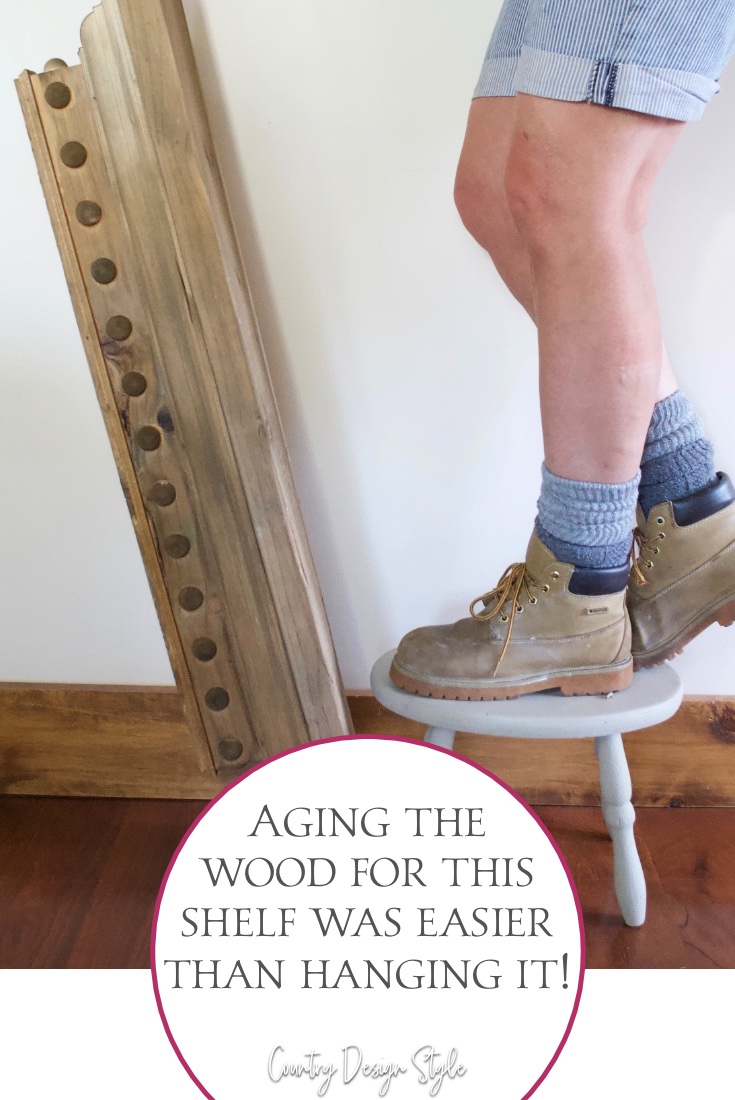
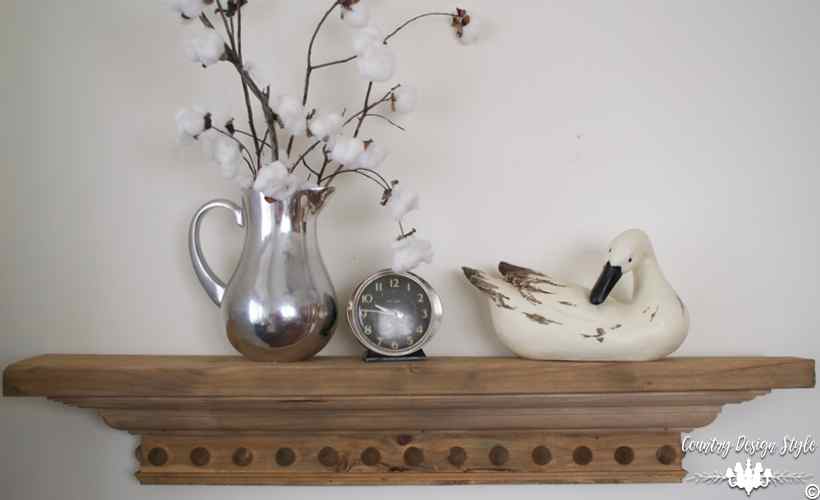
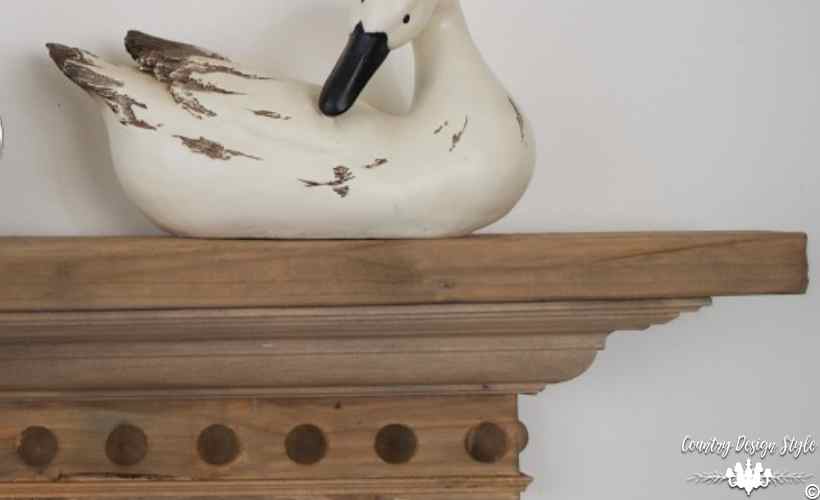
I love the hanging aged farmhouse shelf!
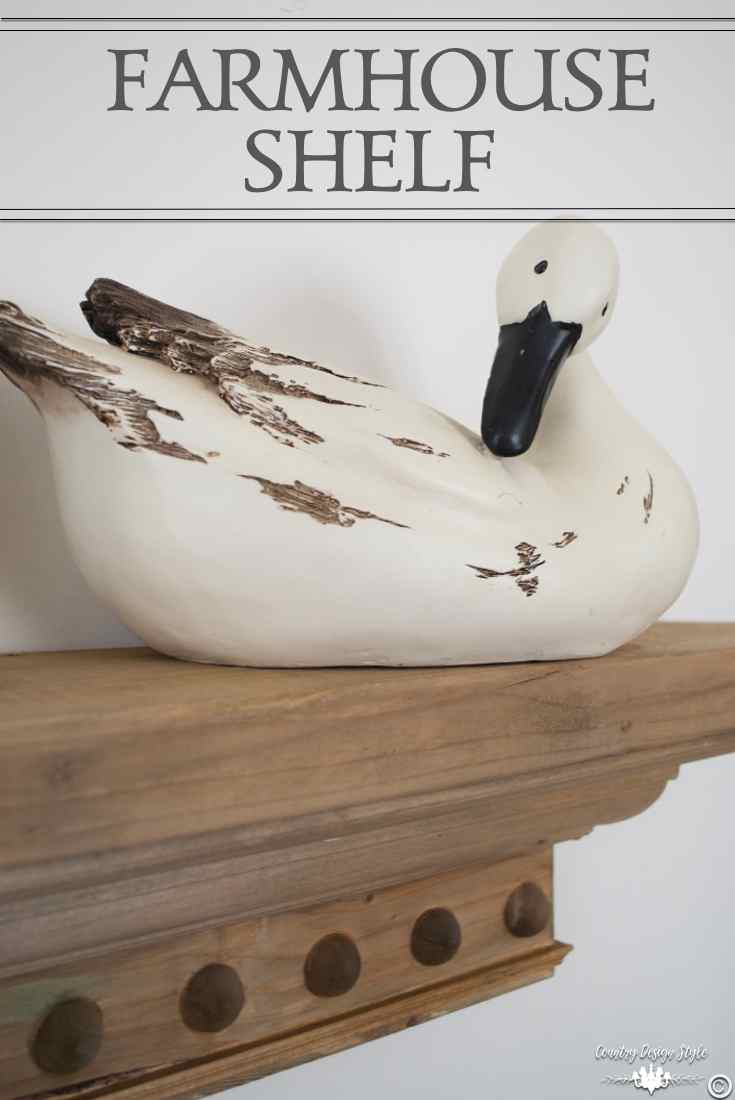
and not a tear stain in sight! 😀
Join the newsletter

Subscribe to get our DIY HelpLetter each Thursday. Plus grab your Interior Decorating Ideas e-book.

I ❤️ It! It is quite dramatic and that’s my style.
Thank you, Brenda! It was fun to finally make something with those half circles. 🙂