Advent Calendar
Advent Calendar
Shhhh!
This is a Christmas gift for my strapping great guy, Mike. So don’t let him know. 🙂
It is so hard to find a gift for Mike. Do you have that problem?
Now he’s retired so ties are out. Come to think of it I don’t think I ever bought Mike a tie.
Anyway, it’s too late now.
So, I make gifts for Mike.
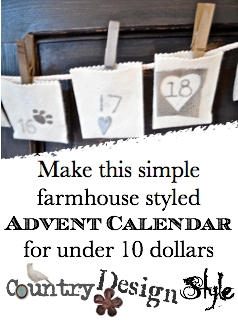 This was simple to make and under 10 dollars.
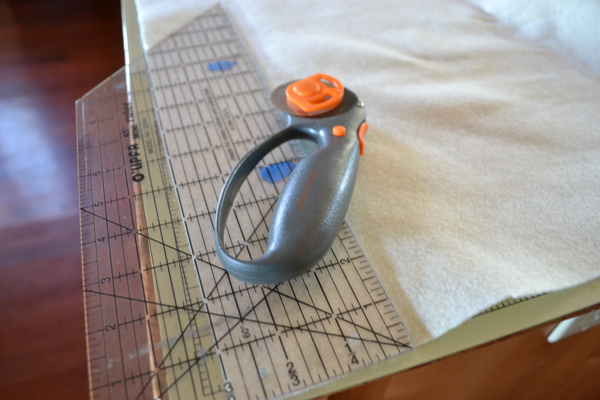 I bought 1/2 yard of cream felt for $3 at a local craft store. Then I cut 3 inch strips and then cut 25 pieces 8 inches long.
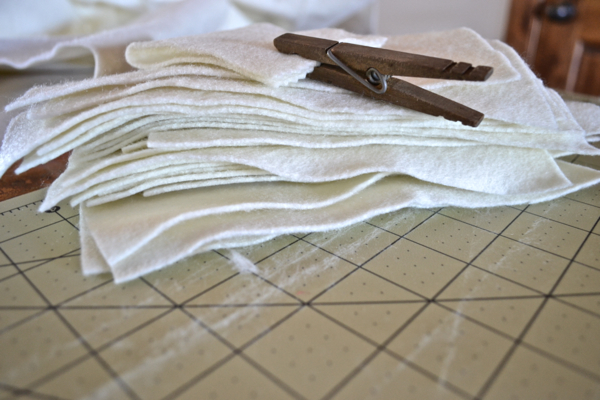 Next I folded them in half and using pinking scissors cut a zigzag edge across the top. I used white craft glue along the two sides. This formed a simple pocket almost 4 inches high and 3 inches wide with a decorative cut on the open end.
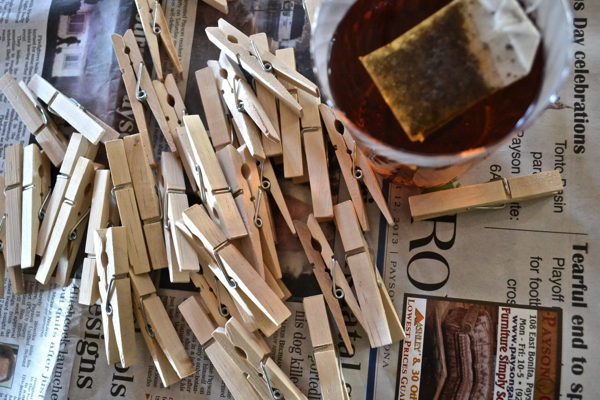 I bought wood clothespins for $2 at our local discount store. I made a cup of hot tea and added the wood clothespins to the tea for a few seconds. Then I laid them outside to dry.
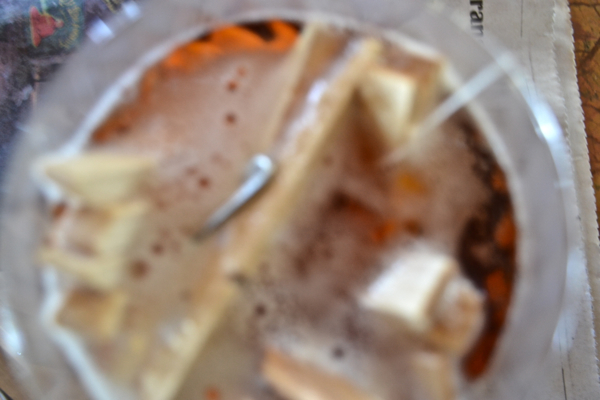 After the wood clothespins dried, I dropped them into vinegar that 24 hours earlier I had added torn steel wool to the vinegar. The steel wool breaks down and adds iron to the vinegar. I left the clothespins in the vinegar again just a few seconds. Let dry.
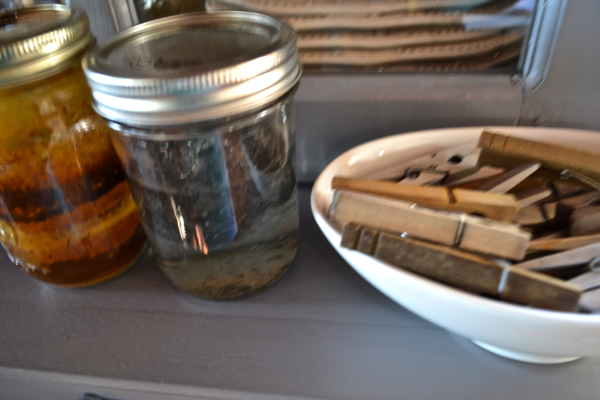 The clothespins will look aged.
Bit more on the vinegar and clothespins…
Okay…notice the two jars above. The gross one on the left is vinegar and steel wool about 9 months old, yech 🙁 The other is the one I made yesterday. Notice too, the clothespins are basically three different colors, dark brown, rusty reddish brown and gray. The gray was dipped in the new vinegar mix, the rusty brown in the yech vinegar and the dark brown was dipping in a mix of the two vinegars.
Enough with vinegar and clothespins!
Now I wanted to add numbers 1 through 25 to the felt pockets. Wanted an eclectic rustic look so I used a few different techniques.
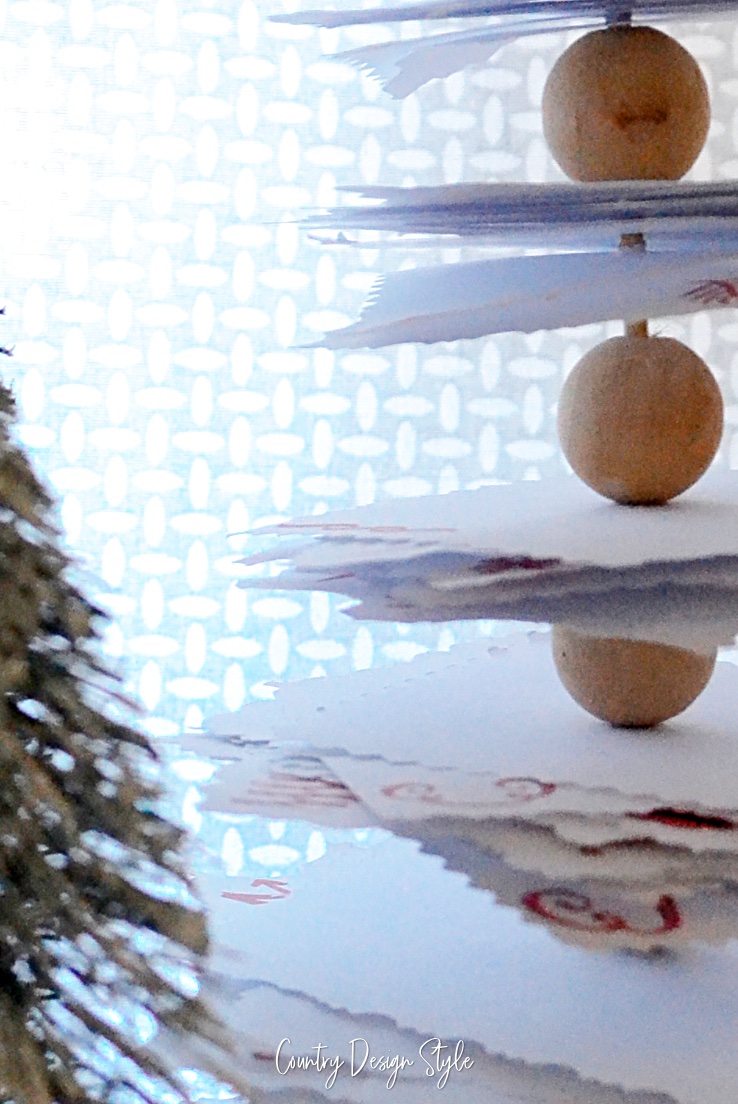
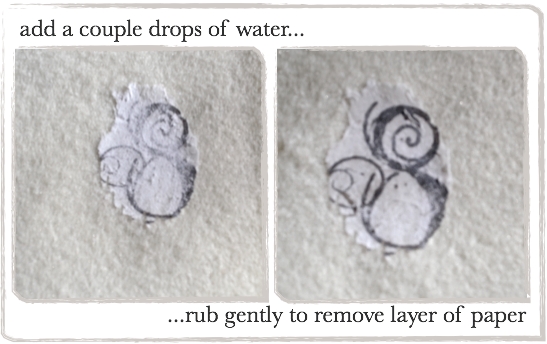 Above I printed out numbers in different fonts flipped so it printed mirror image. I cut out each number and using that white craft glue I glue it down. {I applied the glue only over the number} Let dry completely. Cut any extra paper from around the edge. Drop a bit of water on the paper and rub gently. The layers of paper will kind of roll up a little and reveal the print. Although I was not a spit ball kind of kid, this reminds me of spit balls. 🙂
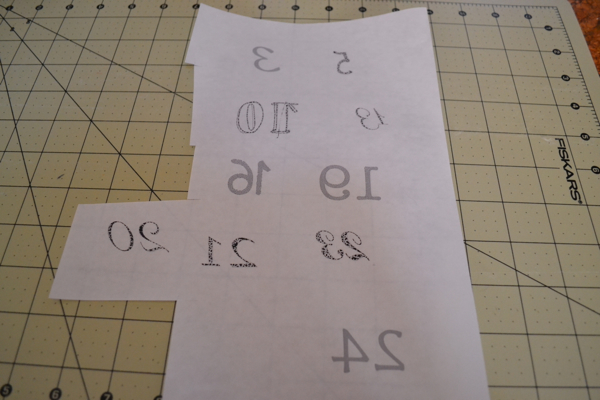 Another way to add number is my favorite. Freezer paper! It can be found in any grocery store and really is great to wrap food for the freezer. It is white paper on one side and a waxy slick paper on the other. Cut a piece of freezer paper to 8 1/2 by 11 and print again mirror image on the freezer paper.
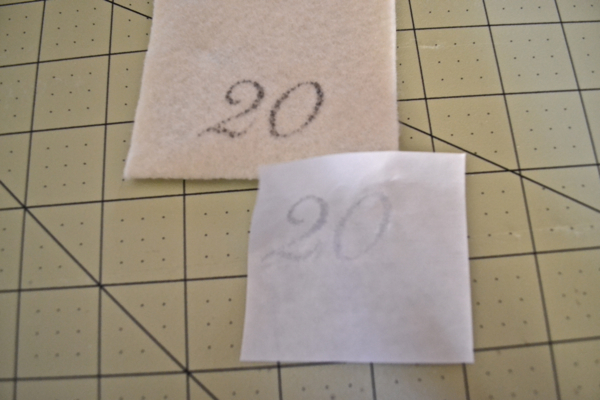 When the freezer paper spits out of the printer the ink will be damp and sit up on the wax, so be careful not to touch the ink. Place the paper ink side down in the location you want the image. Don’t move the paper because the ink will streak…unless you want that look.
I used the tip of a marker to rub the ink on the felt.
Love this technique of image transfer. Works on wood too!
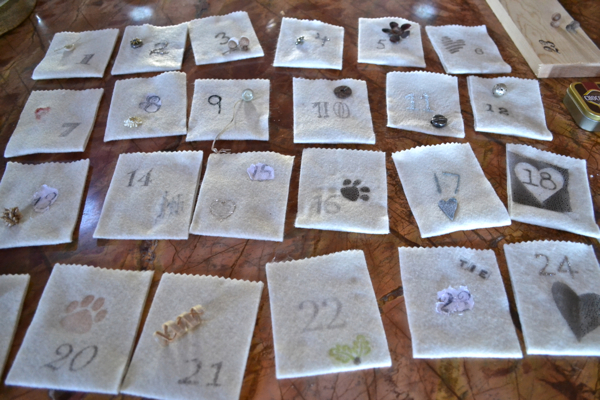 Some of the number were from rubber stamps, some were glue sticks with glitter and still yet some were painted.
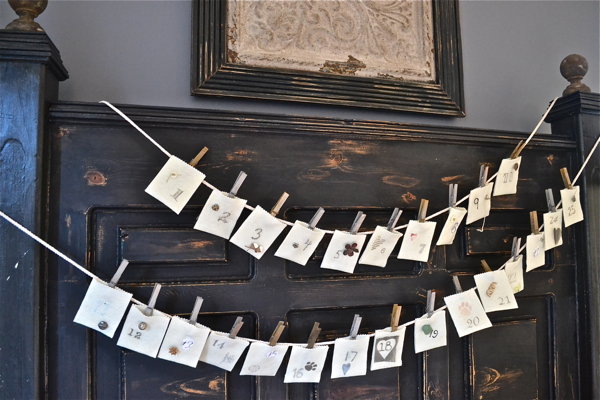
Then the fun part. I scrounged around for small bits and pieces of stuff. A small wood heart, and broken earring, images applied with rubber stamps, dried flowers, metal flowers. Really anything rustic looking. Some were glued on, some sewed on and even some wired on the pockets.
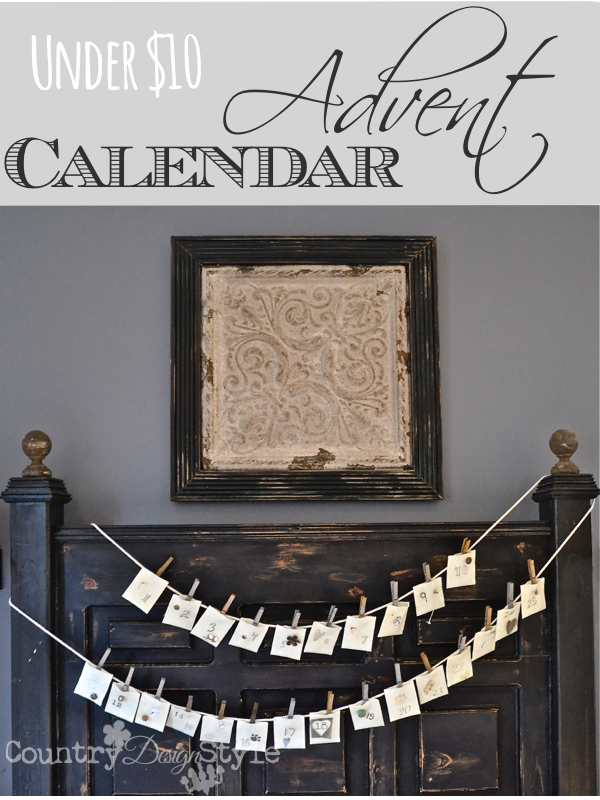
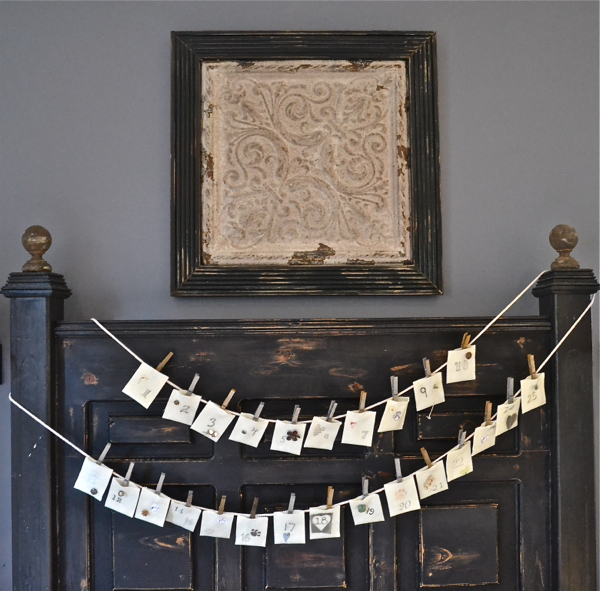 I strung up a bit of clothesline over our bedposts and clipped each pocket on with those rustic clothespins. I’ll hang this here starting December 1st. We have coffee in bed each morning.
{Mike’s not home during the “photo” session}
I’ll fill each pocket with his favorite candies, cookies, love notes, breakfast in bed, steak dinners or gift certificates.
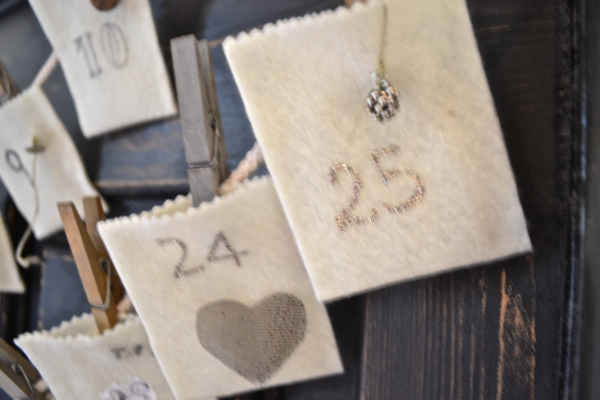 In the 24th and 25th will be special gifts…ahem!
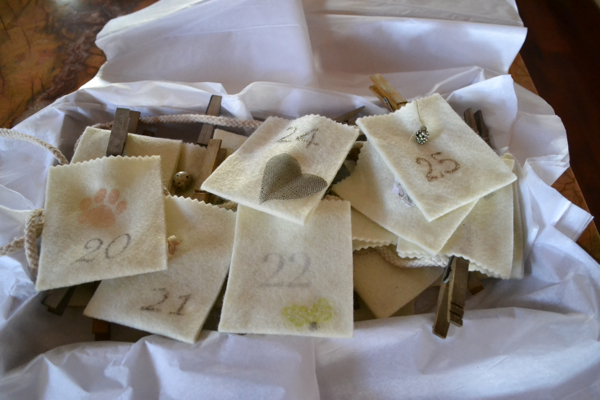 Not completely filled yet, but I found a box and tissue to wrap his first ever advent calendar.
I spent $5 for the items to make the advent calendar, I had the clothesline but it could be found for under $5 making this advent calendar $10.
This would be cute too with transfers of photos on the felt pockets! Any other ideas?
What do you get you guy for the holidays?
Join the newsletter

Subscribe to get our DIY HelpLetter each Thursday. Plus grab your Interior Decorating Ideas e-book.


Very cute and definitely farmhouse-y! 🙂
What a wonderful idea! Love the way it turned out!
Thank you Christina! It’s the 1st and I’m still working on getting it filled up…Eak! ~Jeanette