
Workshop Series 4 Righty Tighty Lefty Loosey
Workshop Series 4 Righty Tighty Lefty Loosey!
I have tore up my workshop from the floor up.
Now I’m in the process of fitting everything back in plus add some cute;)
During the last series Part 3 or Buzz, Buzz….light I “wired” the shed {actually just ran a long extension cord…but did it cute}!
Now that I have power I can take apart my two old large work tables {they have been stored in the garage} and reusing the wood, screws, and nails rebuild them with space planning in mind.
 I built three tables but gave one away when we moved.
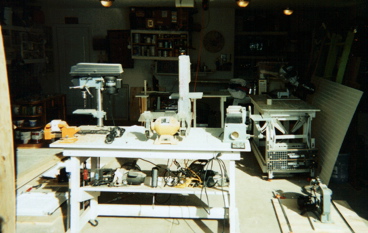
Above is a picture of the tables in my previous workshop in another house. Sorry for the lousy photo, this was way before blogging!
My plan with the two remaining tables is to rebuild one higher without a back.
The rebuilt table would fit over the other one. Both have locking wheels. The smaller table would have a shelf to hold as many tools as I can fit…think clowns in a Volkswagen.
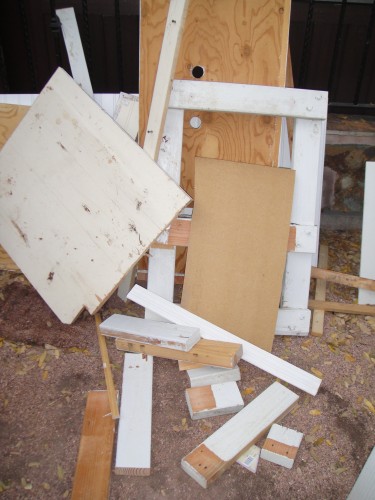 There’s a small part of the mess I made taking the tables apart.
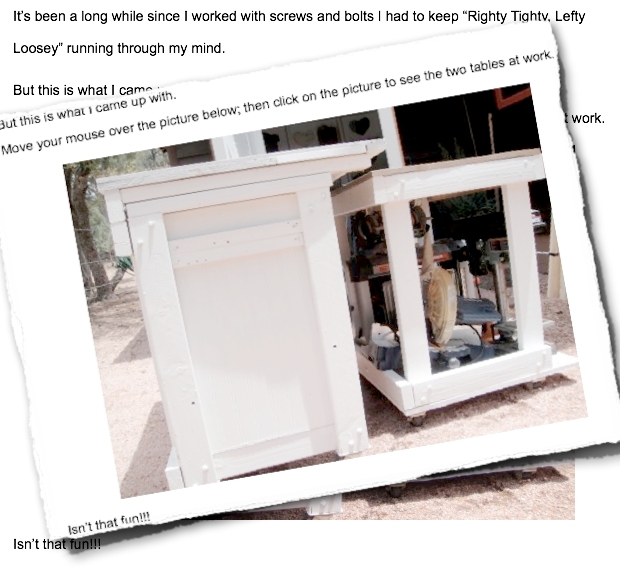 Well it would be fun if I could get the mouseover to work!
In case your not sure what a mouseover is, it’s where you can move your mouse over a photo and the photo changes. A click can be added too and you click on the photo and it changes once again.
So I’m tearing out the mouseover, heh heh!
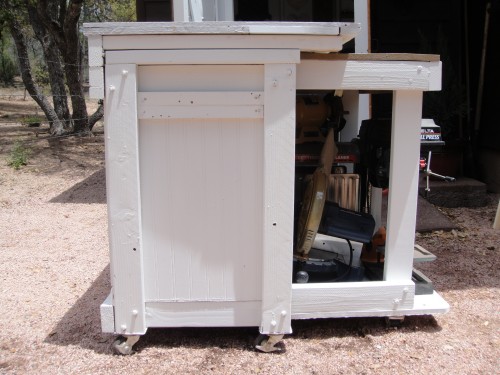
Below are the two tables in action in three separate photos.
 The table on the left is about 3 inches higher and 6 inches wider. It has no back. The table on the right holds my miter saw, planer, drill press, vise, and some small hand tools.
 This photo shows the larger table starting to move over the smaller table.
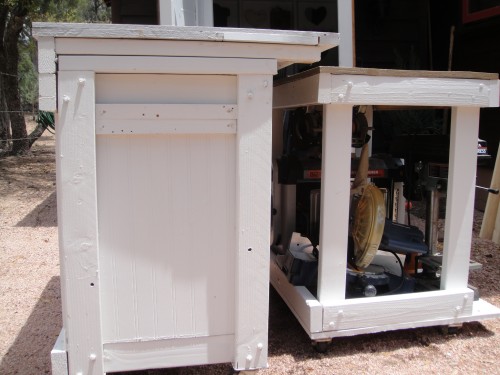
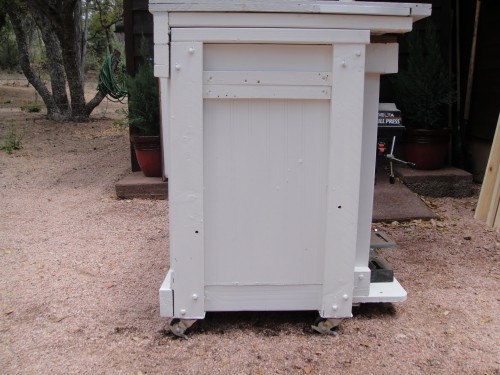 Now the smaller table is inside the larger table. This is how they will sit inside the workshop.
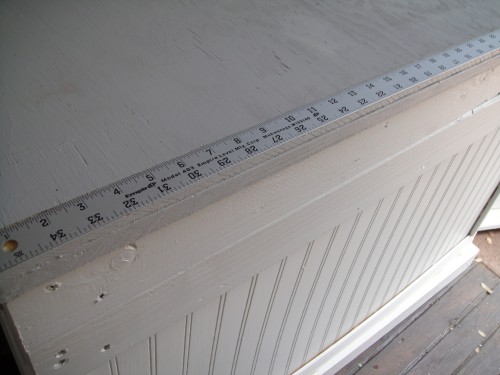
Using the router I created a place to inset a metal ruler on the larger work table. This shows the two tables inside the workshop {smaller table inside larger}
![]() $300 Budget so far…
$300 Budget so far…
Primer and Paint $60
PVC $22 {had paint and primer for the PVC}
That ugly orange outdoor electrical cord $17
Old jewelry box $6
Flexible metal electrical tubing one foot .80¢
Electrical cord and light kit for hanging funnel light $4
Ruler $3 {cause I did scrounge decorating and used the wood I had…even reused nails and screws}
Left in the cash drawer $187.20 Note: I have been rounding up.
![]()
Up next for the little workshop…have I mention lately my little workshop is 6′ x 8′?
Anyway…Workshop Series Part V or Storage ~ Ø plastic Ø tools in sight!


Thank you Christina! In the previous workshop the worktable fit over my desk!
I’m so jealous! What a great place to work and what a clever way to design the tables to fit together! Just love the post title – too funny