Burlap Pumpkin Made from Scraps
Don’t you love making happy things for your home from trash?
I’m not a shopper unless it thrift, yard sale, or junk shopping. I not a fan of craft shopping either. So it’s totally a great day when I can make something fun without running to the store.
Have you started decorating for autumn?
Do you say fall or autumn?
While working on a project for the Ushering in Autumn blog tour for Monday, I had a piece of burlap leftover.
The piece was about 9 inches wide and 20 inches long.
“What can I make with this small piece?”
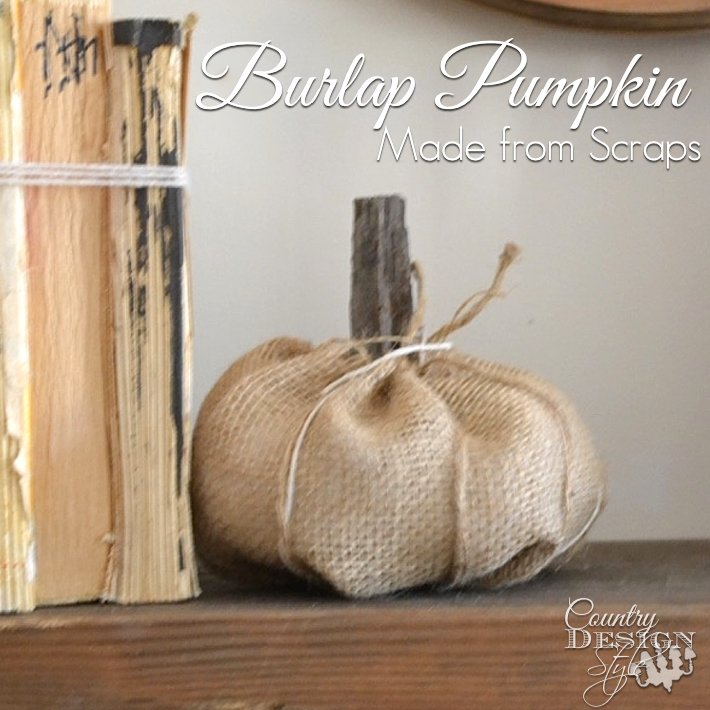
A sweet Burlap Pumpkin!
Here’s how I did it in about 15 minutes. That includes a walk with Bella to find a perfect stick stem and taking the above photo. 😕
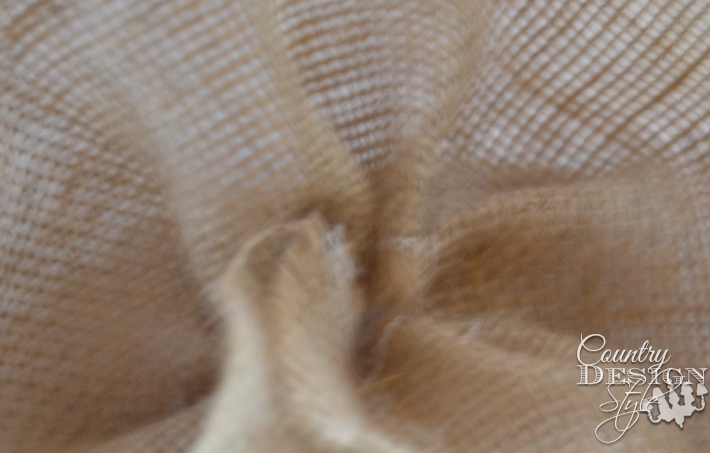
At the time I thought the photo would be okay…it’s a photo of the piece of burlap with one edge gathered.
This post contains affiliate links. Click here to read my full disclosure policy.
Don’t have a Prime membership? What are you waiting for?
Click to Start your Amazon Prime 30-Day Free Trial now!
Here’s the list of supplies:
- One piece of burlap at least 9 inches wide by 20 inches long. {I wouldn’t try to go much smaller}
- Needle and heavy duty thread {unless you can’t find heavy duty thread and don’t want to drive to the store…I used regular thread}
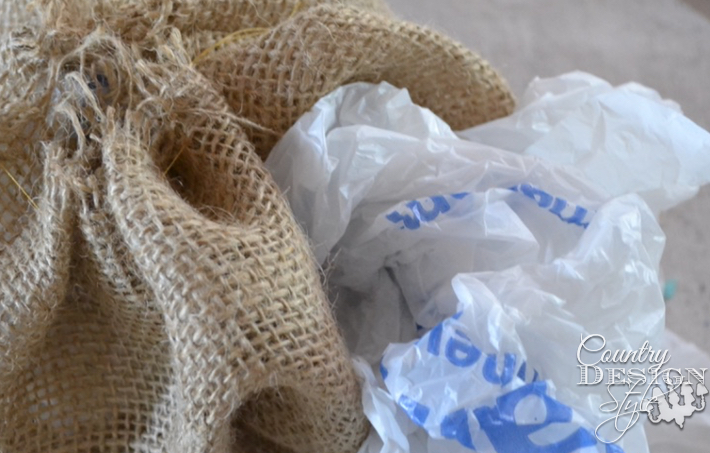
- Plastic grocery bags {for stuffing, unless you have pillow stuffing then use that}
- Pieces of twine and cotton twine 18 inches long {I used 8 different pieces}
- A perfect stick for a pumpkin stem. Tip: You can save the stem from real pumpkins to use next year for making faux pumpkins. {I saved some from last year but I like the stick idea better for this pumpkin}
So, above I had gathered one side along the 20-inch side using a running stitch. That’s the kind where you sew up then down, up then down by hand. I used large stitches about 3/4 of an inch long.
Then I did the same along the other side. I tied the thread in a knot to hold the gathers.
Now to stuff with plastic grocery bags. I used three but could have added another. I think one bag still have a receipt in it. 😕
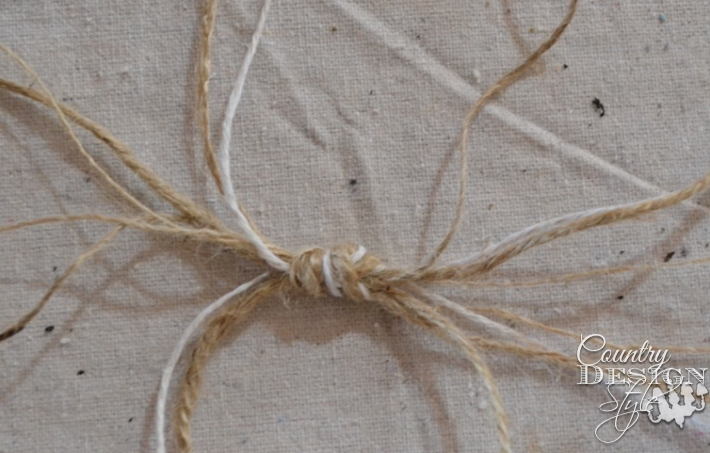
Next, gather the 8 pieces of twine and tie a knot in the middle. Lay on your work surface and spread out the strings by 2 like a big spider…yech!
This was the same idea used on the mason jars for a twine frog to hold cut flowers in our outdoor chandelier.
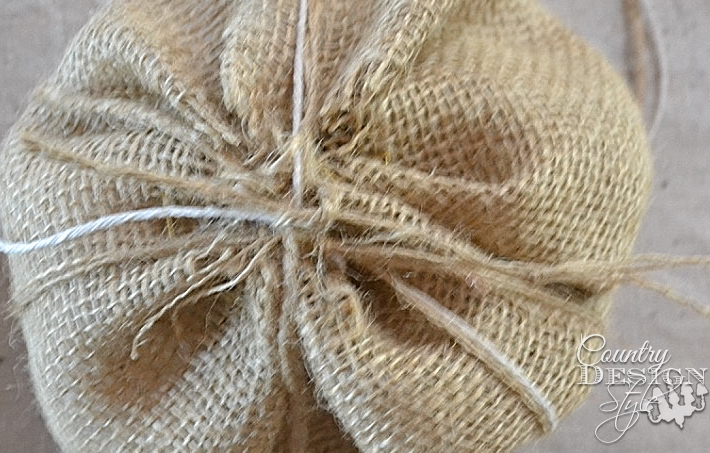
Sit the pumpkin centered on the twine spider and put up twine two by two and tied on top. Make sure to spread the twine around the pumpkin. Like the ribs on pumpkins.
Pumpkin Done

Next work between the knots on top to open the pumpkin enough to insert the stick. Then plop on the mantel and enjoy!

Don’t you love easy projects? This is so easy I could make a whole burlap pumpkin patch!
I’m craving pumpkin pie right now!! 😕