Workshop Series 7 Small Touches
This is the best part of the Workshop Series 7 Small Touches!
This is like adding the accessories in a room…and who doesn’t like to buy and arrange accessories??
You can read Part 6 Cement or can I have a pond? {if you need to catch up with the process}
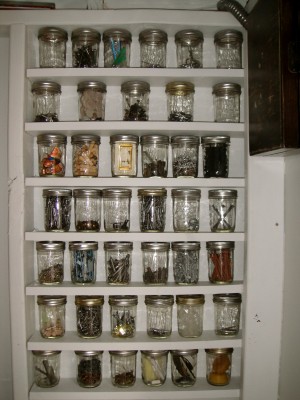
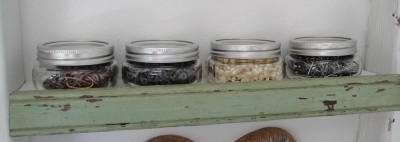
My favorite! Love these little canning jars and I used leftover 1 x 4 to build shelves between the 2 x 4 studs.
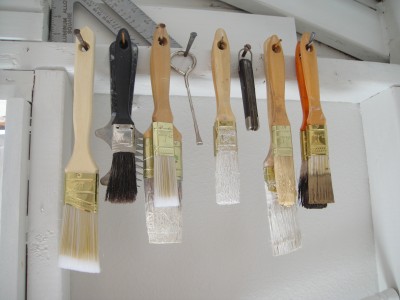
A simple idea for display that will grow…I call it the dead brush area. I still remember seeing a fantastic display in Anthropologie with hanging paintbrushes covered with dried red paint. This is my version with dried white paint. And bonus…no washing paintbrushes! Actually I do wash brushes!
Use leftover old molding to edge a shelf lined with more canning jars.
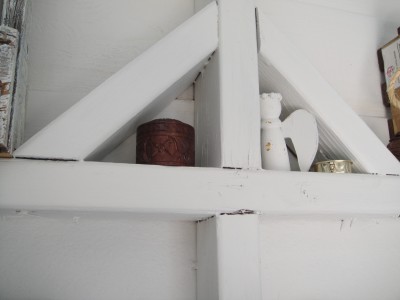
Tiny spindle angel to look over me. These are great for the holidays using larger spindles.
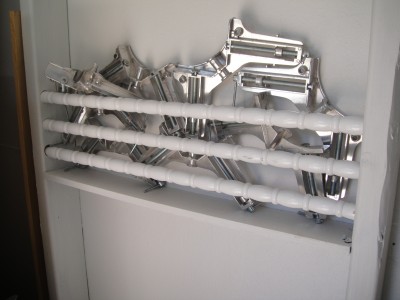
Frame clamps are great!!! They hold the 45 degree angles of frames while the glue dries. But they don’t store well. Pulling one out and another clamp would drop on the toe…Ouch! Now using spindles inserted between the 2 x 4 studs the frame clamps are secure. No more hurt toes.
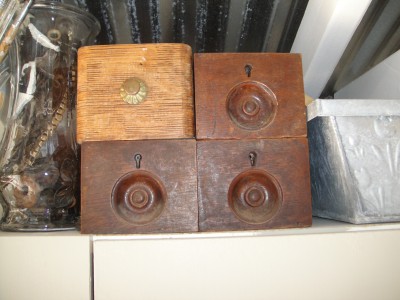
These sewing machine boxes came from our local antique shop. Leaving them stacked on top of the green cabinet they are easy to storage current project bits and pieces.
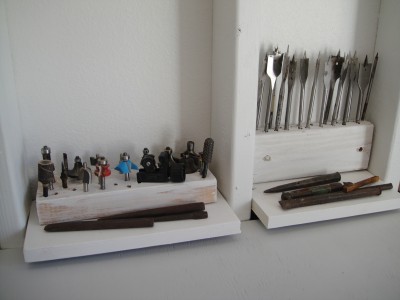
Scrap 2 x 4 used to hold drill bits and router pieces.
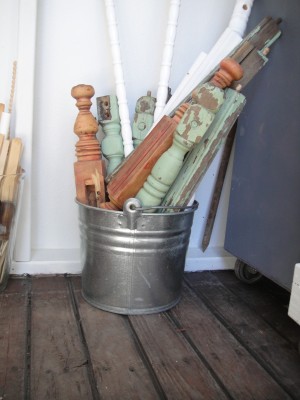
Just stuck leftover old molding in a bucket…ready for the next project.
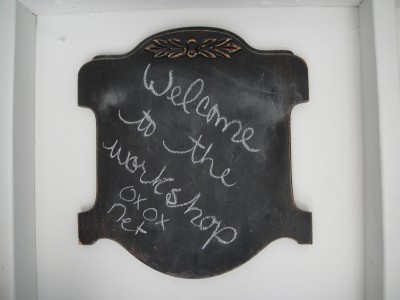
Old chair used as a blackboard. Tip for this project: paint the edges and any molding with flat regular black paint for easy sanding to bring out the details of the molding. Apply the blackboard paint in the center.
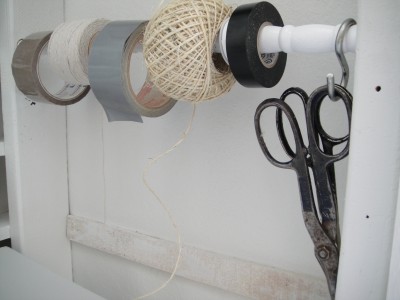
This is another favorite small touch. Inserted a spindle between the 2 x 4 with room to push to one side and add rolls of tapes and twine. An “S” hook holds old tin snips from my father. 🙂
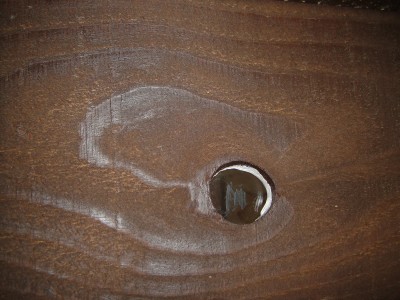
There was a knot hole on the front of the workshop just to the left of the door that wasps would enter through and build nests {or whatever they build}. I used a piece of glass about 1″ x 1 1/2 inches, painted our logo with glass paint and sealed the knot hole. A fun unexpected result of this was when the sun hits the knot hole “window” our logo reflection shows up on a piece of wood inside.
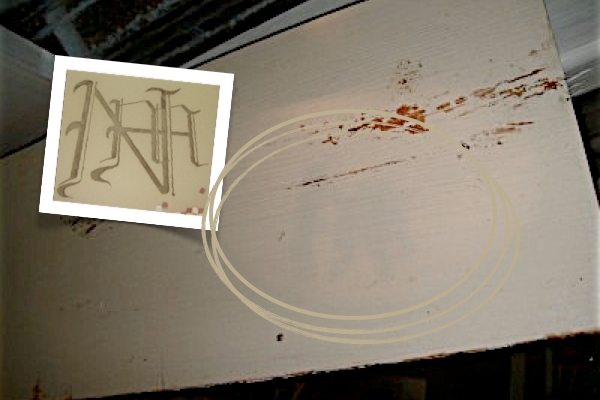 Hard to see in the photo…but, Cool!
The small touches make the workshop adorable and workable.
What do you think?
$300 Budget {it is only a 6 x 8 workshop}
Primer and Paint $60
PVC $22 {had paint and primer for the PVC}
That ugly orange outdoor electrical cord $17
Old jewelry box $6
Flexible metal electrical tubing one foot .80¢
Electrical cord and light kit for hanging funnel light $4
Ruler $3 {cause I did scrounge decorating and used the wood I had…even reused nails and screws}
Canning Jars $30
Spice Rack with wooden drawers found at antique store $30
12 Bags of 80 bl Cement $40
Cement Color $26
That great edging tool $9
Cement Gloves $5
2 Expansion Strips for between shed and cement ramp and square planters $6
Sewing Machine Boxes ~ one was $10 the other three totaled $17
Left in the piggy bank $ 14.20 Note: I have been rounding up {cept for the .80¢ flexible metal electrical tubing cause it’s so cute and under a dollar.}
Next…and last of the Workshop Series 8 the Ribbon Cutting
Join the newsletter

Subscribe to get our DIY HelpLetter each Thursday. Plus grab your Interior Decorating Ideas e-book.

You always have the best ideas! Love these small touches. pinning
Thank you for the pin Mary Beth! 🙂