
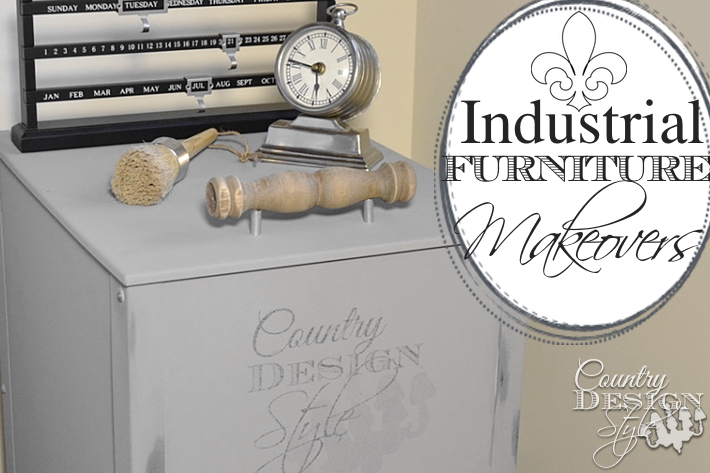
Milk Paint Tips for beginners from a beginner
Milk paint tips inside from a newbie milk painter…sorta!

Milk paint tips from a beginner that used milk paint in the early 2000’s! So long ago that my milk paint in the paint cabinet isn’t made any longer! Not only that…my milk paint is a charming collector’s item selling on Ebay!
And yes, I did use it…read on to see the results.
Results from the past and present.
Milk Paint Tips
This post contains affiliate links. I will make a commission for your purchase at no extra cost to you. This helps me maintain the website. Thank you for your support. Think of it as a friend letting you know where I found a product I use, love or want. Click here to read my full disclosure policy.
My personal disclaimer: I’m not an expert in milk paint by any means. For full tutorials and expert milk paint tips and advice, please pop over to Miss Mustard Seed the complete expert in anything milk paint.
I did use Miss Mustard Seed milk paint for my projects and testing below.
What is milk paint?
Milk paint is the first paint. It contained milk protein, lime, and pigment. Today’s milk paint still contains milk protein, pharmaceutical grade lime, and pigments.
Milk paint arrives in powder form. You then mix the powder with water.
What is the difference between milk and chalk-based paint?
The difference between milk and chalk paint is that you need to mix milk paint. To adhere to a non-porous surface or previously painted wood, milk paint needs a bonding additive.
How do you mix the milk powder?
All the milk paint I found including my old Tulip brand says to mix half water and half paint. Decide how much paint you need for your project. I suggest adding less than halfway mark of water to your container. Then stir and sprinkle the milk powder into the water. Add more water if necessary. I found Miss Mustard Seed to be watery at half and half.
- Decide how much paint you need for your project. Mix the amount needed for your project. Extra paint will only last a day to two weeks depending on the brand if kept in the fridge. I do remember having mixed Tulip paint in the fridge.
- When planning your measurements, keep extra paint powder in case the paint is too watery.
- Paint batches may differ in color, so mix enough to finish your project.
- I suggest adding less than halfway mark of water to your container. Then stir and sprinkle the milk powder into the water. Add more water if necessary. Stir. Then let the paint sit for 4 to 5 minutes for the elements to dissolve. Stir. A whisk helps, but stir easily. Too fast and the paint may get bubbles. I found Miss Mustard Seed to be watery at half and half.
- You will need to stir again during painting…occasionally.
When mixed well, milk paint is easy to apply. You can read more of my brush painting tips here.
Milk stain mixing
The powder can be thinned with water to make a stain. This will let wood grains show through the color.

I mixed 3 parts water with 1 part milk paint powder for stain. The Schloss color makes a perfect bleached wood stained.
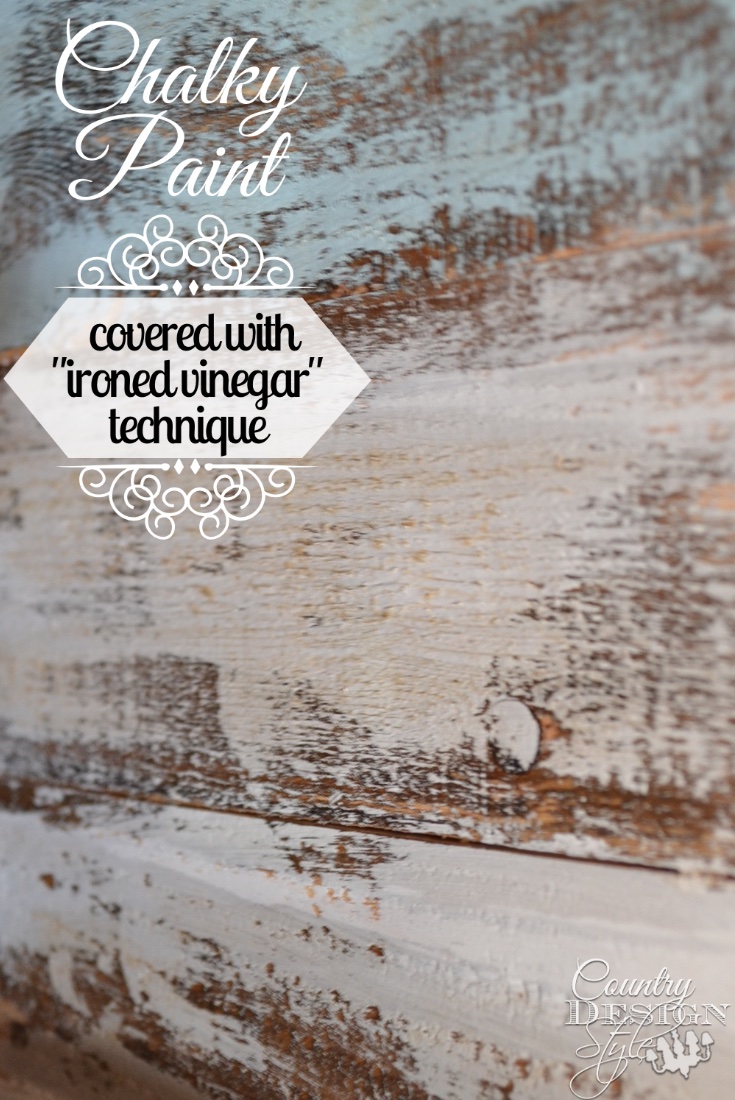
How do you create the crackle and chippy paint finishes
What is the difference between crackle and chippy paint?
Crackle has cracks in the final finish. The last layer of paint adheres to a crackle medium and dries faster than the paint underneath. This causes cracks in the paint revealing the paint color underneath. The cracked paint is bonded to the surface and cannot flake off. Crackle mediums are available on Amazon or my favorite is glue. Chippy paint is paint that cracks due to not bonding to the surface as it dries. The paint is raised from the surface and can flake off.
Crackle Finish using milk paint

Creating the crackle finish using milk paint is different. You can achieve the crackle look using a hot blow dryer. When you apply the final coat of paint, immediately dry the paint using the blow dryer.
Chippy Paint finish using milk paint

Apply the paint you wish to see under the chippy paint. Let the paint dry. Then apply beeswax in areas you want the chippy look. Mix the top paint without the bonding agent. Apply the top paint being careful to not brush or move the paint too much when covering over the beeswax. As the top paint dries it will crack. To keep the cracking on the surface I used a water based poly spray. Otherwise, the paint would fall off. If did fall off and onto my kitchen floor the first time.

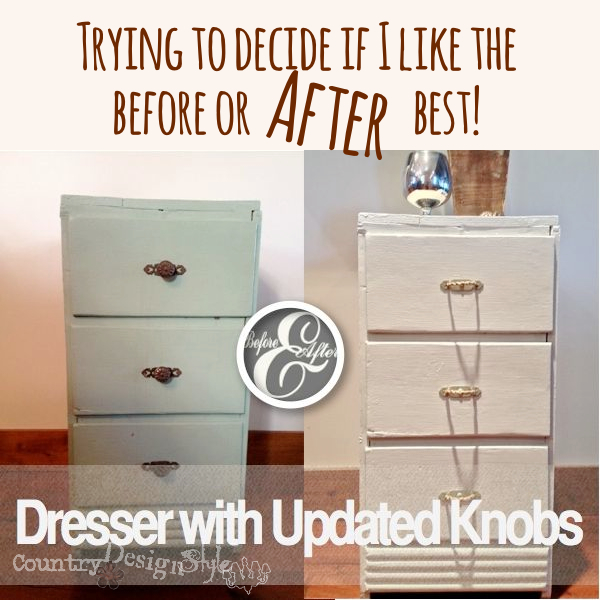
Above are projects painted using milk paint. There are areas of crackle and chippy paint.
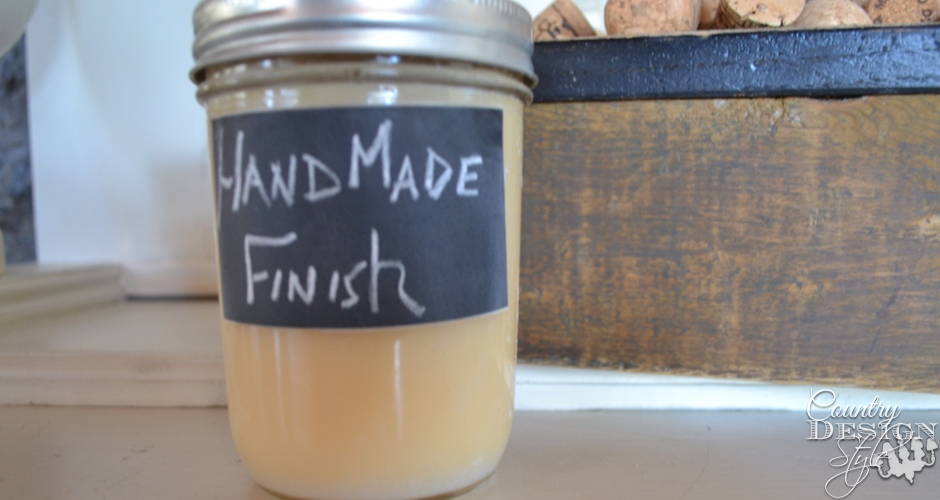
How do you make homemade milk paint?
Let’s just say it involves curdling milk and separating curds and whey. I’m leaving that to Miss Muffet. You can read the steps here on Bob Villa. Let me know if you attempt it.

My Final Thoughts

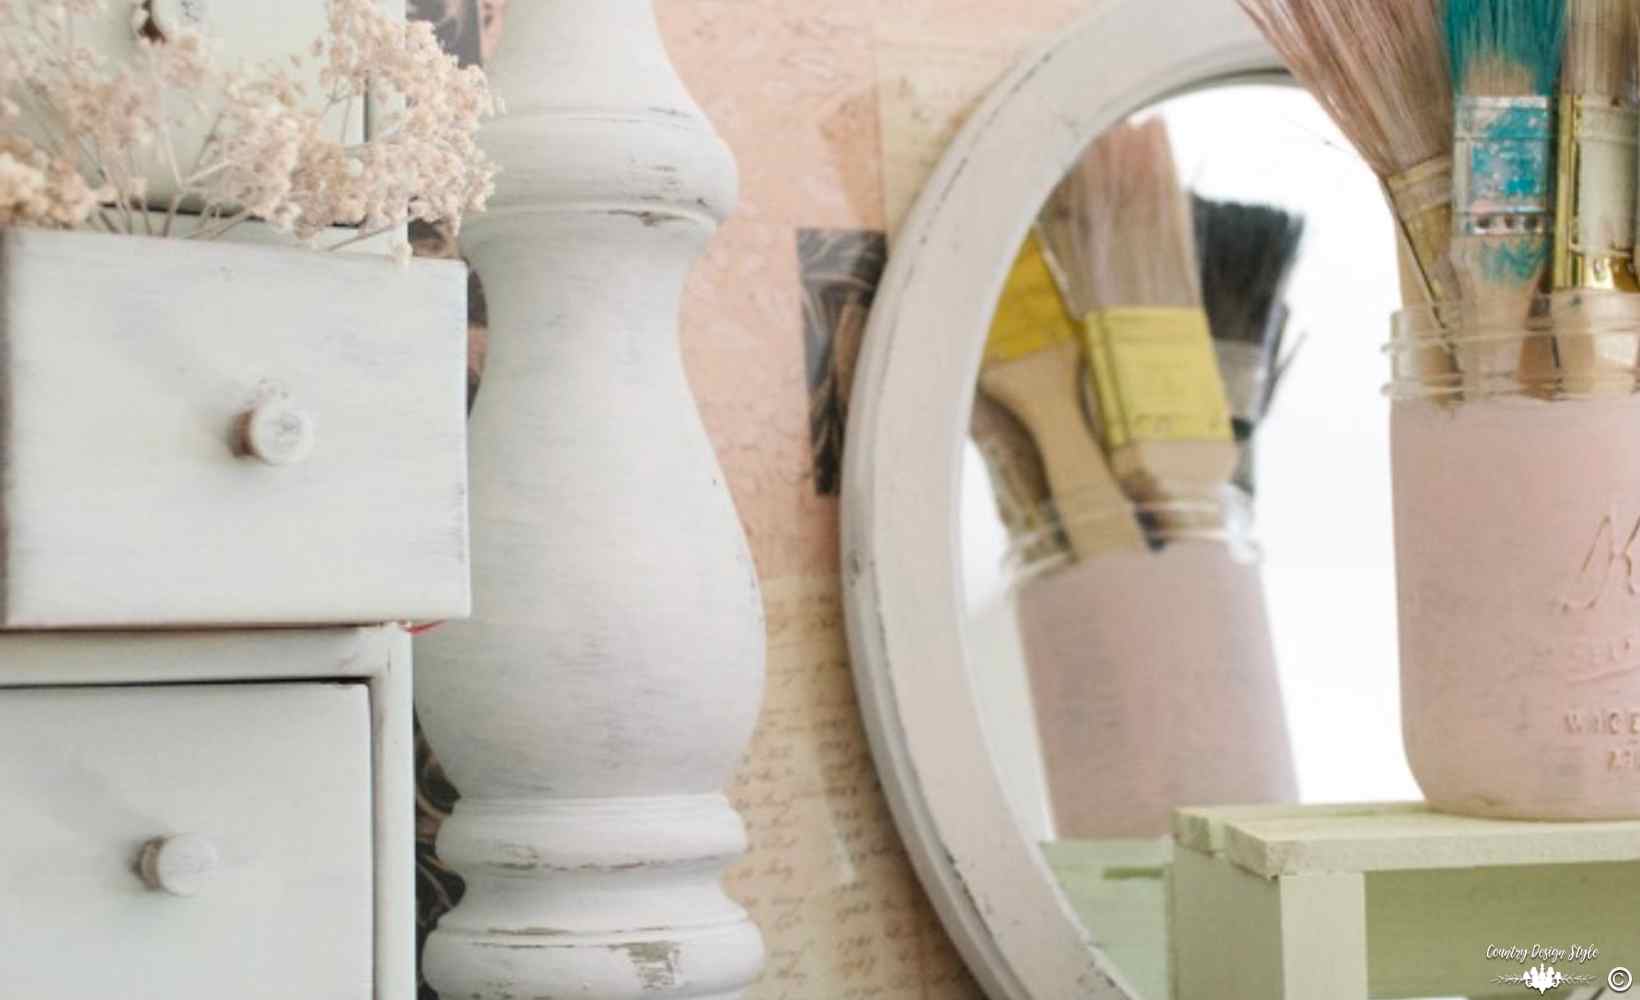
Milk paint in powder form will last for years! I would have bought this Tulip paint in a craft store in San Luis Obispo around 2001. I used it on the spindle above. It worked great!!!
Milk paint is not an easy paint to mix. Testing on a similar piece first is a great idea before tackling a treasured piece. If you have never painted a piece of furniture before, start with another type of paint.
My thoughts on the colors of milk paint. They are stunning. Soft with a bit of chalky, dusty, sun-aged look. Paint can be mixed to match those colors. There are even apps for that.
Milk paint is fun and creative. My mind is full of ideas for future paint ideas.
There is a charm in mixing your own paint, but on a daily basis, I don’t need that much charm.
I’m sharing my thoughts on using MudPaint next here.
Join the newsletter

Subscribe to get our DIY HelpLetter each Thursday. Plus grab your Interior Decorating Ideas e-book.
Cornelia, I may have found one that I will be sharing more details next Monday! It’s thicker and I like a thick paint. Even when painting walls, I want a thick paint. Glad a cleared up your questions. I’m always available to answer questions. Thank for the compliment on the blog. I have fun working with it. 😀
I’ve tried this powder milk paint you mix yourself and other brands that come ready to use. I love Miss Mustard seeds but wow what a process and a mess! Really haven’t found a brand that I find easy to use and that I enjoy using.
Thank you for your post cleared up some questions I had. I love your blog too 😀