Mantel Trim
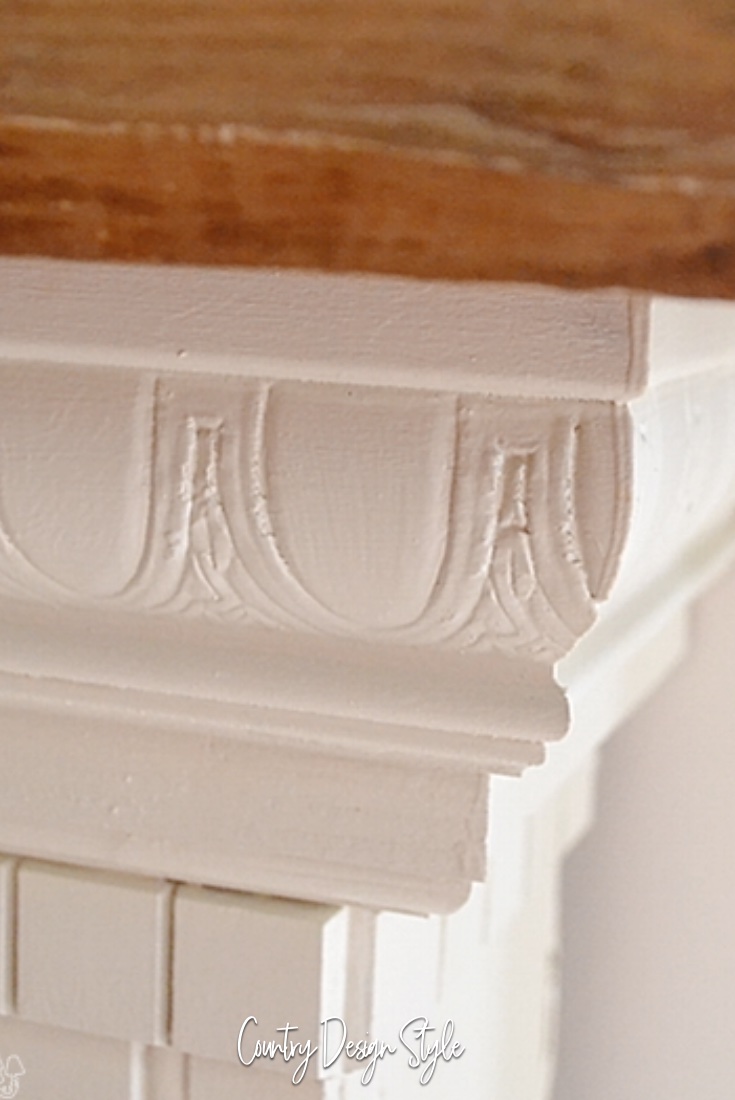
Mantel trim is the last part of three series on building a faux mantel.
It’s time to add trim and molding. Trim and molding are personal.
You may want to consider the trim and molding in the room. Does it need to match or not??
Will you be painting the mantel or staining or even “aging” the wood?
That’s my next mantel!
This post contains affiliate links. I may make a commission for your purchase at no extra cost to you. Think of it as a friend letting you know where I found a product I use, love or want. Click here to read my full disclosure policy.
If you plan on painting the mantel your trim and molding options are much larger. Trim made with MDF {medium density fiberboard} is inexpensive. Wood that’s joined together to make longer trims is much cheaper than trim made from one piece of wood.
The amount of trim is a personal decision too. A rustic faux mantel would be awesome without any trim. Left plain and simple.
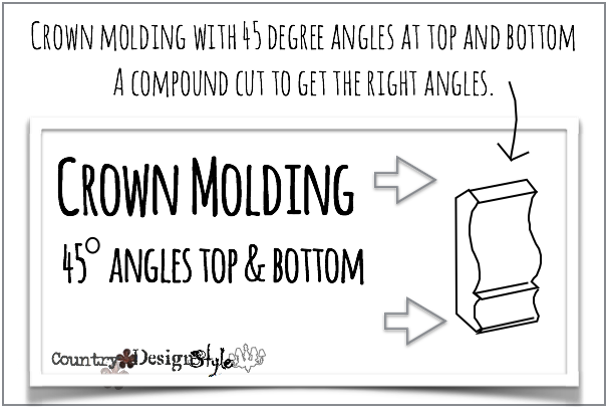
Crown Molding
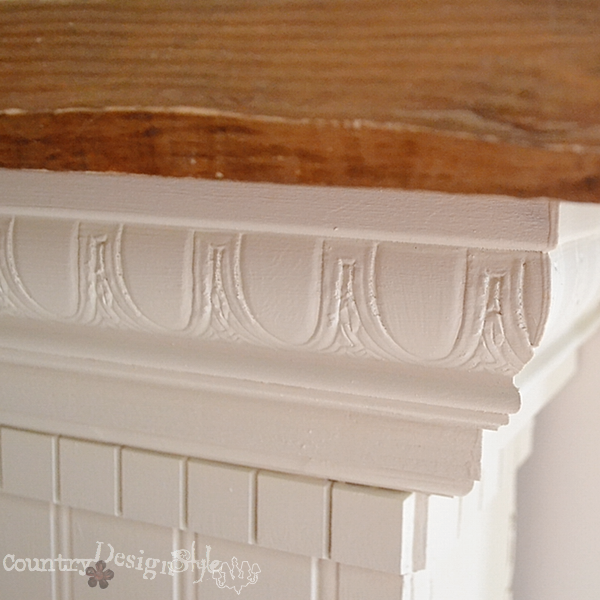
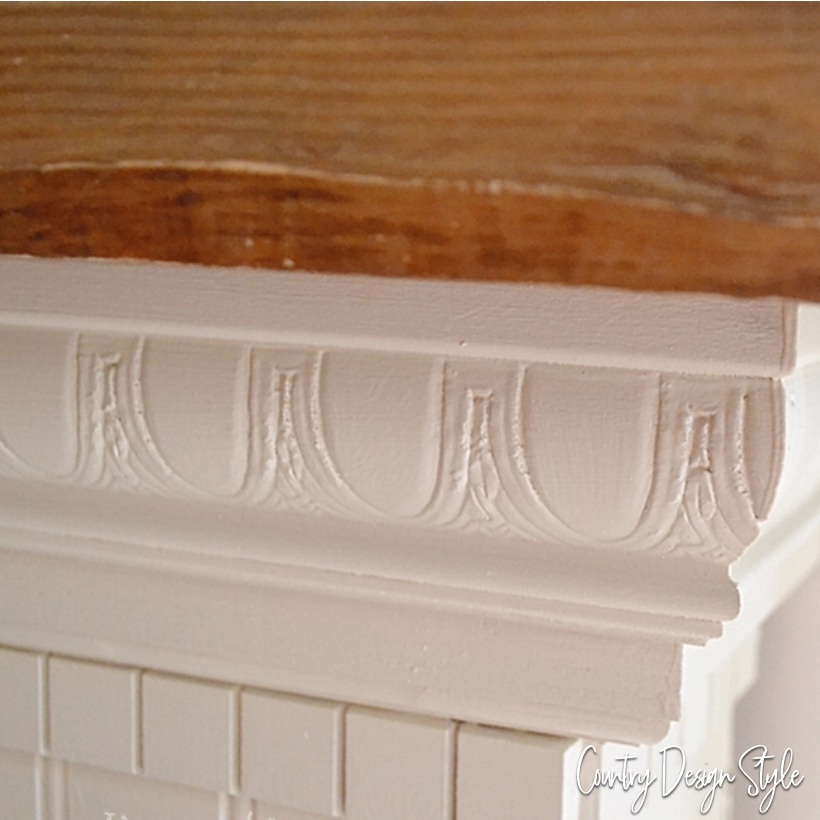
If you do want to add trim the first to add would be crown molding and base trim. Crown molding “usually” has a 45-degree angle at the top and bottom.
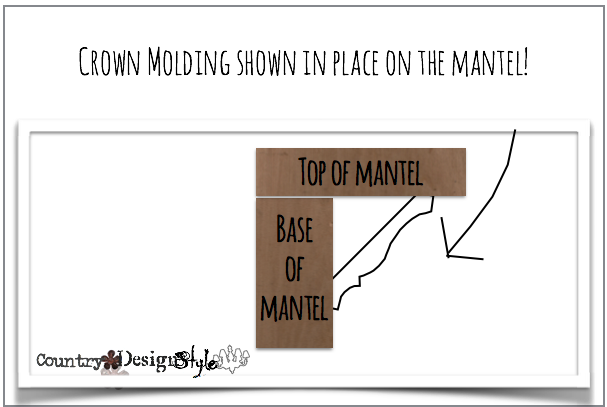
Above shows the crown molding in place at the angle between the top and base of the mantel. To cut this type of molding I like the technique of cutting it upside down. Simple place the molding on the miter box or saw at the same angle shown above and cut 45 degrees. If you’re trying this for the first time…
buy extra lengths on the trim!
This is one of those practice makes perfect kind of things! 🙂
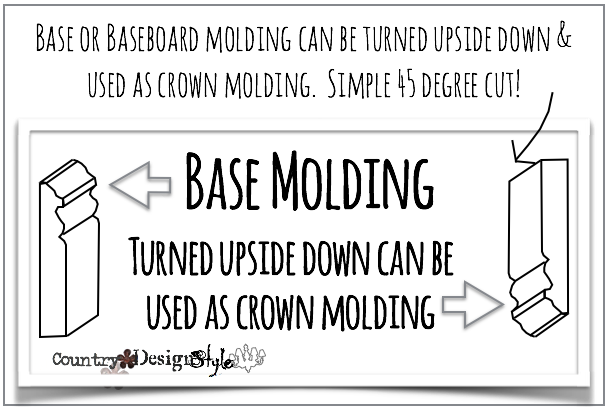
A base molding as crown molding
Base molding is a simple 45-degree cut. You can use base molding as crown molding.
I suggest spending some time in your favorite home improvement store’s trim and molding section. The selections are incredible and combinations are unlimited.
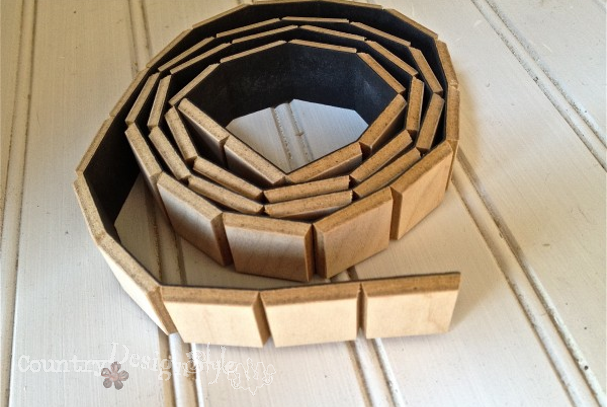
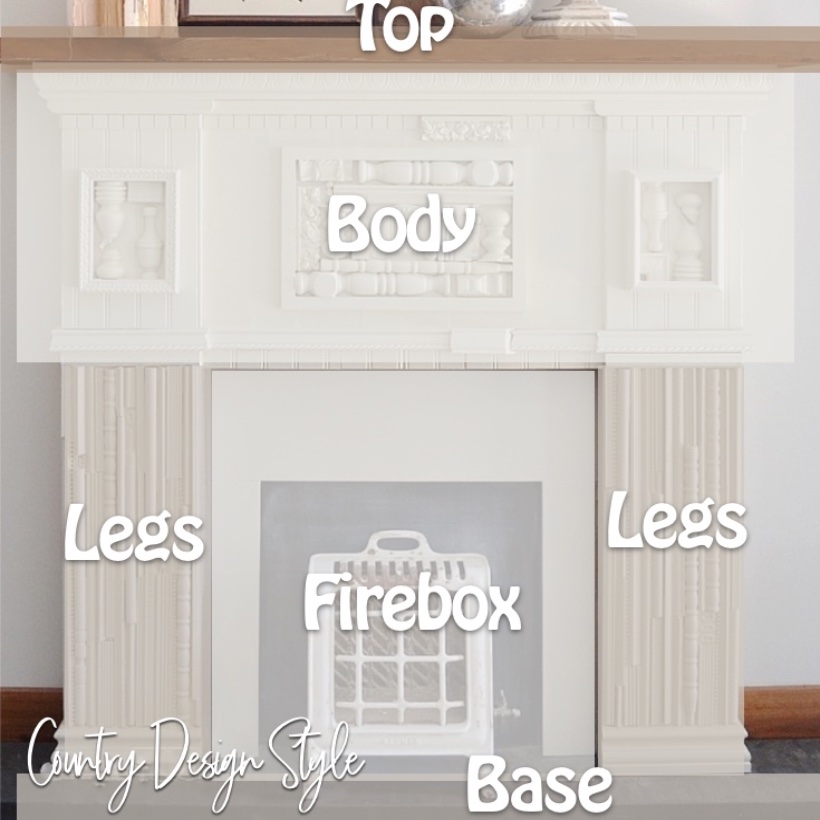
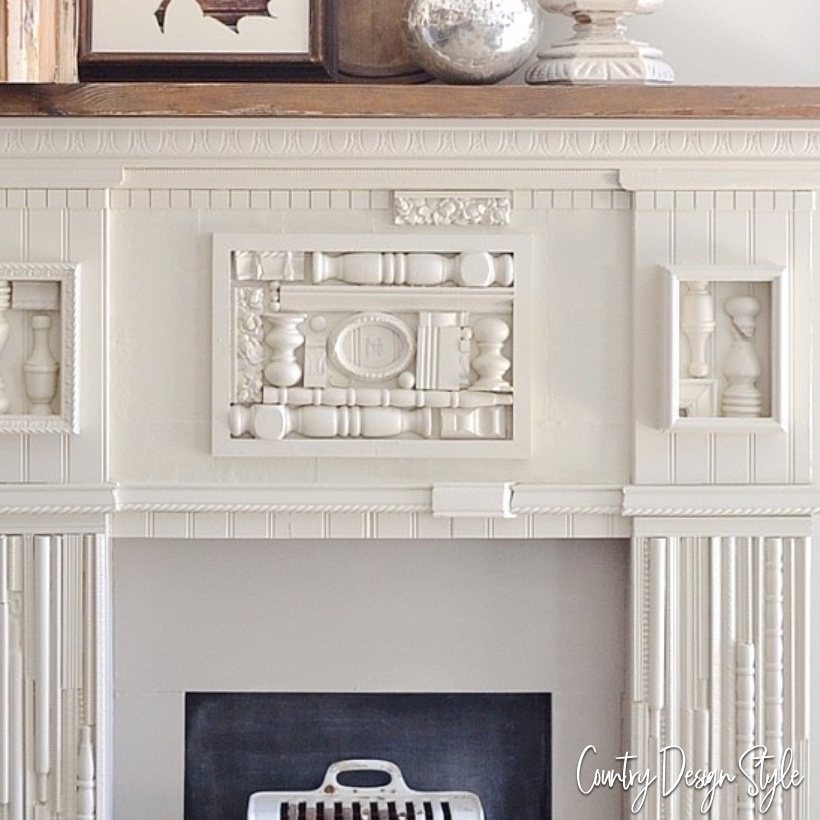
You can see on my faux mantel for our master bedroom, I used rolled dental trim {I buy it online} and added beadboard to the top of the legs.
There are many stunning styles of flexible molding trims.
Of course, I glued and nailed anything I could find to this mantel!
If you’re good with a router, add detail to the wood.
Painted mantels are also easier because a bit of wood filler works wonders! 🙂

Comment and add a photo of any faux mantel you’ve made or love!
Join the newsletter

Subscribe to get our DIY HelpLetter each Thursday. Plus grab your Interior Decorating Ideas e-book.

