
How to make cubbies in an afternoon
Do you have a project that needs doing but you can seem to get it started? Building cubbies seem hard. Now I can say it was fun. I’ll show you how.

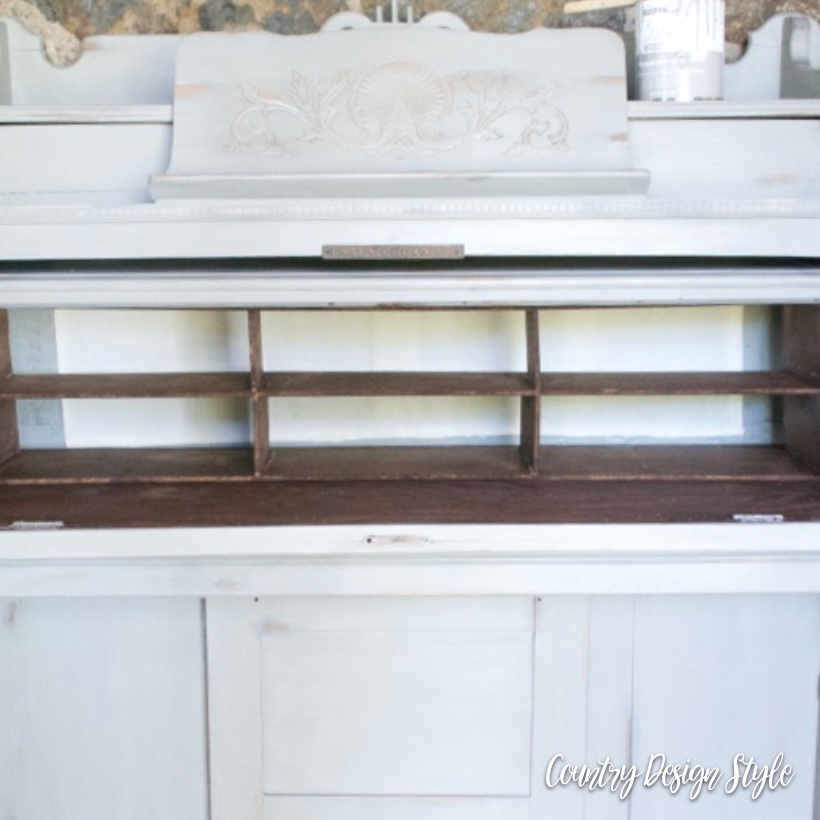
Making cubbies sounds overwhelming. But with a few tips and tricks anyone with basic woodworking skills can make one in an afternoon. This one is almost 5 feet long but only 9 1/2 inches high. After making this one, we could tackle a larger one.
For your convenience, this post contains affiliate links so you can easily find the products or similar items at no extra cost to you. Click here to read my full disclosure policy.
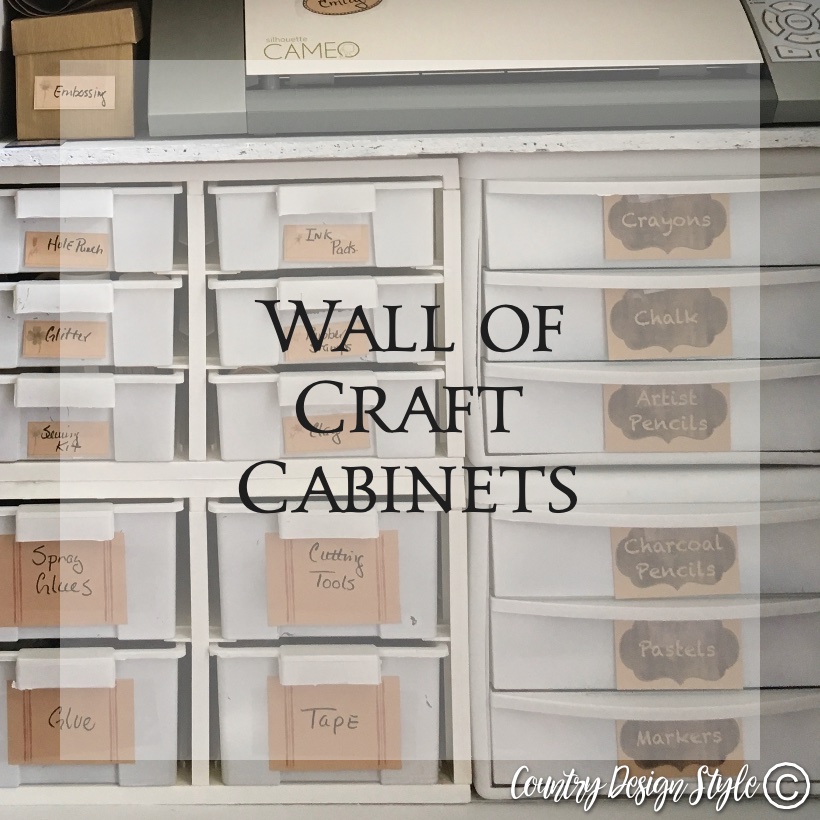
I’ve been working hard to create a craft room with loads of organization tips. Make sure to visit the ideas at the bottom of the post.

List of tools
1 sheet of 4 by 4 plywood 1/4 inch thick
Quality wood glue
Loads of clamps, I used 6-inch and 12-inch clamps
Handheld saw
Spray paint
Miter saw
Basic steps to make a cubby
Buy boards or cut wood to the desired depth of your cubbies.
Cut two boards to the desired length of your cubby
Cut two board to the height minus 2 board thickness. For example, I wanted my cubby 9 1/2 inches high. The plywood is 1/4 inch. So the boards for the sides are 9 inches.
Cut the shelves. Again cut the shelves the total length minus the thickness of two boards.
Make the outside of the cubby. For my needs this quality wood glue and clamps did the trick. If your cubbies will hold heavyweight or are larger use nails too. Let dry.
Insert the shelves. If you have several shelves, cut a piece of wood to use as a spacer. Let dry.
Steps for this cubby

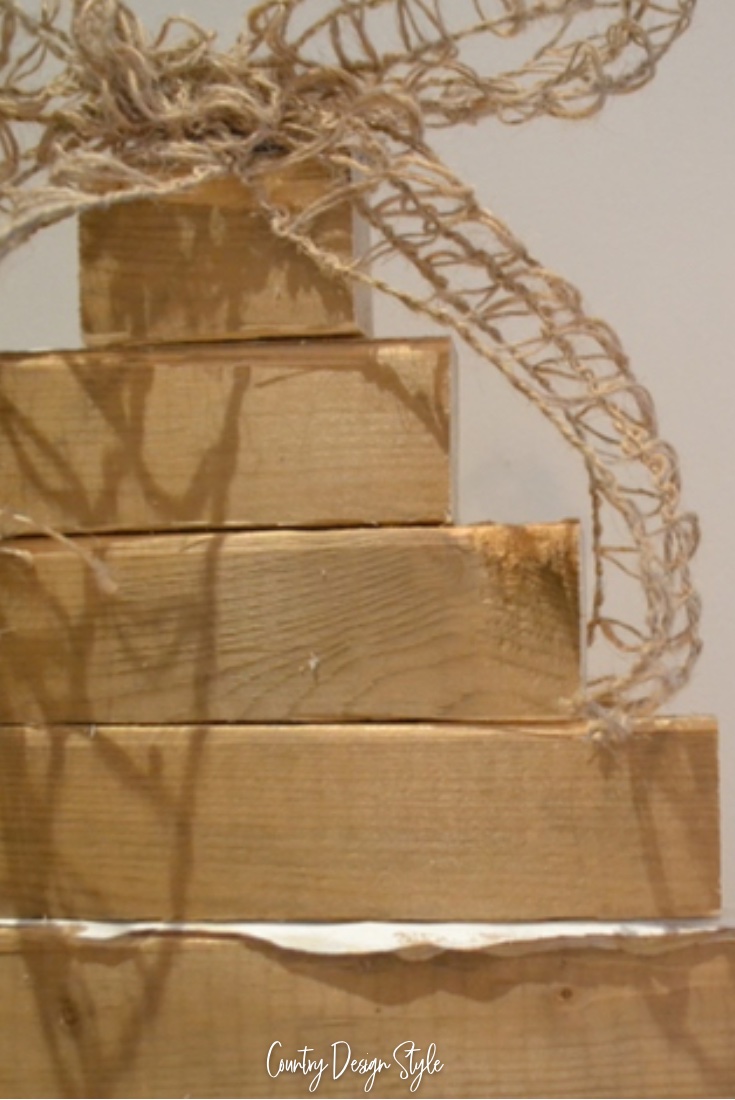
Cut the dividers. Since there will be lots of dividers, cut a piece of wood for a spacer. Wood glue and clamps may be all you need to hold the dividers in place. Otherwise, this project gets a ton more complicated.
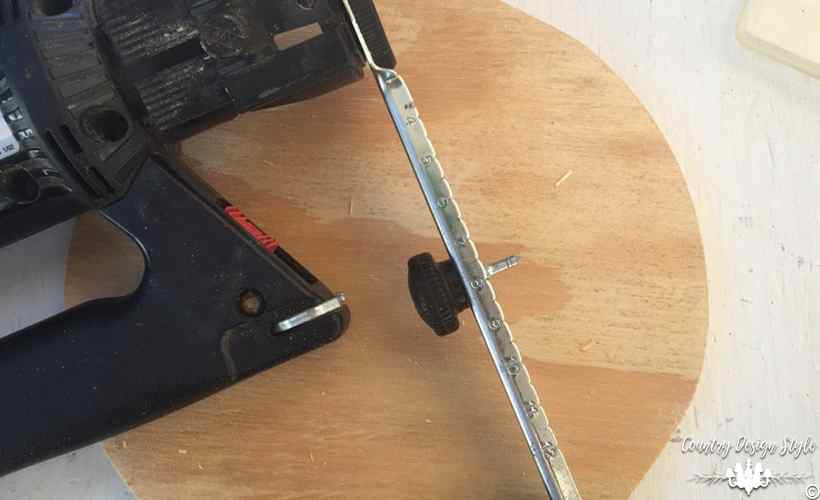
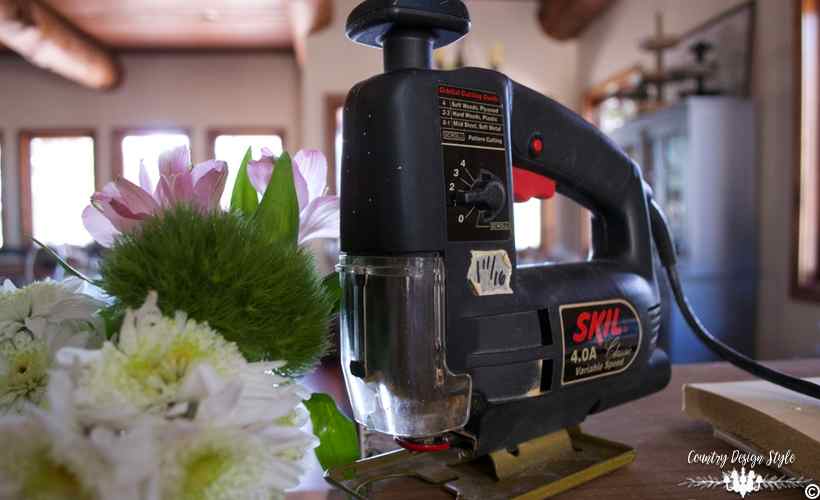
Use the right tools

If you have a table saw, use that. If you don’t use this handy tool. It’s becoming my fav. It has a handy dandy glide to make the cuts straight.

The miter saw made quick work of cutting the wood for the inside cubbies. To make this go faster, clamp a block of wood to make a stop. Then you can butt up against the stripes of wood without having to measure.
Measure twice and when still it doesn’t fit…adjust
The area for the cubbies is from the ribbon box to the work surface. I measured six times. and still had to raise the ribbon box 1/4 inch.
Don’t over complicate the project

Make the plan simpler. You would think there would be a ton of nailing to make a cubby. I choose to not use a single nail. Only quality wood glue and loads of clamps.
Pick the right way to paint
I used spray paint instead of a romper or paint brush.

If you can…cover it up
When you can add labels without removing and picking the old labels. do that. Cut cardstock larger than the label. Use a marker to write the label. Then use a piece of packing tape to completely cover the label and attach to the container.

You may notice some jars are empty still. That means there’s room for more stuff…junk!
If feels good to have this project off the to do list. Now I ready to make another.
How to you store your small craft supplies?

Join the newsletter

Subscribe to get our DIY HelpLetter each Thursday. Plus grab your Interior Decorating Ideas e-book.
What a terrific build! I see you made good use of those glass yogurt jars. Very, very efficient way to store those little things that get lost in the drawers and boxes, and it looks beautiful with the ribbon storage too! I’m going to have to start eating that yogurt now, or maybe check out a thrift store for empty votive candle jars. Thanks! 😊