How to make a Large Chalkboard
I would love it if you could stop by on a Saturday morning and we could make a stack of large chalkboards. Wouldn’t that be a blast?
We would be covered in sawdust, paint and chalk dust!!
We would laugh and draw chalk pictures, play hangman and Pictionary. I love that game.
Until then, here’s a chance to peek behind the scenes at Country Design Style and how to make a large chalkboard for under $25 easily!
I’m using the chalkboard as a large editorial calendar.
How to Make A Large Chalkboard
You could use yours to plan meals, schedule soccer games, work days or skip the calendar and use it to play Pictionary!
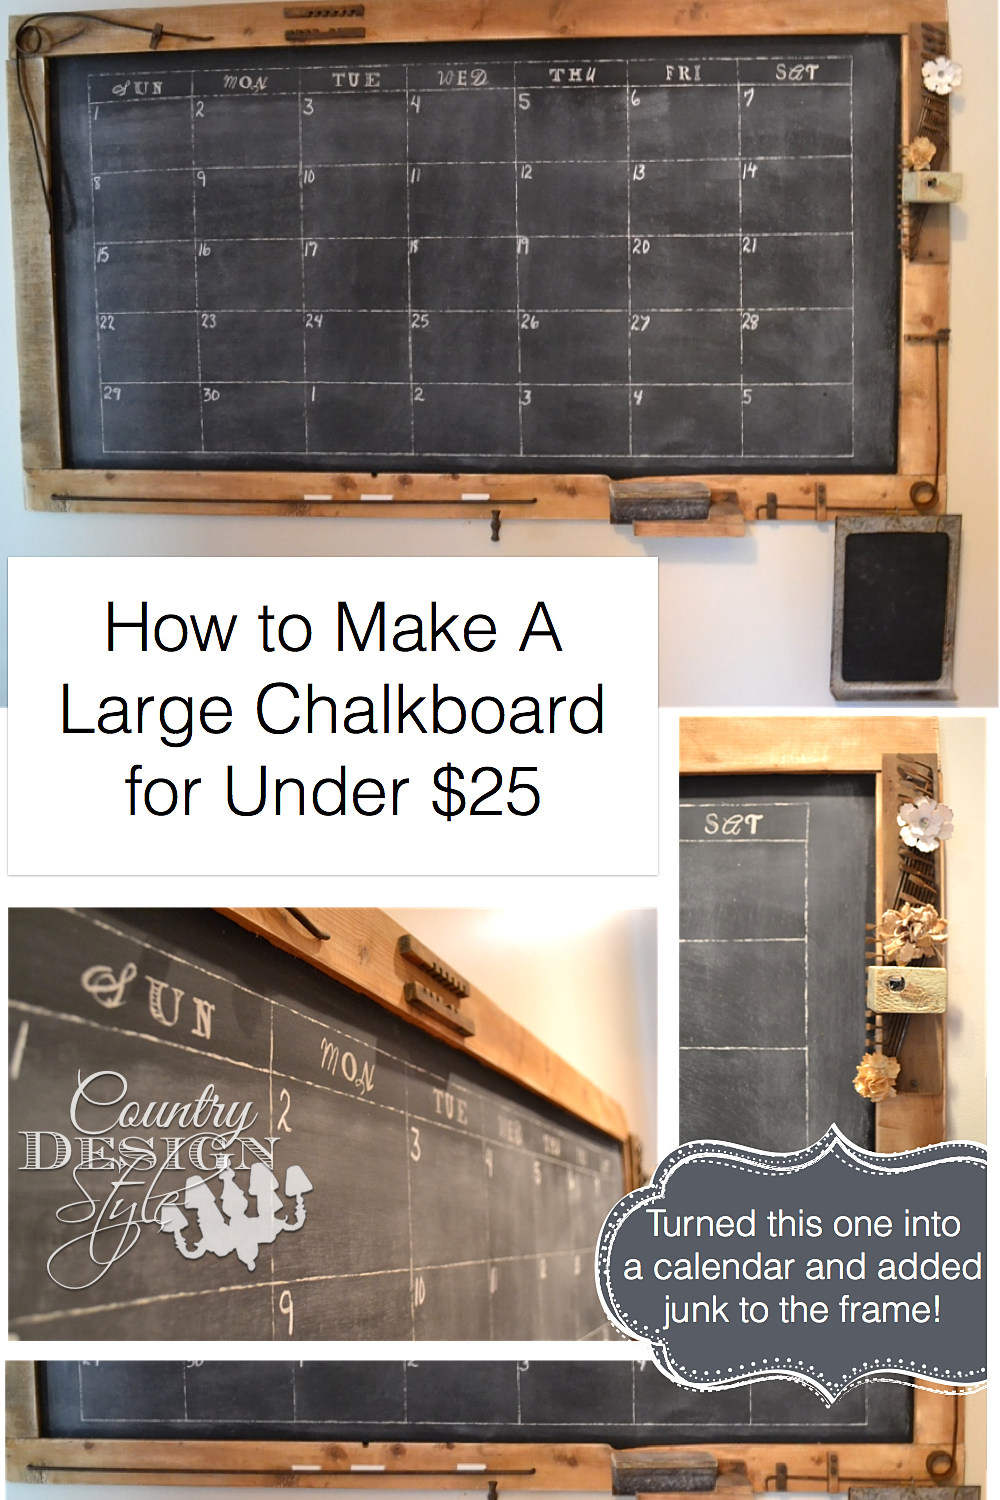
I choose to age my frame and add the “junk” from the inside of the first organ I took apart. You can see two other projects from the organ here. Mike’s potting bench and Remade Mantel.
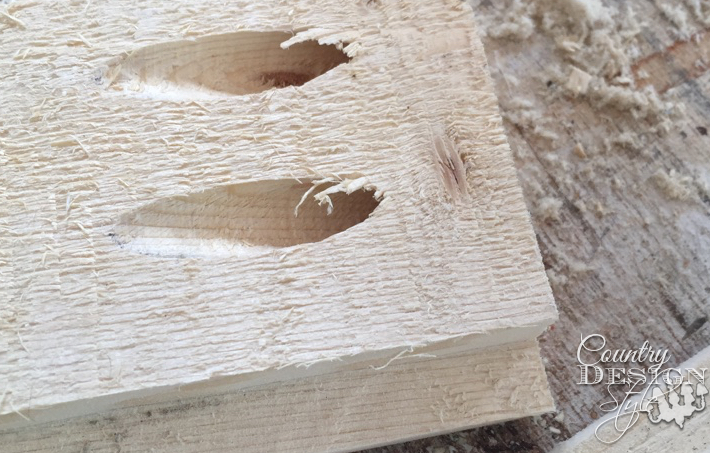
The cuts are straight. No 45-degree angles. I used a Kreg jig to make the frame. If a Kreg jig is not in your tool box, see steps below.
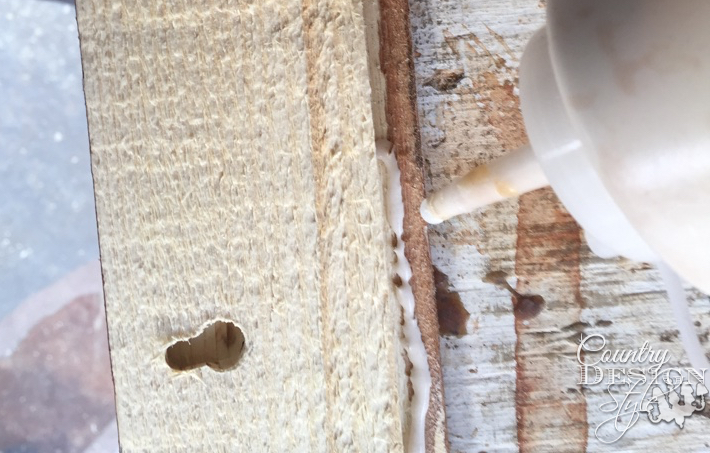
I used a router to inset the chalkboard into the frame.
I do use wood glue to hold the chalkboard in the frame…
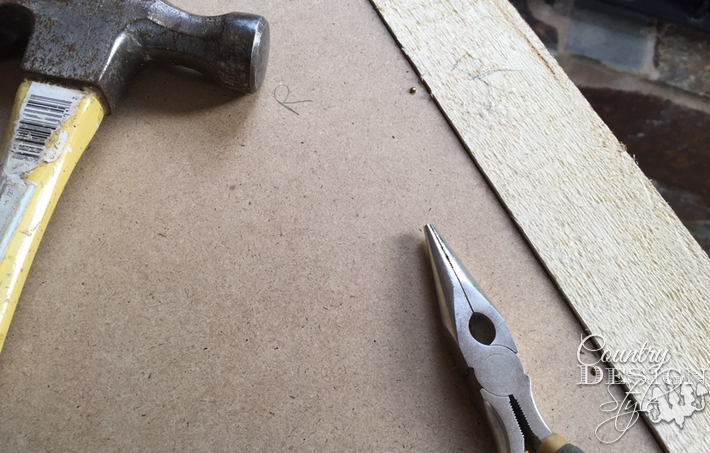
…along with small nails.
No Kreg or router?
Cut two pieces of wood the length of your chalkboard. Cut two pieces for the sides the height of your chalkboard minus the width of the boards times two.
For example, your chalkboard surface is 48″ by 24″ and your boards for the frame are 3 1/2″ wide. Cut two boards 48″ long. The sides would be cut to 17 inches. 3 1/2 x 2 = 7 24 – 7 = 17
Then simply glue the boards directly on top of the surface of the chalkboard. This is an easy way to make any rustic frame or chalkboard.
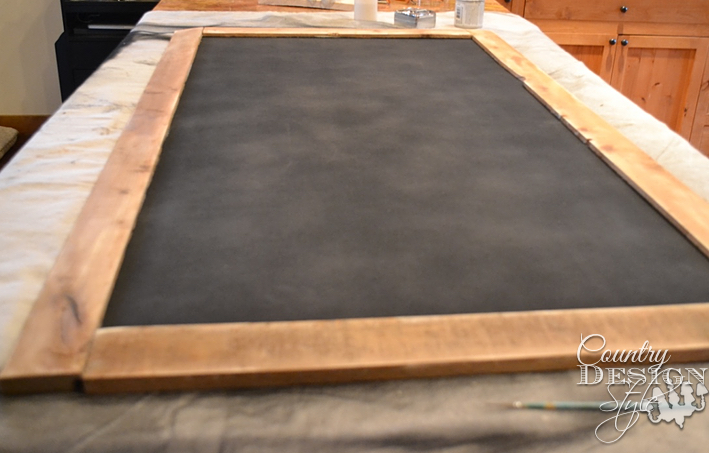
I aged my wood using the tea and ironed vinegar technique. The frame can be painted your favorite color too. It would be awesome in creamy white or light gray too!
The chalkboard was sprayed before adding to the frame. You could use any type of chalkboard paint.
Turning the chalkboard into a calendar
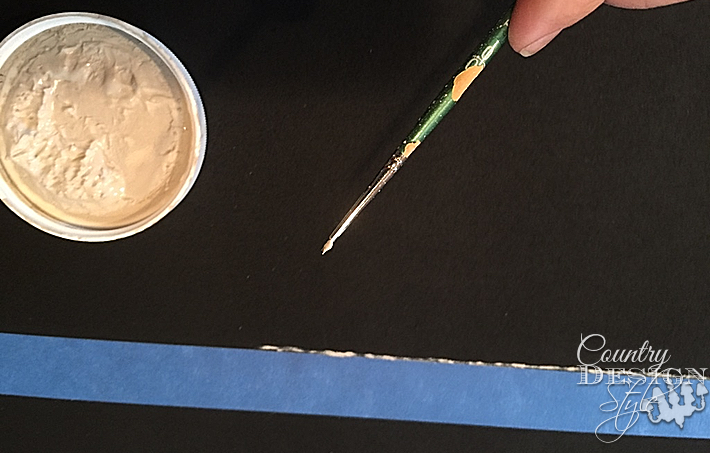
I wanted my calendar lines straight but not perfect. Trust me, it would have been faster to make the lines perfect. I used chalk based paint in light gray and a small paint brush. Painters tape was my ruler. I did 5 rolls and 7 columns and a roll for the days of the week. Each day’s box measures 6 by 4.
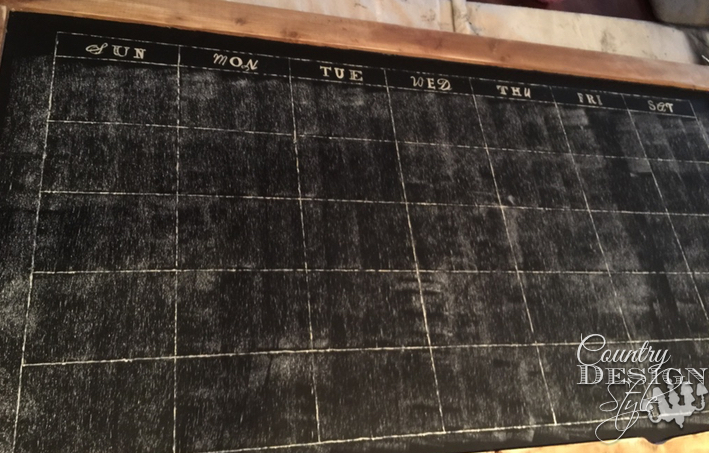
I printed out the day of the week using different fonts. Lots of different fonts! Then I transferred the lettering using the chalk on the back of the paper technique.
To keep the day of the week on the chalkboard I painted over the letters with the gray chalk based paint.
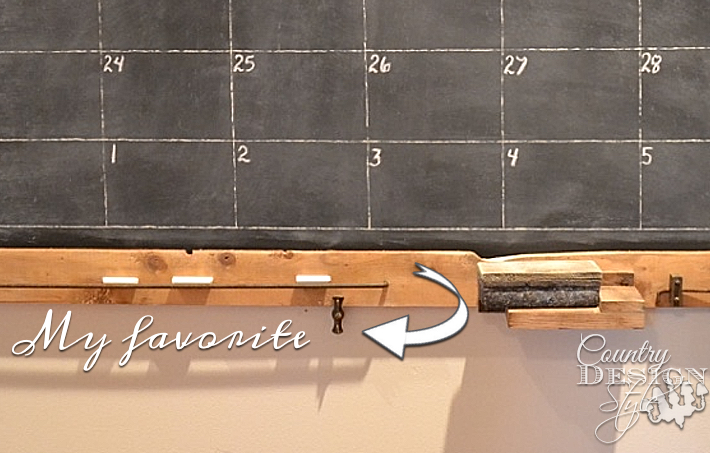
I hung the chalkboard in our hallway using keyholes holes. To keep the bottom in place while writing I added a perfectly rusted wing nut from the old organ. Love the little wing nut!
Additional Junk
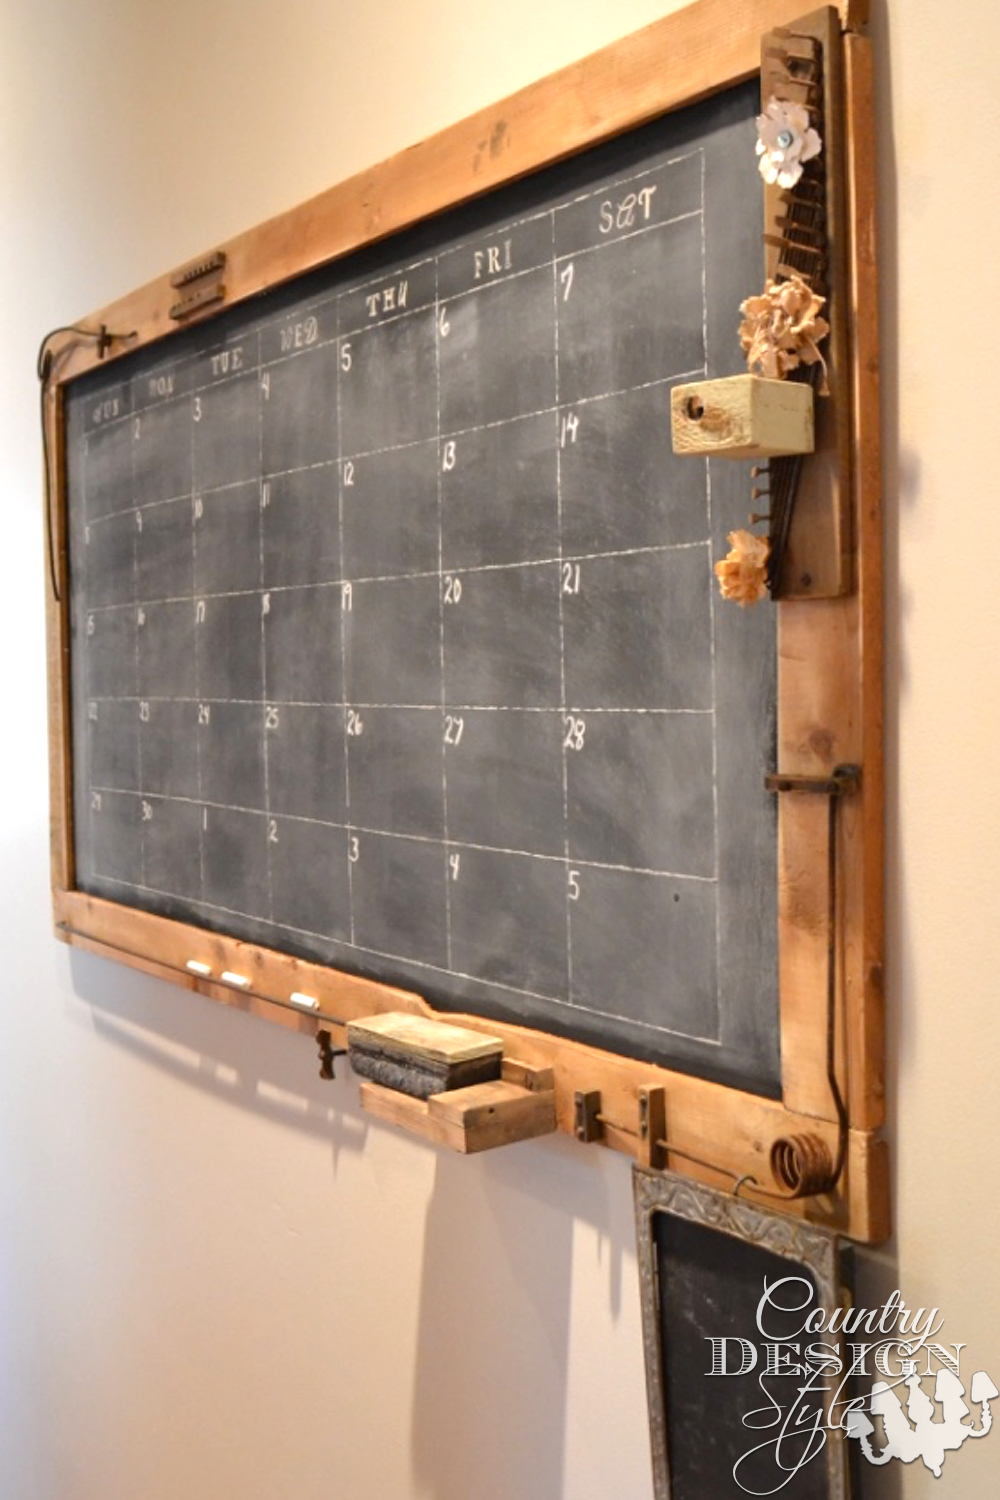
Here’s more junk that I added. Some with a job to do and others just because. A long rusty metal wire to hold pieces of chalk. A wood piece to hold the eraser. Metal wire lifts that were under the keys of the organ holds flowers with magnets. I can use them to hold inspiration pictures torn out of magazines. Also on those wire lifts is a little box. The box has a magnet and inside is a makeup sharpener. Perfect for sharpening chalk! Two coiled wire pieces are in the corners. One for fun and the other holds an extra chalkboard. This I can add additional notes. If was made from the metal around the foot pedal of the organ.
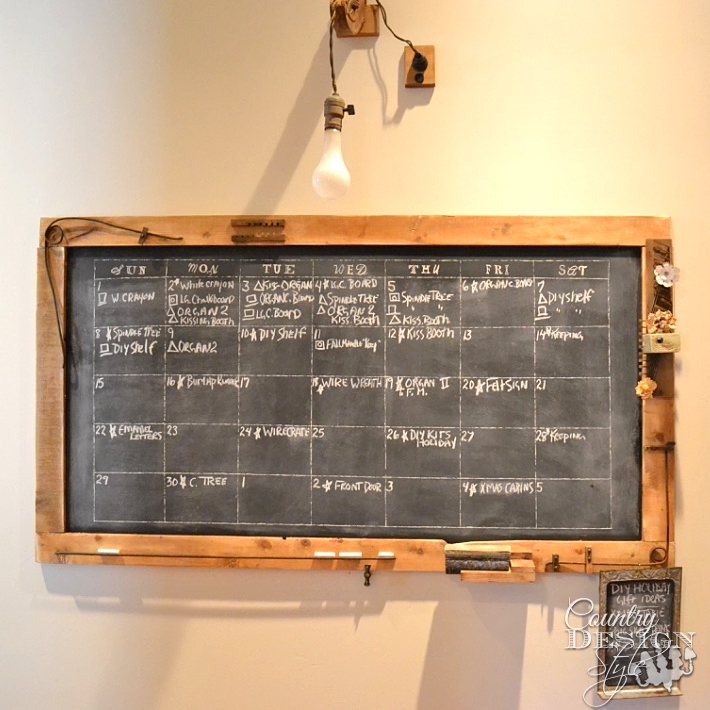
The chalkboard in use as my editorial calendar. Notice it doesn’t say “November.” I usually know what month it is. Also, I wanted to use it as a perpetual calendar. After a couple of weeks go by, I will move the week up. So December 1st will appear in the middle of the chalkboard.
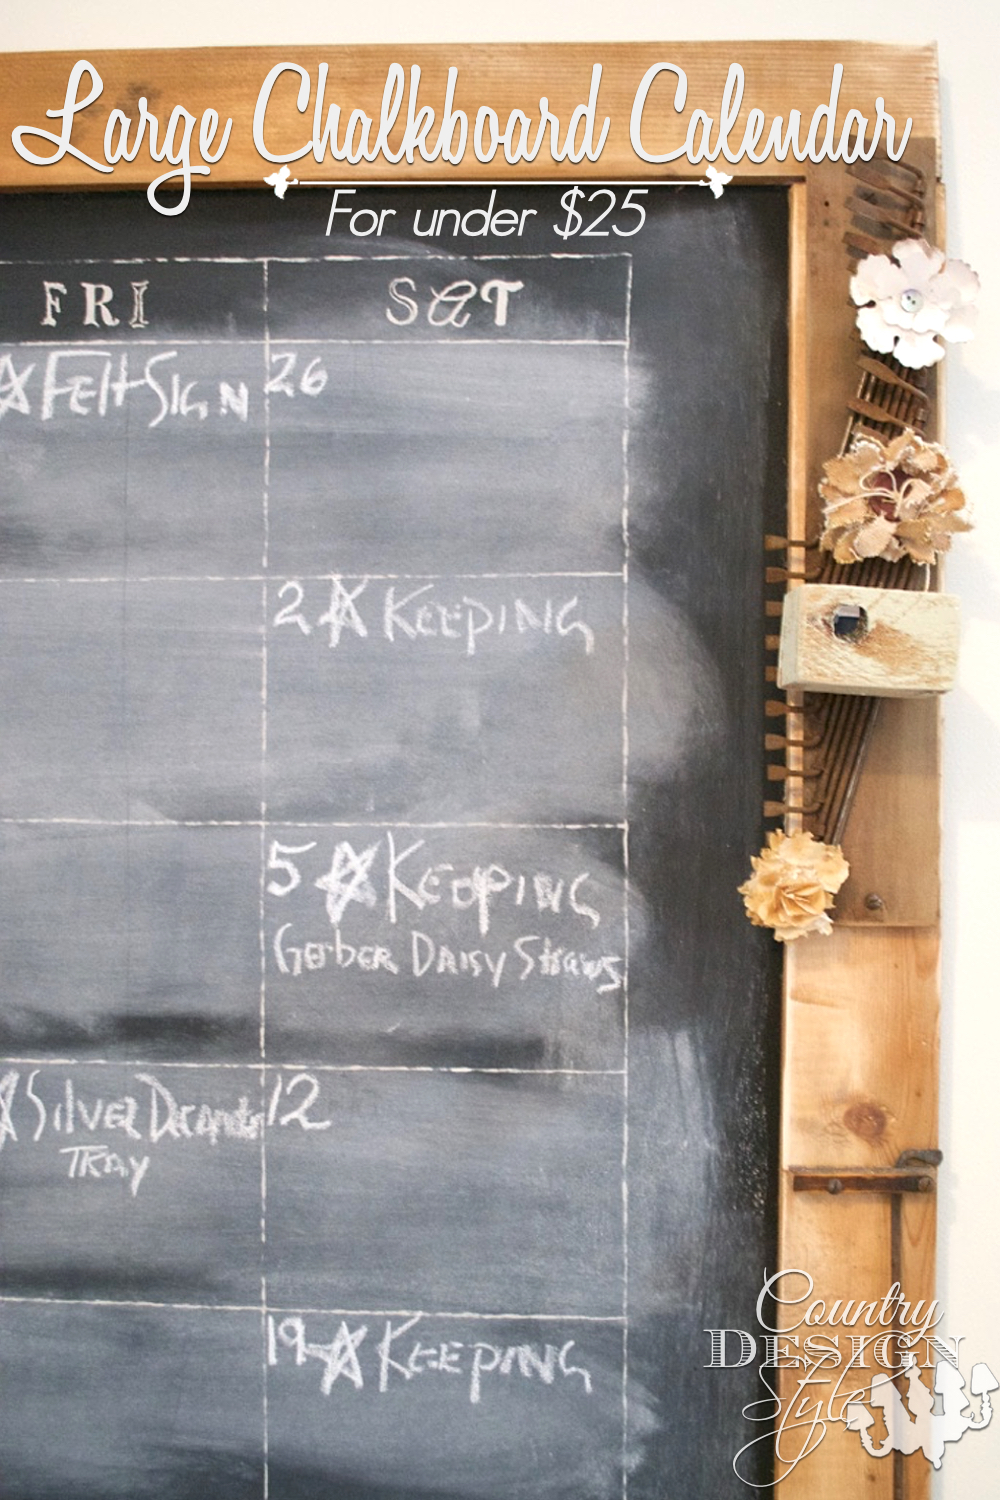
Are you ready to make your own large chalkboard?
Here’s your download.
P. S. If you liked this please share with your friends. 🙂
Join the newsletter

Subscribe to get our DIY HelpLetter each Thursday. Plus grab your Interior Decorating Ideas e-book.


Now that is a chalkboard with some personality!!! Love the junky trinkets you added to it Jeanette. What I especially love is the idea of using it as an editorial calendar – such a great idea! I WANT ONE…I NEED ONE and pinning this for inspiration and to share.
What a blast that would be to have a group of us DIY bloggers hanging out on a Saturday making these! I can only imagine the trouble we’d get ourselves into (okay, I’ll speak for myself).
Signed,
Troublemaker
Marie, I would love for you to be the troublemaker!!! Hugs <3
I was just working on a chalkboard calendar post too. I am making mine for my office. I love how yours turned out! Gorgeous.
Pamela, I can’t wait to see yours. My has been keeping me on track for 5 days. Perfect so far! 🙂
Jeanette I LOVE this project sooooo much!
Susan, thank you so much! It was a blast to add the junk!
Jeanette, your chalkboard is drool worthy! And the tape tip for lines is brilliant. I can’t believe in all these years of painting I hand’t thought of it! ;o)
Thank you Lucy! It would have been faster to tape along both sides of the lines and quickly brush the paint on. But I want a hand painted look.
Love your chalkboard, Jeannette! I’ve been wanting to make one for a barn board frame I have but haven’t decided what to use for the “board” part. It looks like you chose Masonite and painted it with chalkboard paint, is that right? I feel motivated…thanks!
Diana, actually I used medium density fiberboard or MDF. It comes in 24 1/2 by 48 inches and 1/4 inch thick at Home Depot. It’s under $7! Makes great chalkboards. Masonite or a “hardboard” works too. Home Depot even has “chalkboard” that’s already covered with a chalkboard surface. I’ve tried it, but didn’t like the surface. Thanks for stopping by!