
You haven’t seen this Farmhouse Tray on Buzzfeed…yet!

Problem; How to turn a basic round piece of wood into a shiplap farmhouse tray.
Solution; Use a small router bit and add handles.
This is a great project for anyone new to using a router.
See if you notice my mistake on almost all the photos in this post too!
Farmhouse Tray
This post contains affiliate links. I will make a commission for your purchase at no extra cost to you. This helps me maintain the website. Thank you for your support. Think of it as a friend letting you know where I found a product I use, love or want. Click here to read my full disclosure policy.

A basic ship lap farmhouse tray.
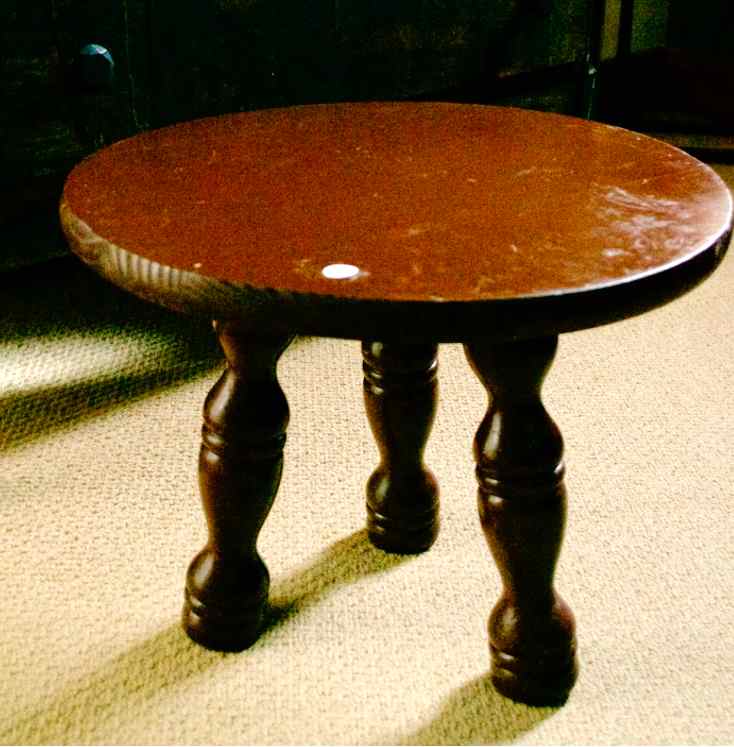
My round piece of wood came from the thrift store. I bought the stool for the spindle legs to make farmhouse candle holders.
Now I wanted to find something to do with the round piece of wood.
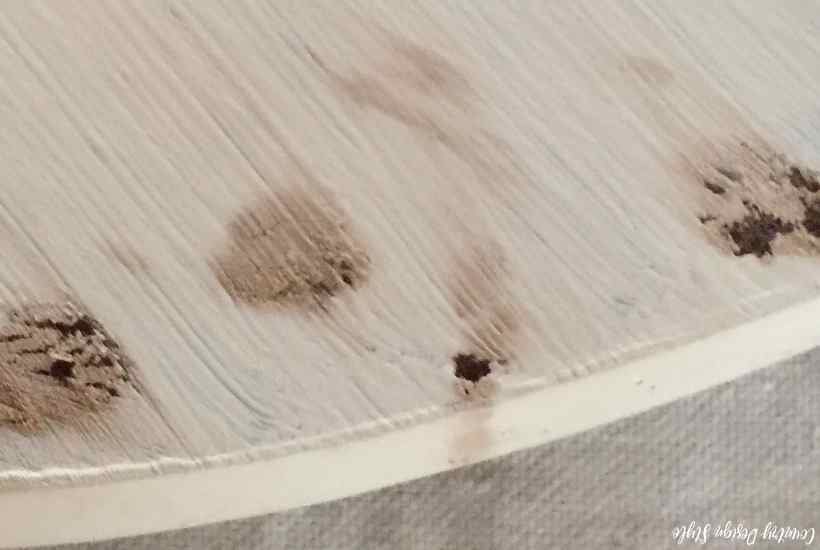
I sanded the top well, but when it came to the bottom, I didn’t! Ops! This is what happens if you paint over dirty. The dirty can bleed through the paint.

The best way to fit it is to clean by sanding.

The piece of wood is painted with one coat of chalk-based paint. These are the handles I found. But the problem…it’s too plain.
Making the lines

So I grabbed the center-finding ruler…

and drew lines 3 1/2 inches wide.
Note, if using a router isn’t on your “I can’t wait to try this” list. I suggest darkening the lines and going with pencil shiplap. It works great on walls too!
The router

But if trying a router is on your “I can’t wait to try this” list, then let’s do this. My number one tip for using any new tool is to read the boring manual. Get to know your tool before using it.
I used my 17-year old router with this router bit {the smallest size} just barely peeking out from the base. It’s peeking out about 1/16 of an inch.
I used the centering ruler again to measure the distance from the center of the bit to the flat edge of the router. Mine is 2 1/2 inches.

Next, I measured 2 1/2 inches from each pencil line and clamped a straight edge….or an old level I use for the straight edge. :/

The router cuts left to right along each pencil mark.
Painting and Waxing

Now for the second coat of paint…and to fill in the shiplap grooves.

A bit of sanding and distressing along the “wear” places. Then a coat of my favorite wax to add a bit of shine and protection.

The handles are added and that simple round piece of wood is now a farmhouse style shiplap look tray.

Did you figure out my mistake? If so, let others know in comments below.


What wax do you use as your finishing coat?
Did not see a mistake, but sure like that tutorial on the router and making it look like shiplap!
Andi, my watermark “or logo on the images” is upside-down! I simply love using the router. Have a wonderful Thanksgiving!
Beautiful tray and your website is as beautiful as ever. Keep up the good work.
Thank you Pam. I love the cleaner look. Now to keep it that way. Websites are like houses, they can get messy!