Falling Flowers Spring Sign
You know when you get an idea for a project and can’t wait to try it? This falling flowers spring sign is one of those projects.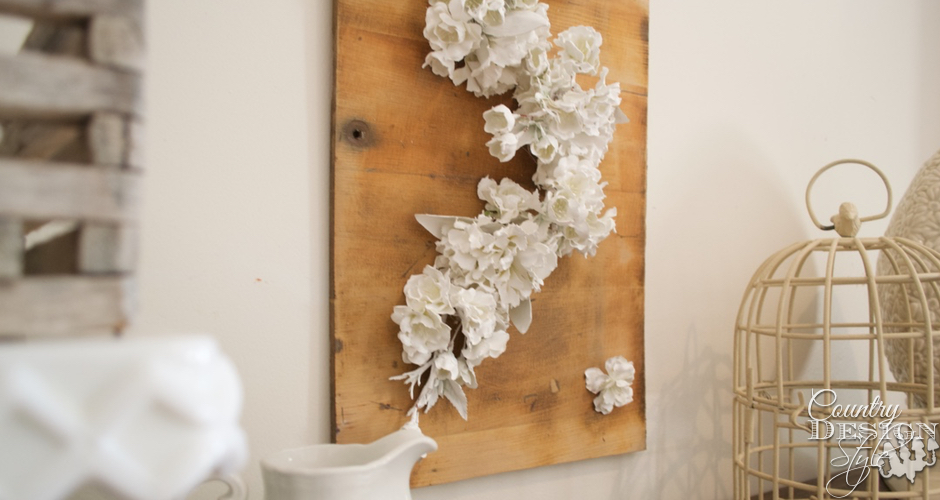
Is it winter white or spring light?
It’s a matter of where you are and time of the year.
Yesterday my falling flower spring sign was spring light.
Today is back to winter white…as I’m sitting here in a bulky sweater and scarf. So, if it’s t-shirt or bulky sweater weather for you I hope you join me and many other DIY Hometalk bloggers as we DIY our spring.
This is a “DIY My Spring” Blog Hop hosted by Hometalk. What that means is at the bottom of this post is a collection of DIY spring creations from other Hometalk bloggers. You can see my profile on Hometalk and follow me there too by clicking here.
While you’re at Hometalk or any social media sites you can type #DIYMySpring in search areas and all the projects will populate for your viewing and sharing pleasure. How fun is that!!!
My Little Disclosure: This post contains affiliate links, which means that if you click on one of the product links, I’ll receive a small portion of any sales at no additional cost to you. I only share and link products I like, used have ordered, OR products I want!
Falling, Dripping Flowers
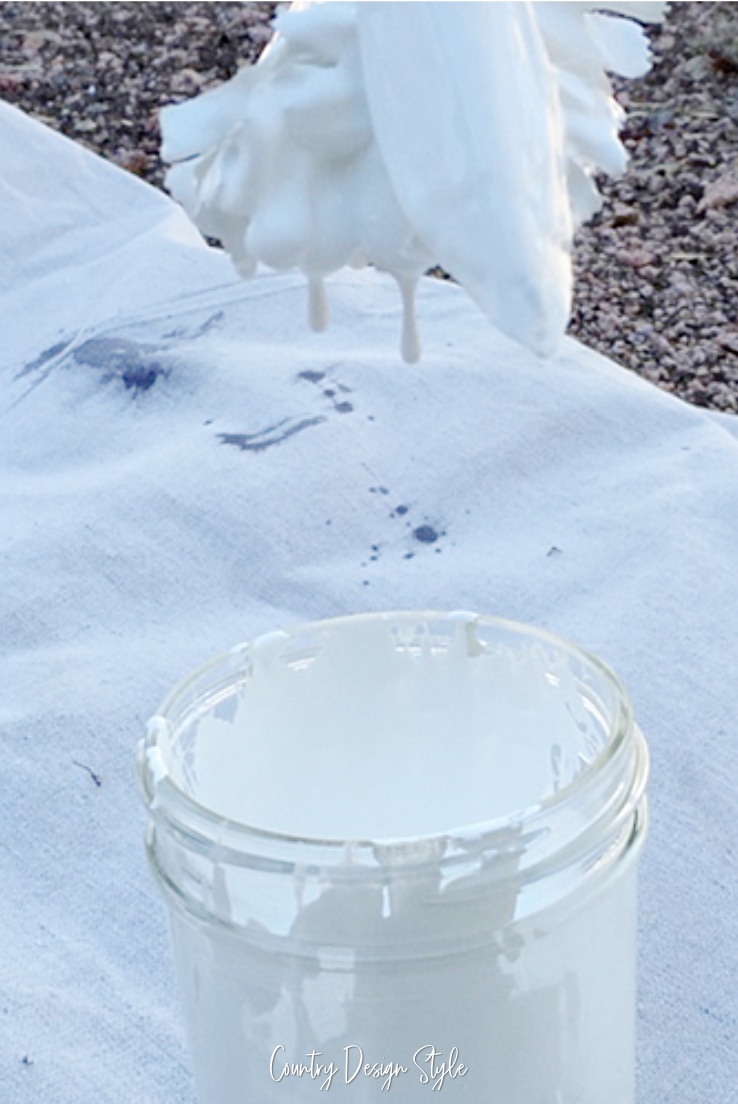
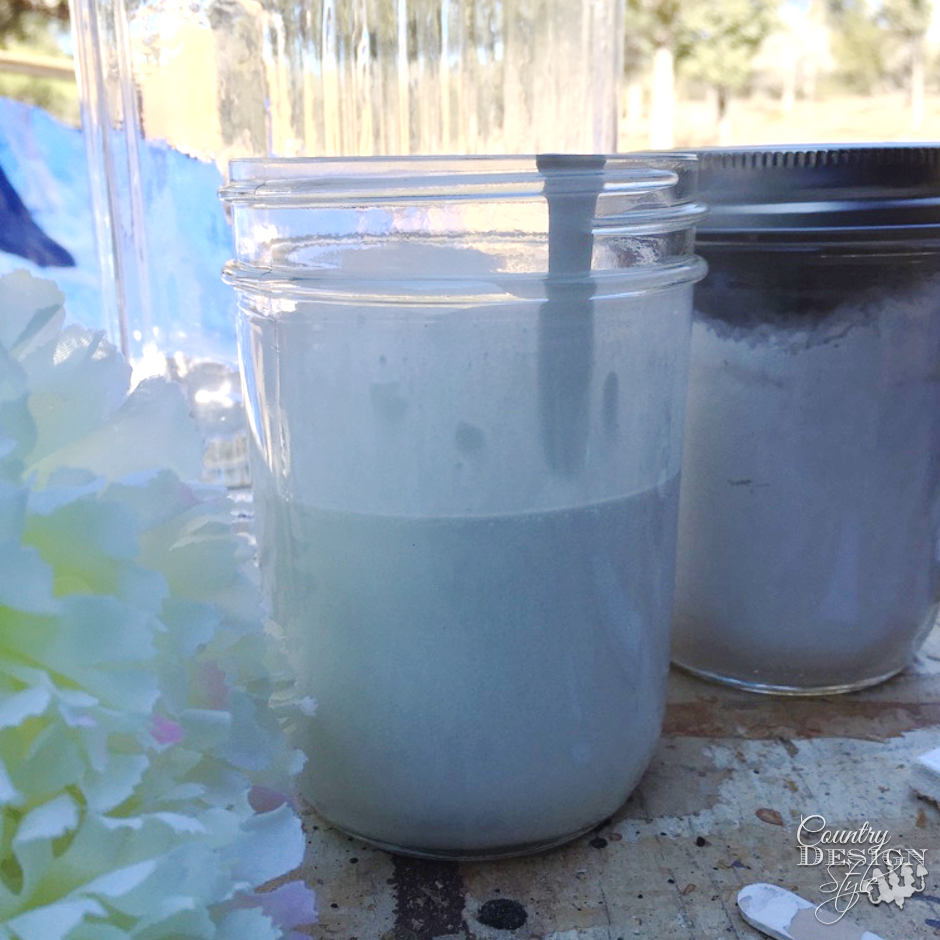 I chose an easy but messy project. It starts with silk flowers from our discount store. I could have used them as they were and skipped the messy…but I didn’t. Instead, I mixed up white matte paint with calcium carbonate Calcium Carbonate Powder Chalk Paint Additive. 100% ORGANIC High Calcium content. 1 lb. and warm water to make a homemade chalky based paint. This is my personal favorite additive to make chalky based paint.
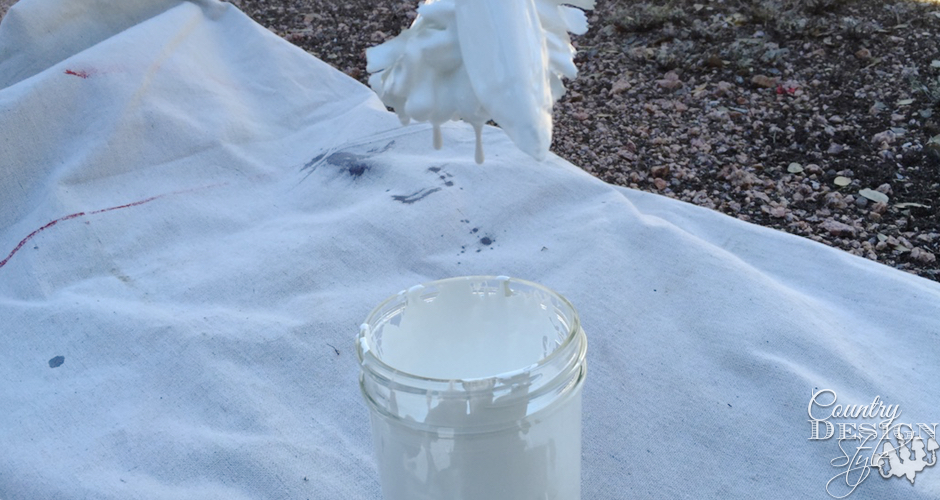
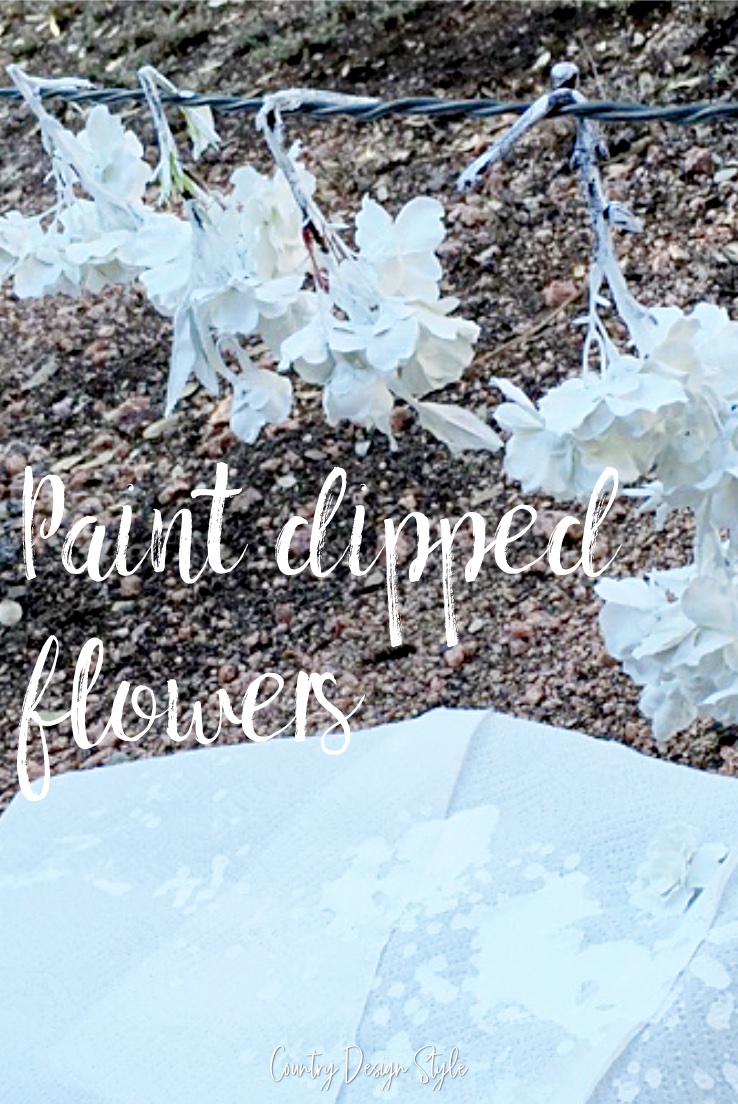
I used wire cutters to clip the flowers away from the “handle thing.” Then dipped the flower heads into the paint.
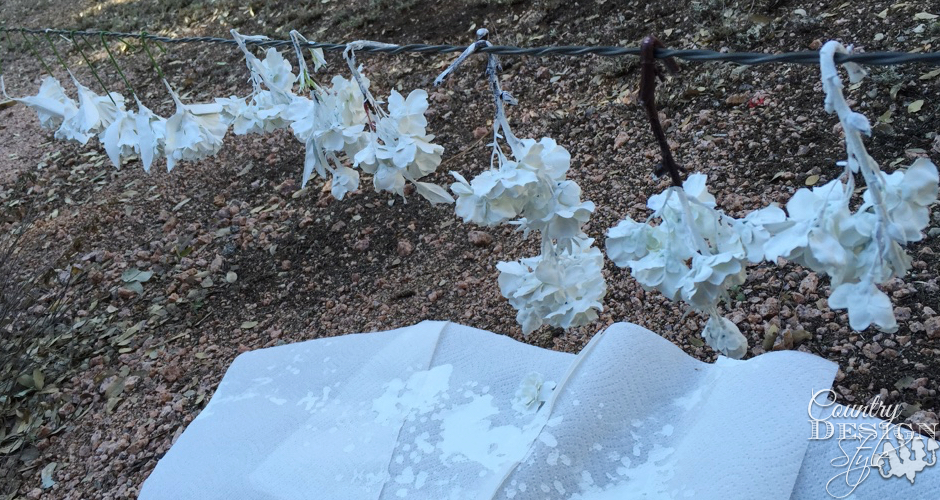
A hook on the wire stem made an easy way to drip dry the flowers on a barb wire fence.
Messy
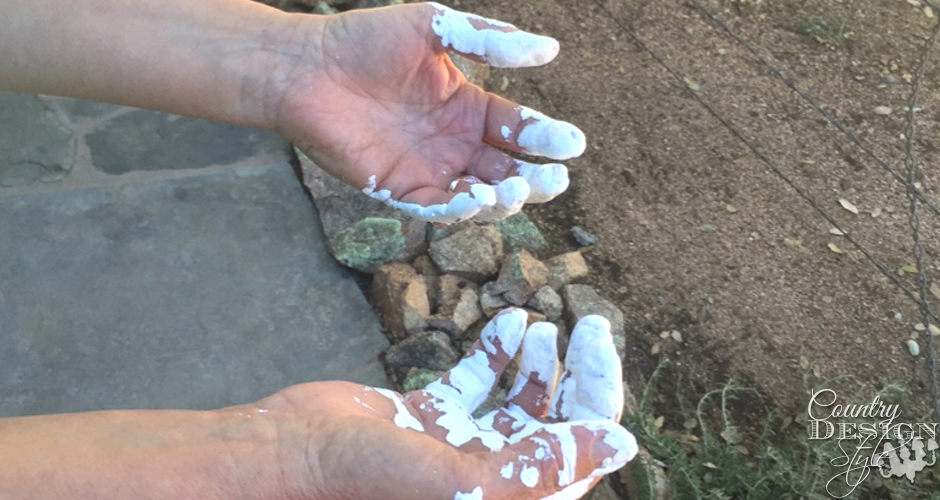
Here’s the messy!!!
The board
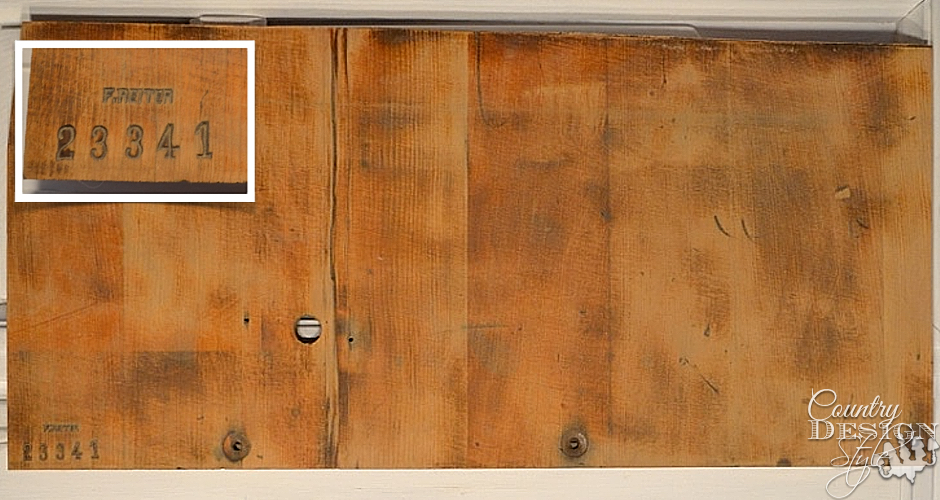
While the flowers were drip drying, I scrounged the workshop for a board. This cool board came from an old organ I took apart to make DIY projects. It’s not a perfect rectangle because it sits under the keys. I like the holes, the name and number stamp in the corner.
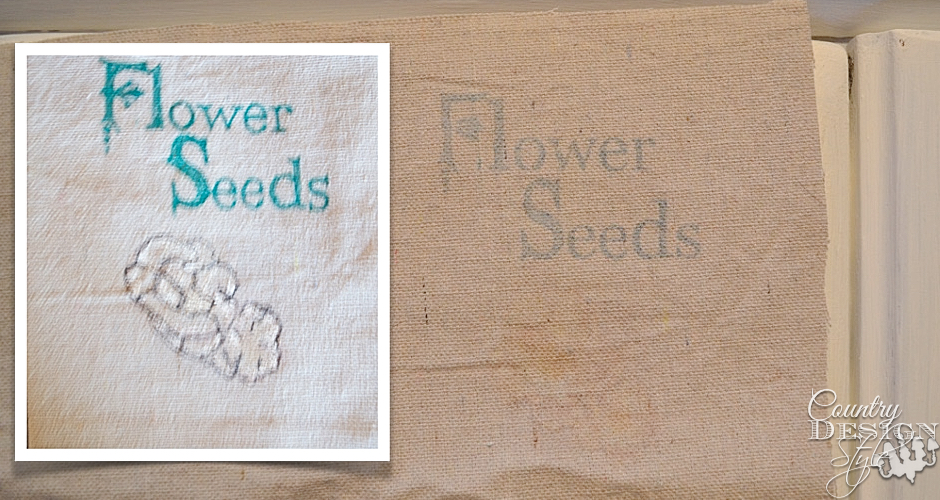
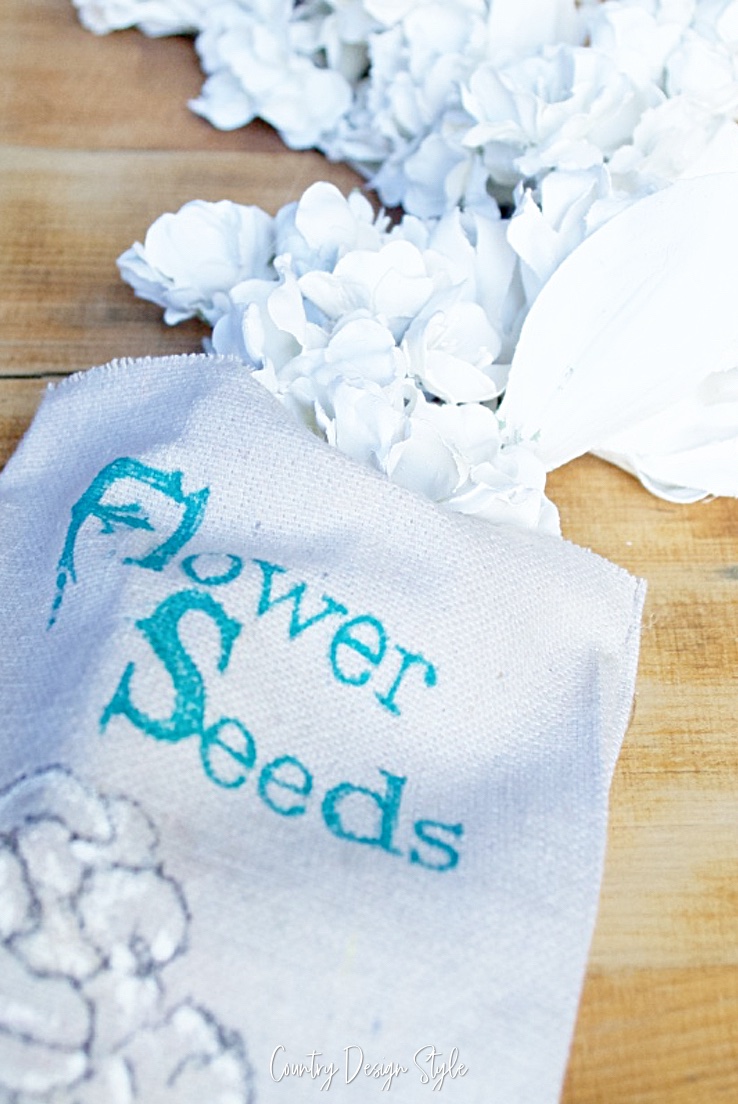
The flowers are still dripping. So, I cut a “clean” rectangle from my drop cloth about 6 by 10 inches. I folded it into a pouch and sealed the bottom and side with hot glue. I made a flower seeds image transfer. You can read about how to make image transfers easily here. The image transferred light. A permanent marker in turquoise and black adds deeper color. The flower image was highlighted with white paint.
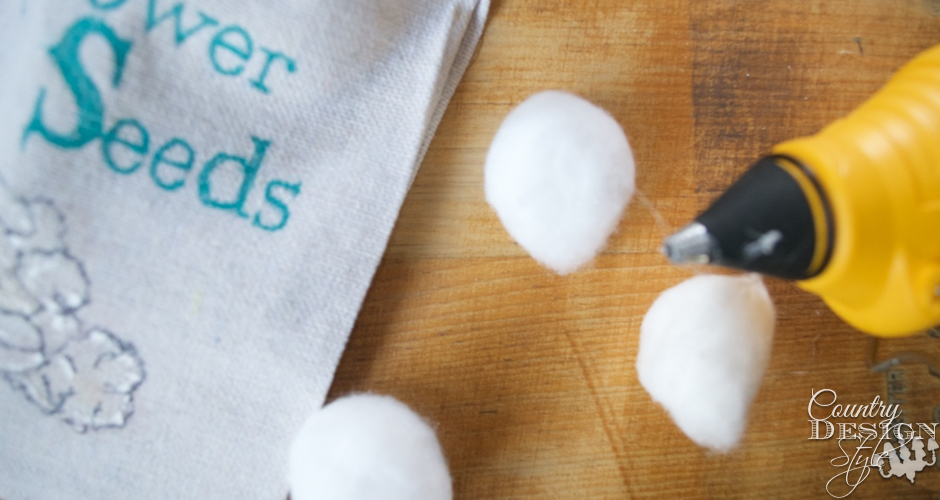
The flowers are still dripping. So I fired up the hot glue gun and glued the seed packet to the board. For puffiness, I added cotton balls inside.
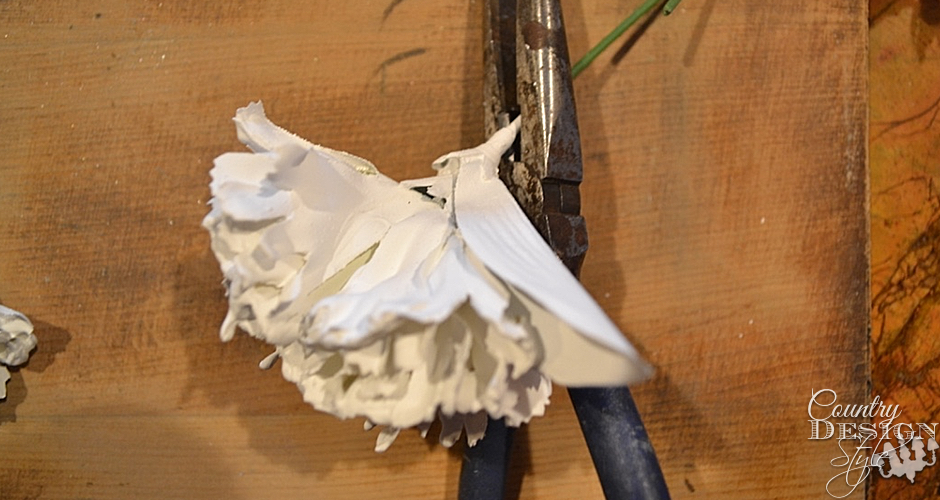
The flowers are still dripping…so I went to bed.
The next morning the flowers were dry. Whew! I cut the wire stems down to the flower heads.
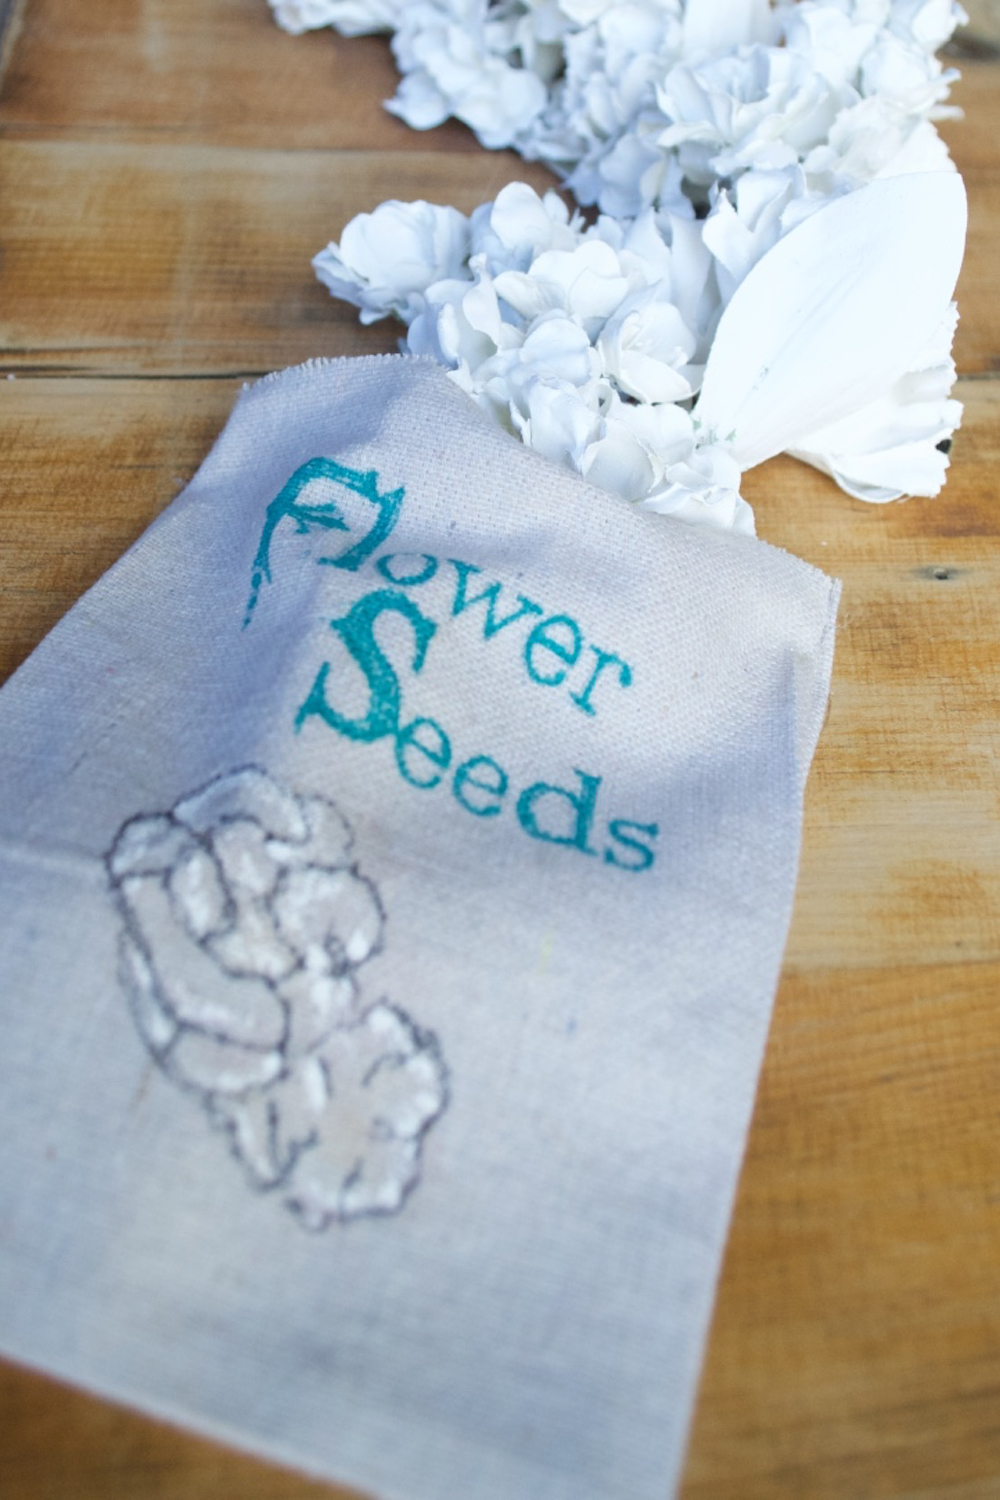
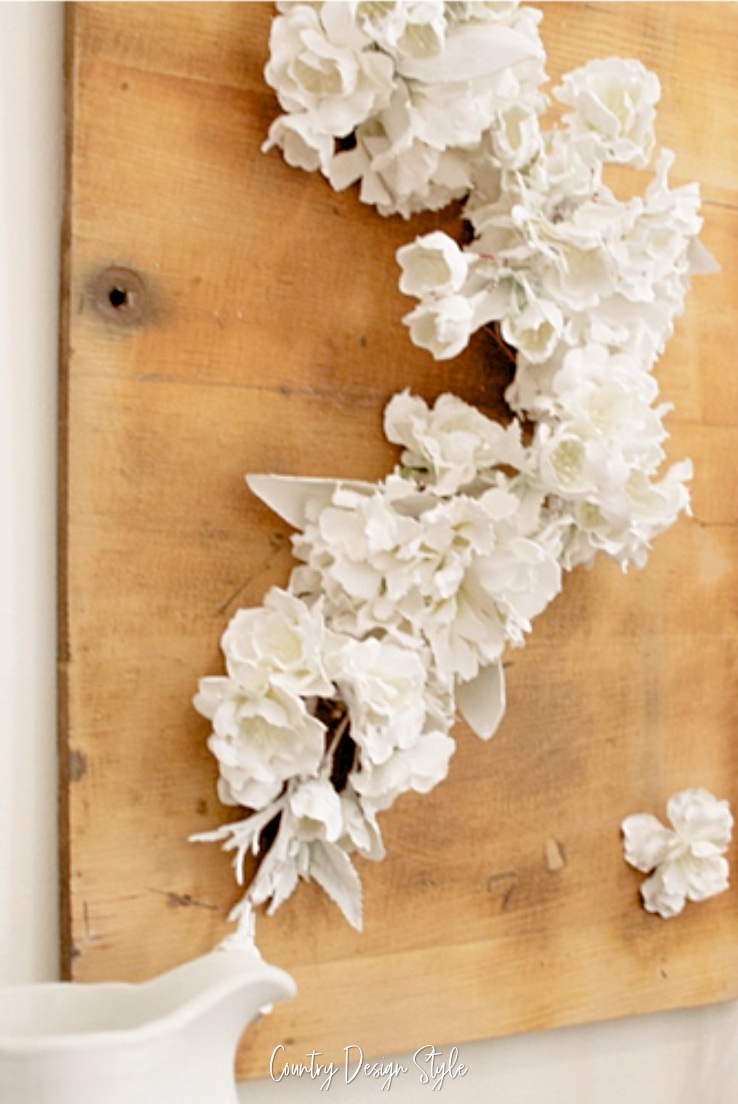
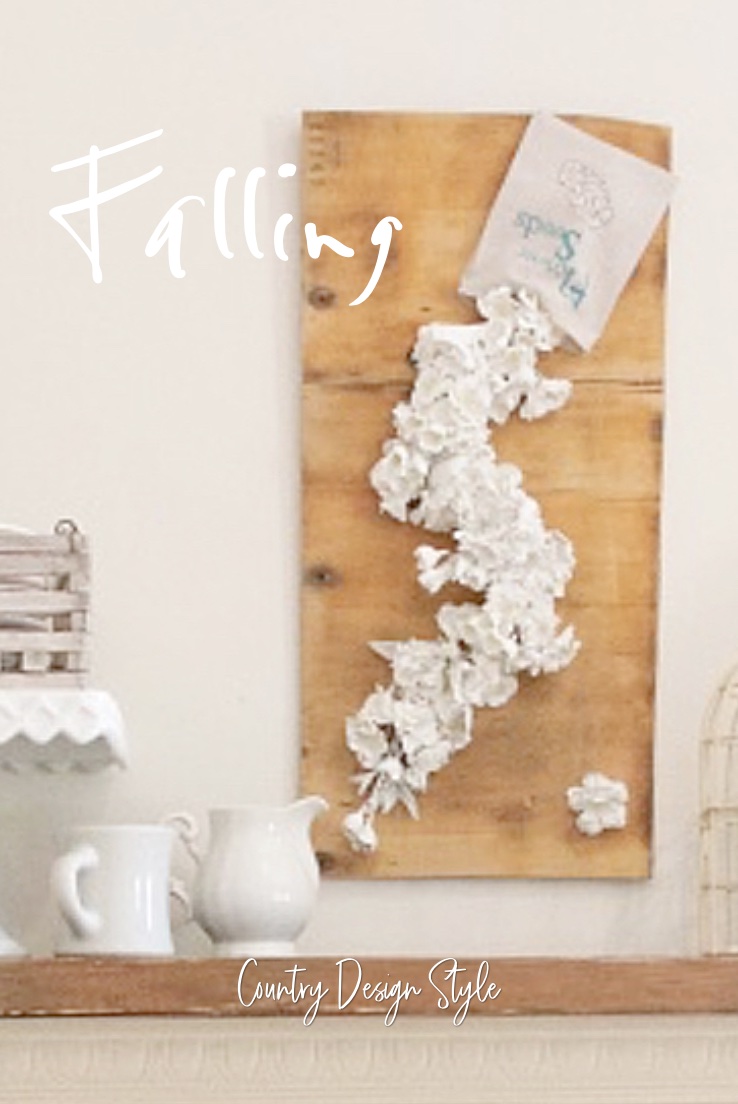
Firing up the hot glue gun again, I hot glue flowers tumbling out of the flower seed packet.
Hanging the sign
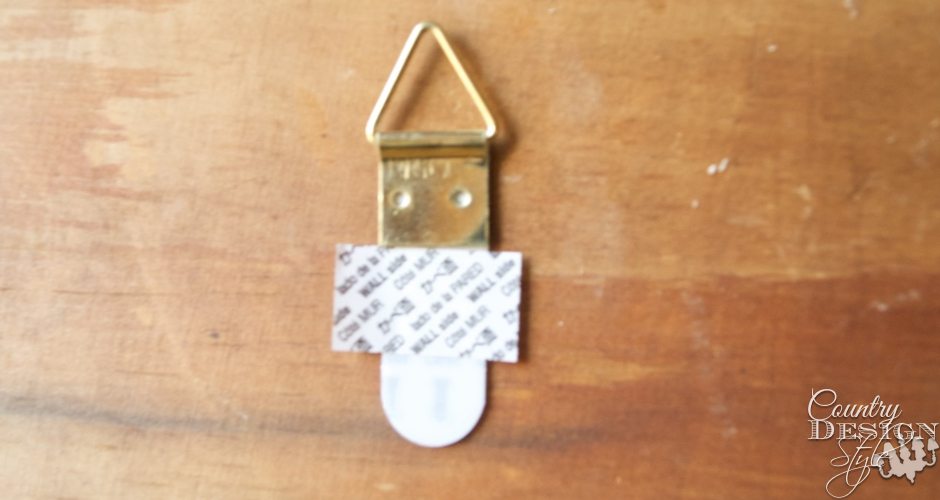
The board I’m using is 1/4 inch thin. Too thin to add a nail or screw for any hanging wire. I’m using a nail already in the wall over the fireplace…so, using those sticky strips it holds the hanger.
Finished falling flowers sign
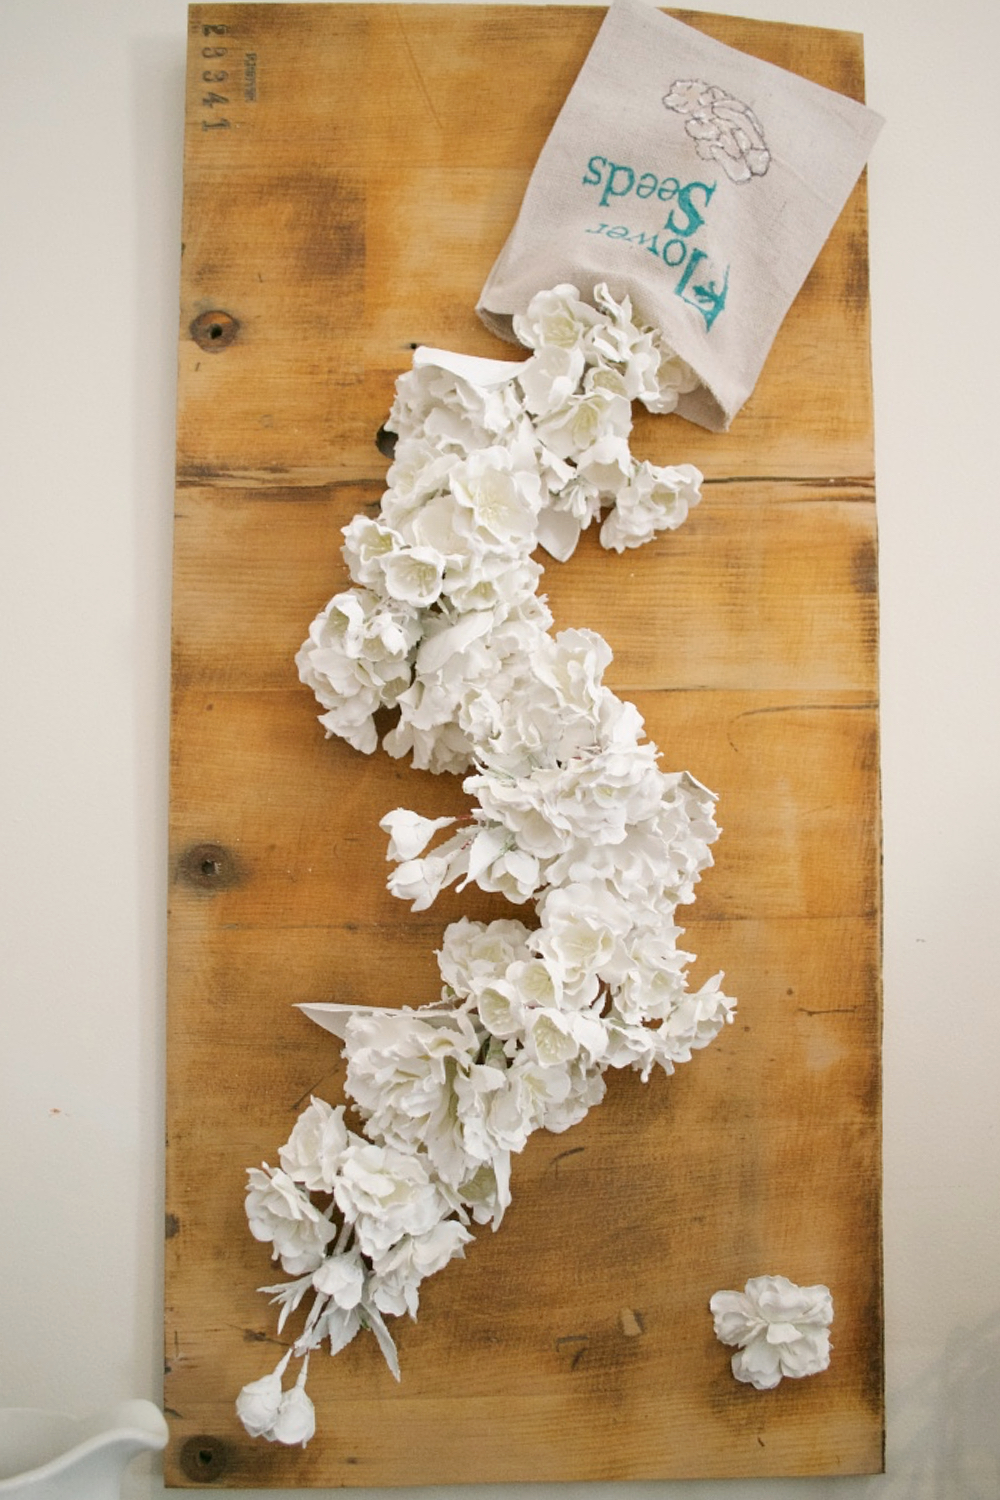
Here’s my falling flowers spring sign.
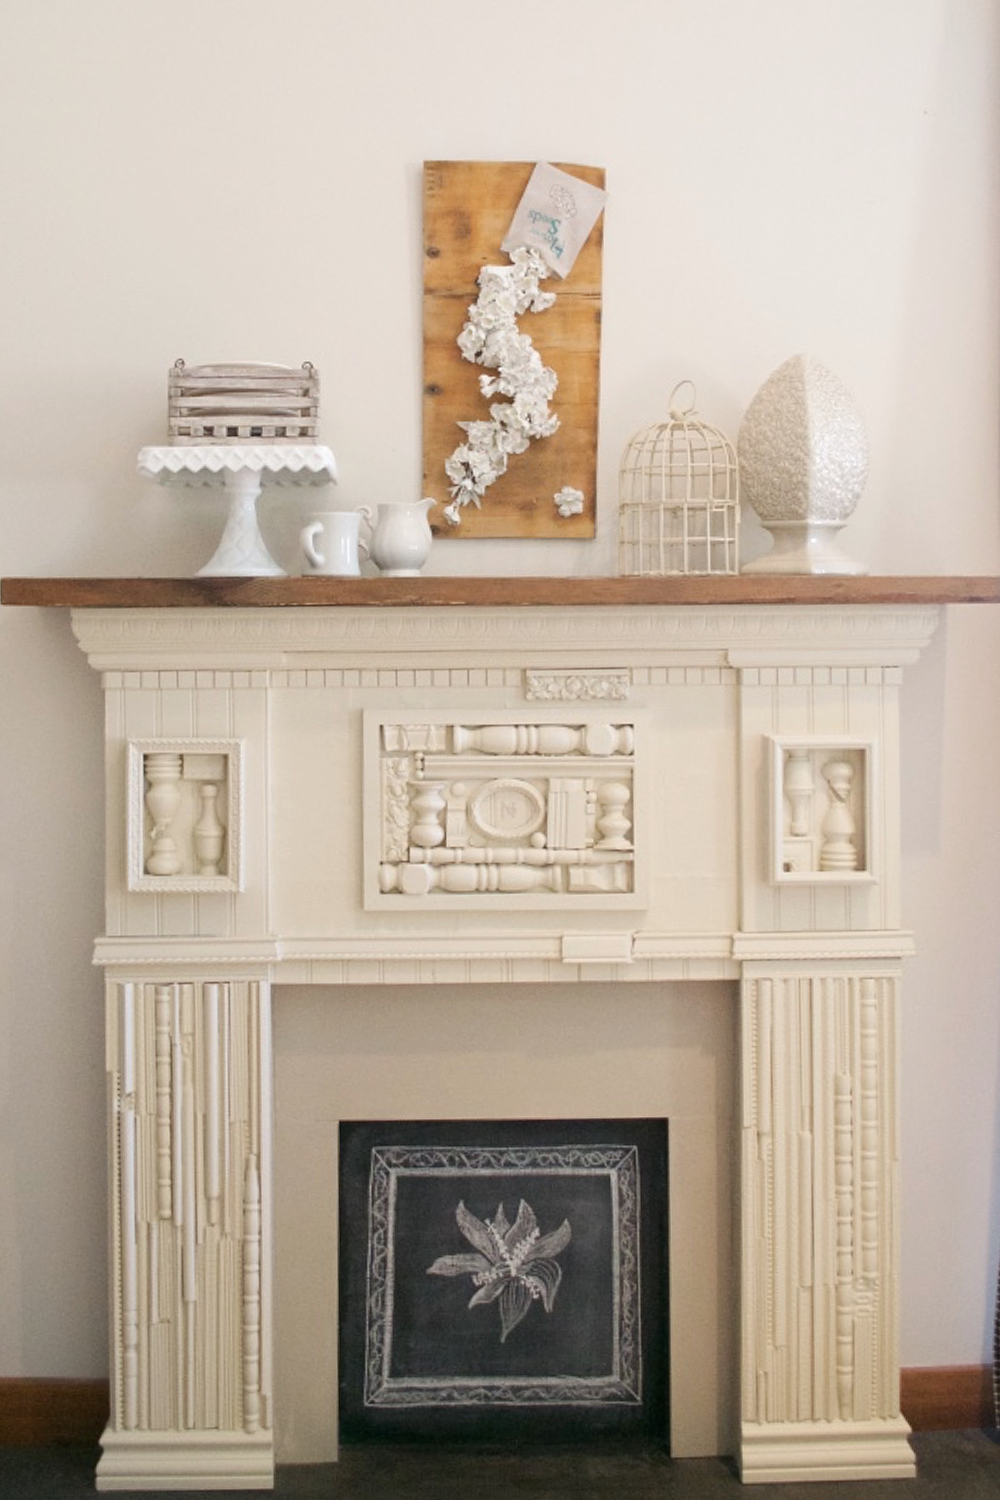
Here it’s in place over the scrap wood mantel…on that nail!
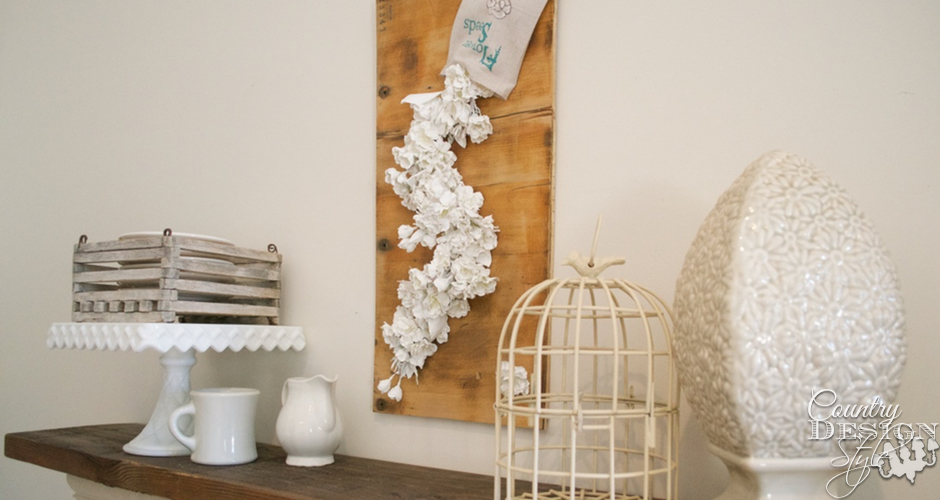
Winter white decor was added to the mantel top. Now weather…turn it to spring light.
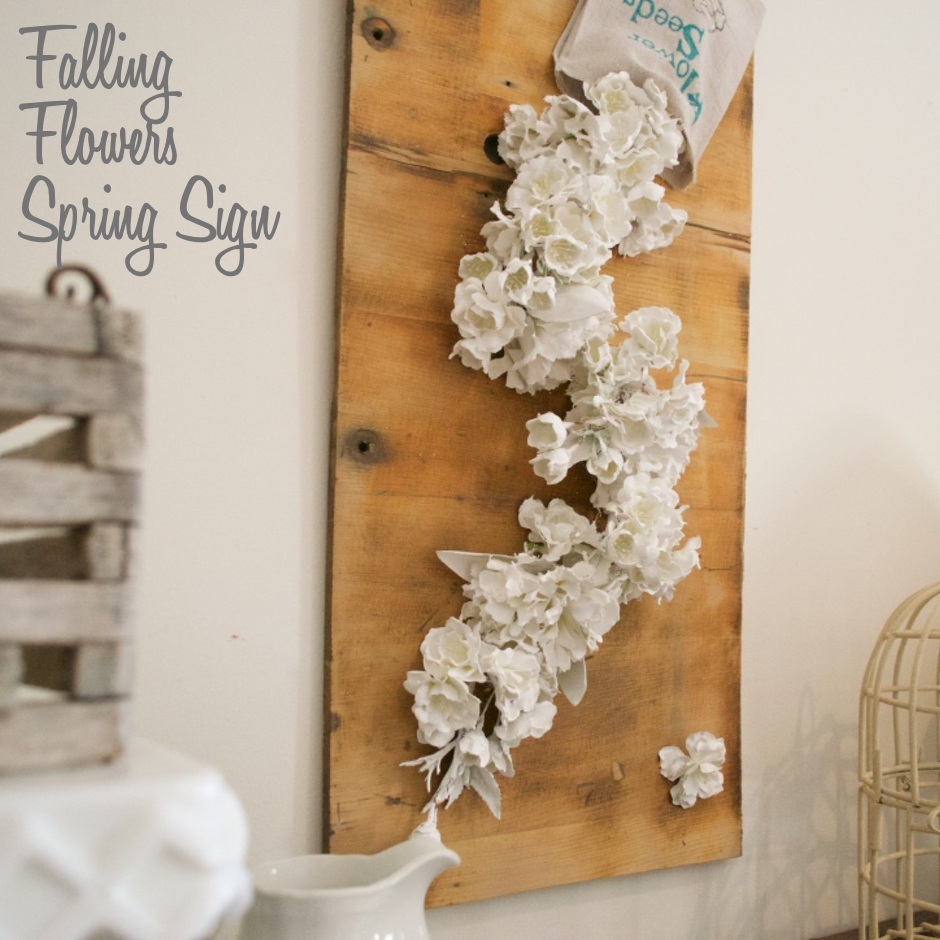
This seems like a long post, but the project was very easy and quick “hands-on time.” 🙂
Join the newsletter

Subscribe to get our DIY HelpLetter each Thursday. Plus grab your Interior Decorating Ideas e-book.


Jeanette this is beyond beautiful. It is as if the flowers are tumbling out trying to break free of the bag, a work of art. A moment in time. Perfectly captured. I don’t want to know about your dripping paint, just let me revel in the beautiful art you have created. lol.
Jeanette, this turned out beautiful, and I love that image transfer on the bag – great idea!
Oh Angie!! Thank you! I’m thrilled you stopped by! This is such fun.
Love how you put all of the elements together to create a one of a kind piece. So pretty! May just have to steal this idea and make one for myself! ;o)
Lucy, I hope you make one too! That’s the best compliment! Hugs!
I Love the things you create. This is no exception, it turned out so natural and beautiful looking. Blossoms always scream Spring! 😉
Awe, Michele, thank you so much! It’s a blast to create…messes!
Jeanette, I love this! It may of been messy but oh so worth it! It turned out great!
DeDe, I have to admit, the messy part was the most fun!
Hi Jeanette – I love this project – so creative! Visiting as a fellow contributor to #DIYMySpring. Hope your week is full of sunshine! Hugs, Holly
Glad you like it. It was a blast to make.
Love the idea of the flowers falling out of the seed packet. Interesting idea I would have never thought of covering silk flowers in chalk paint. Thanks
Thank you for visiting Claire. It was a fun project.
This is a precious idea! and can we talk about that mantel? Seriously jealous!!! I love that you painted the flowers white, what a great makeover, so uniform and fresh!
Lol! This has been so far my favorite mantel I’ve made! It’s a great place to decorate too!
I love it Jeanette! Great idea on the additive. I use Webster, but I am going to give the branded a try. It’s less money and organic.
Thanks,
Vanessa
Thank you Vanessa. I do like the calcium carbonate best…and the price.
Creative and Stunning!! I love the idea of dipping the flowers in the white paint and how you placed them cascading down on the board…so beautiful.
Visiting from the blog hop.
Julie @ Love My Simple Home
Julie, I thrilled you stopped by!
It is the great idea! I will follow your idea to decorate my house. Thanks.
Gasp… this is so gorgeous! I admit I laughed when I saw your hands… but the outcome? I think I need to get my hands a little more dirty! 🙂
Seriously beautiful how the flowers fall down, Jeanette!
Lol, Donna. Mike was shocked when he saw my hands. He took the picture. Thanks for all you do for us bloggers and Hometalk.
Gorgeous sign! Such a unique idea! Visiting from the #DIYMySpring blog hop.
Lauren, thank you for visiting. I’m heading over to your Spring Living room soon for a visit! Fun blog hop!
love your idea! would like this in place of a ‘the standard ‘spring wreath!
Thank you kindly!!! Mike wants me to move it to our front porch. Might do that next week when we have guests.
Oh, this turned out so cute!! Visiting from #DIYMySpring ! 🙂
Thanks Sadie, I love your idea for old springs! We have a chipmunk in one or our birdhouses! Wonder if he might need nesting material! 🙂
Your sign is gorgeous! I love the falling effect – the blossoms look like they’re floating 🙂 So pretty!!
Thank you, Emily! It did turn out better than I envisioned…whew!
This is SO creative–love it!
Thank you Cecilia!!!
I absolutely love your project! It is unique and so pretty! Well done!
Thank you Lindsay! It was quick to make…when the flowers finally dried! 🙂
Beyond fabulous! Love how you creatively combined these items and textures so beautifully!
Linking from the DIY My Spring hop 🙂
Cheers!
Thank you so much, Christine! I can’t wait to visit and share all the creativity!!!