Easy Chalkboard Easel
I had very little time and wanted to make a quick chalkboard easel for the furniture painting demo I did last weekend.
Inexpensive would be good too!
So here’s what I did.
I had a 2 foot by 4 foot by 1/4 inches thick of MDF {medium density fiberboard} that I cut in half.
Then I drilled 5 large 3/4 inch holes along one edge. This would be the top.
Then 2 coats of chalkboard paint on the boards.
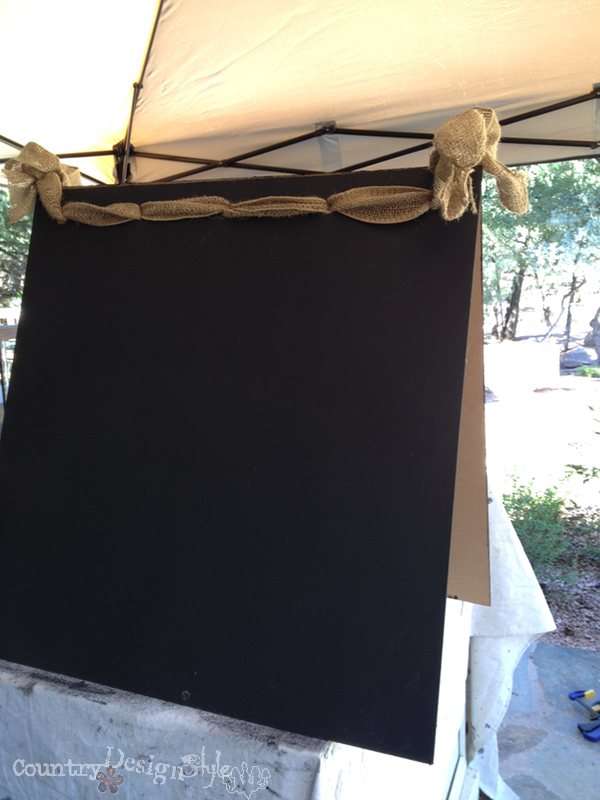
I threaded burlap ribbon through the holes to hold the top together.
I added a scrap piece of wood to the bottom for added weight and keep the easel open.
Still I wanted something else….
You know how I love a spindle!
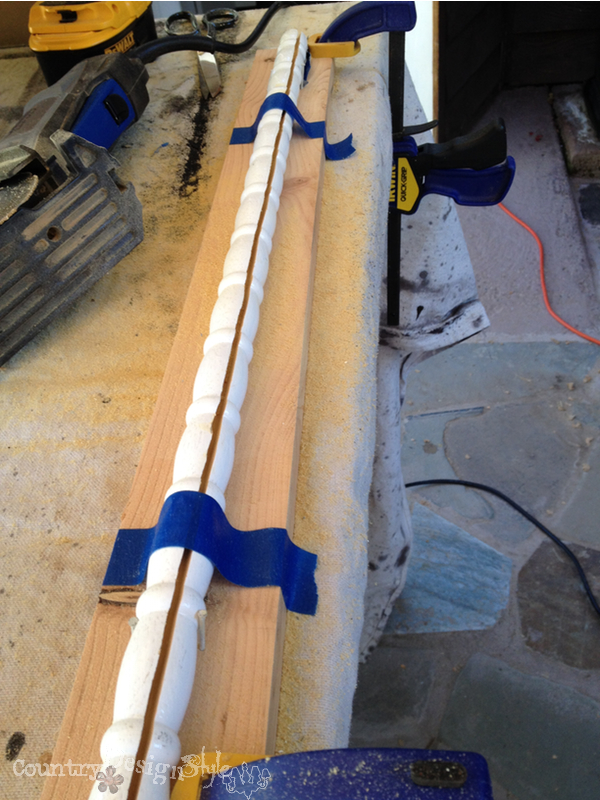
Another scrap piece of wood with four nails holds the spindle in place while I cut a groove into the spindle. I also added some painter tape and simple cut through it, but it wasn’t needed. The nails held the spindle just fine. I cut about 1/3 of the way into the spindle.
I rotated the spindle slightly and cut again to make a “V” cut.
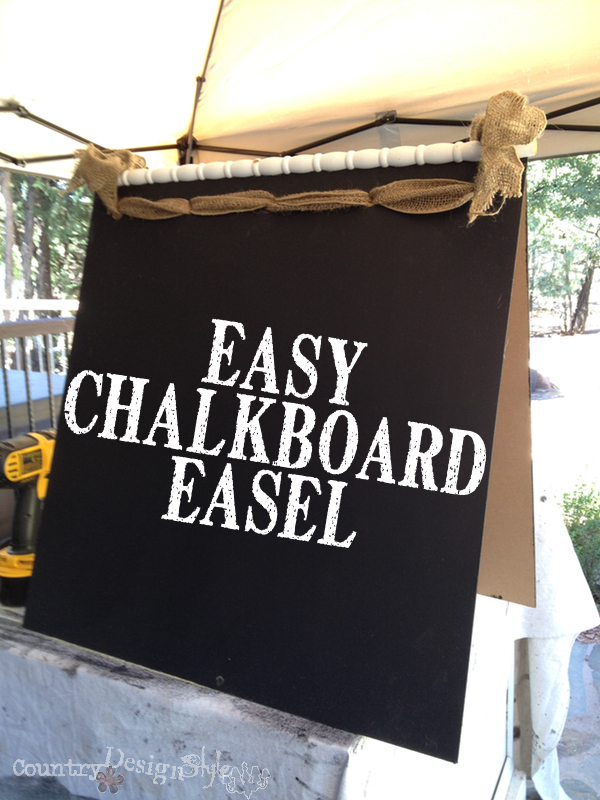
A little wood glue into the “V” and sliding over the top boards and….
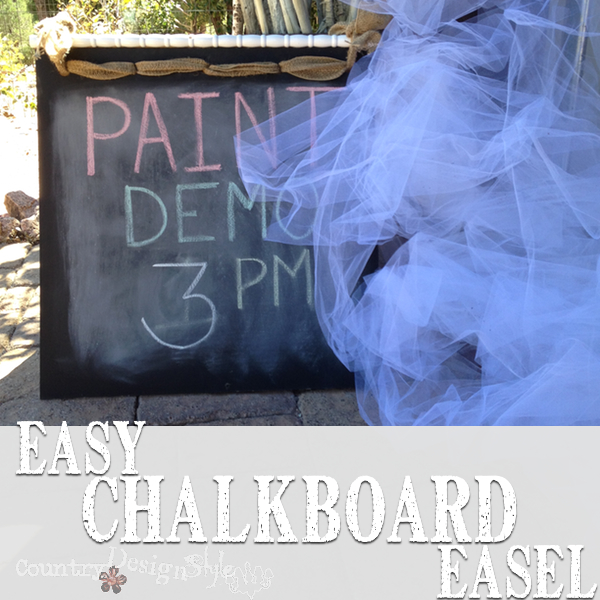
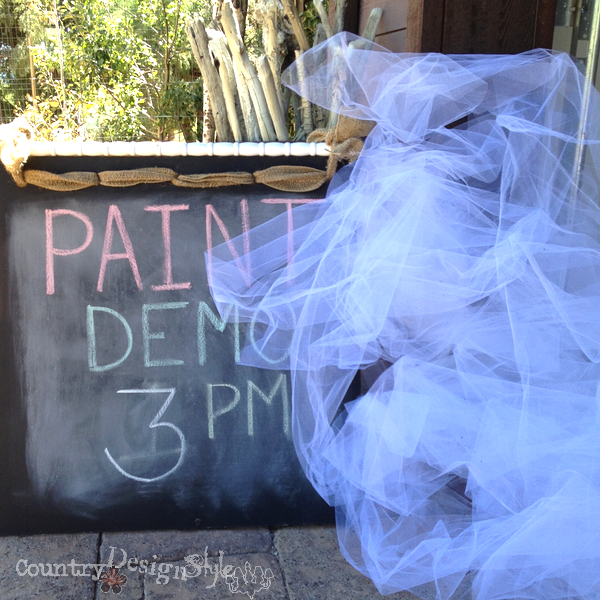
A cute, fun, funky, burlapy quick chalkboard easel.
Here’s it’s photo op with tulle as I was unloading the car.
This took about 20 minutes to make plus paint drying time.
The furniture painting demo was a blast. You can see more demo photos here.
Join the newsletter

Subscribe to get our DIY HelpLetter each Thursday. Plus grab your Interior Decorating Ideas e-book.

This looks great and love that you can reuse it for different events! wish I lived closer and could have gone to the demo!
i wish i could have been there also..if only to admire all of your handy work xx
That spindle really was the finishing touch and made it your signature piece! Happy to be seeing all of your work putting together your booth. It’s the next best thing to being there 🙂
Andi, I wish you had been there. I learned so much! 🙂