Burlap Gift Box
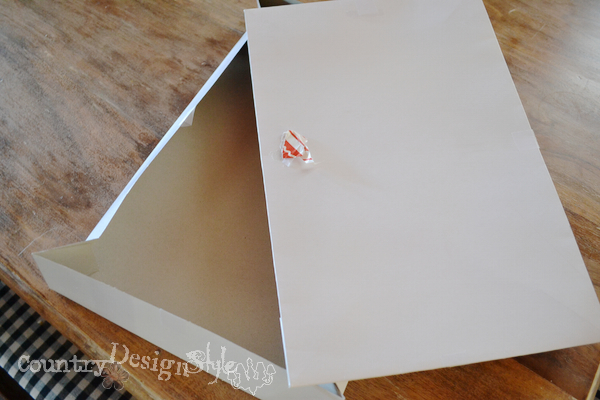
How many white gift boxes do you have stashed in a closet? We have 74! And 68 are held together with tape. Today I’m recovered one to make a burlap gift box.
Held together with glue!
I wrote a reminder in July to think about gifts to buy. Want to know what I did with the note?
Moved it to August!
Want to know what I’ll do with it next week?
You guessed it, move it to September!
Four more times I’ll be panicked and running about with my head spinning. Just like every year.
his post contains affiliate links. I may make a commission for your purchase at no extra cost to you. Think of it as a friend letting you know where I found a product I use, love or want. Click here to read my full disclosure policy.
The Steps
I needed to wrap a gift for a sweet friend last week. I wanted it to be unique. When looking at the gift wrapping supplies I have, ugh! This was the best leftover gift box I could find. You know the one with tape stuck with a piece of Christmas paper that was left from all the tearing and ripping.
A gift wrapping station in the cabin would be incredible. But the dining room table has to do.
Burlap to the rescue. A burlap gift box. Easy and breezy…and a bit sticky.
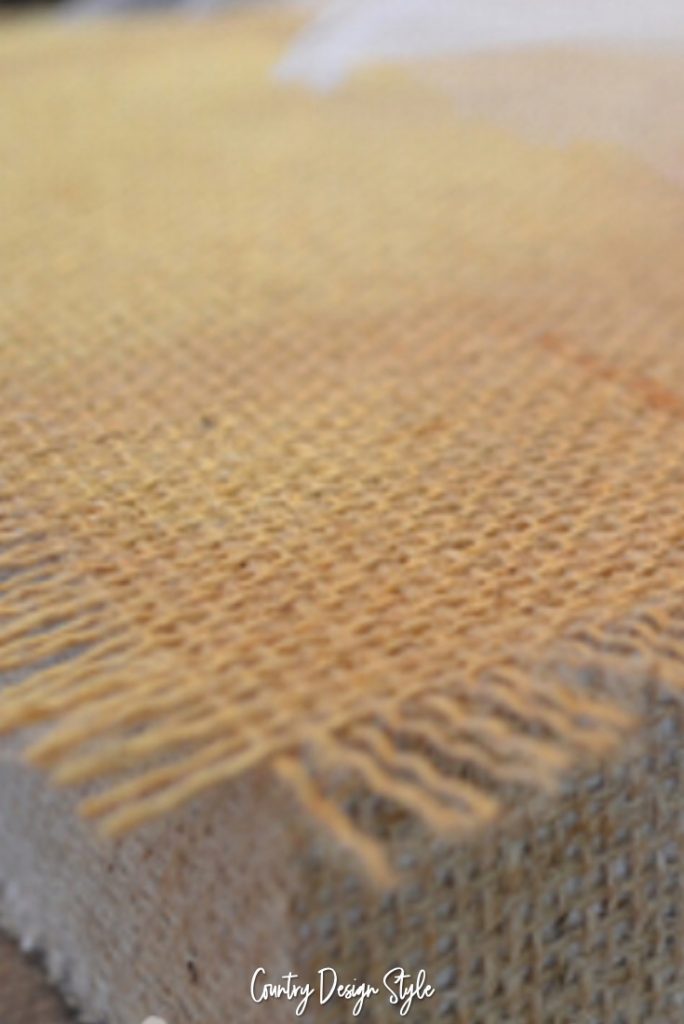
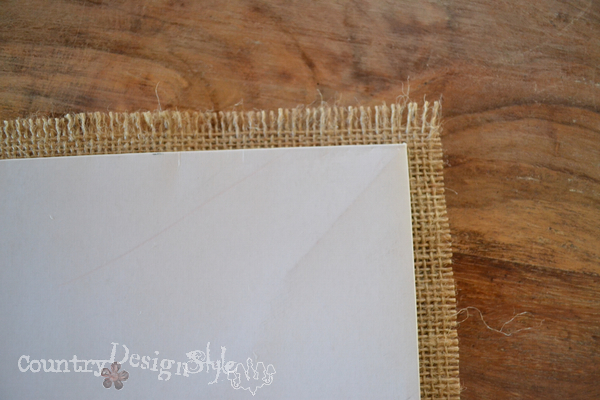
I cut burlap to the size of the gift box while the box was folded flat. The top had about a quarter of an inch around all four sides. After gluing I pulled the extra on the top sides for a fringe effect. 🙂
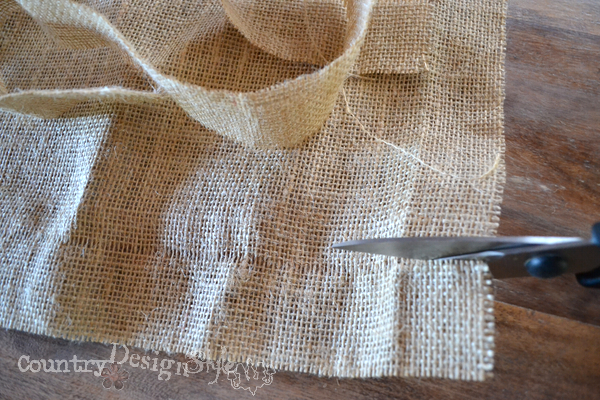
To cut burlap straight, pull a thread where you wish to cut. Then cut along the “blank” line. Above I’m cutting 2-inch strips for the sides.
Here’s the sticky. I didn’t take a photo because I didn’t want to get stuck to my camera. :/ I used the stray mount glue in a can to stick the burlap to the top and bottom.
The sides of the box
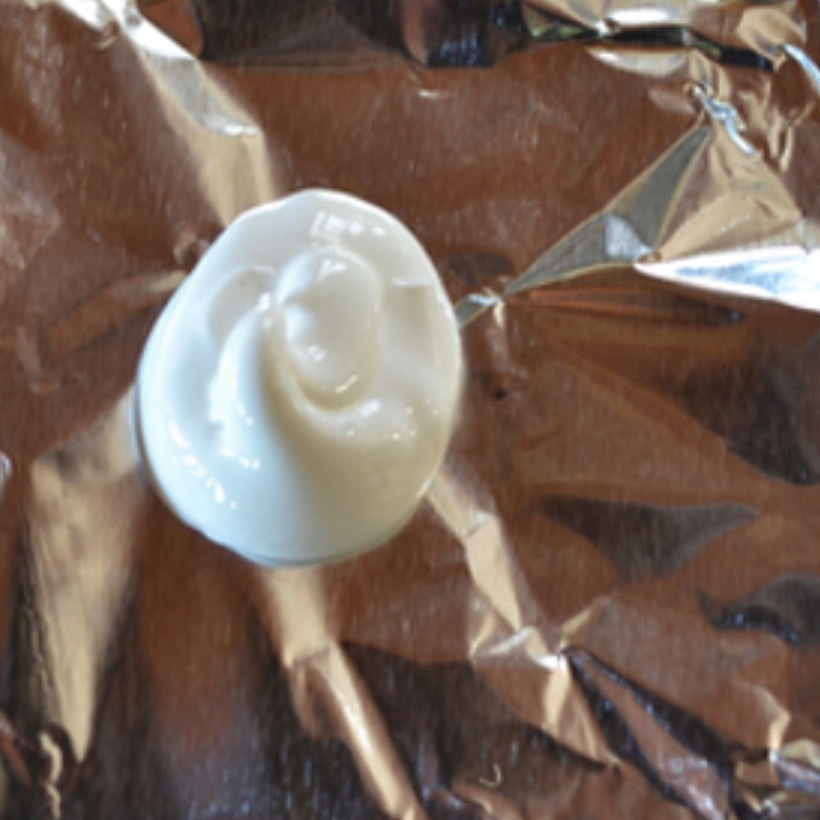
Then I applied the burlap strips with white craft glue and a brush to the sides of the top. I wanted a bit more control of the glue. Straying might get glue inside the box, ultimately gluing the gift to the box!
I could see myself doing that!
A simple tip when you need a small amount of glue or paint and don’t what to mess with a paint tray. Use a small piece of foil. Toss when you’re done.
By the way, I didn’t do anything to the sides of the bottom. The sides of the top cover that area.
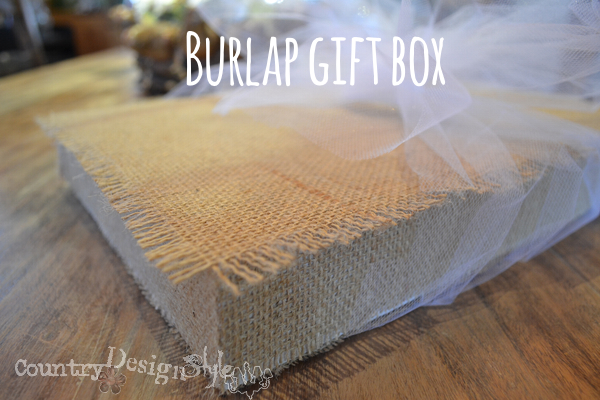
There! I added some tulle for a bit of soft.
Hum! Thinking about doing some more boxes!
I can wait till next month! 🙂
Join the newsletter

Subscribe to get our DIY HelpLetter each Thursday. Plus grab your Interior Decorating Ideas e-book.

![Tea Light Candles Farmhouse Style [battery]](https://countrydesignstyle.com/wp-content/uploads/2020/04/felted-battery-candles-fp.jpg?x17166)
It’s so pretty! I love that you fringed the edges and added tulle for the bow! I want to cover my shoeboxes with burlap to use for storage and I didn’t think about how to glue it on – thanks for the good advice on not gluing the lid on! 😉