
Beautiful DIY clay moulds confessions and results

While clearing out a jumbled cabinet I found a wooden tea box. Score, a clean cabinet, and a cool box. The bottom had sticky gooey glue from a felt cardboard. I sanded most of the glue away. Now my sander has sticky gooey glue on the sandpaper. Plus the bottom is still rough. But that won’t affect my purpose for the box.
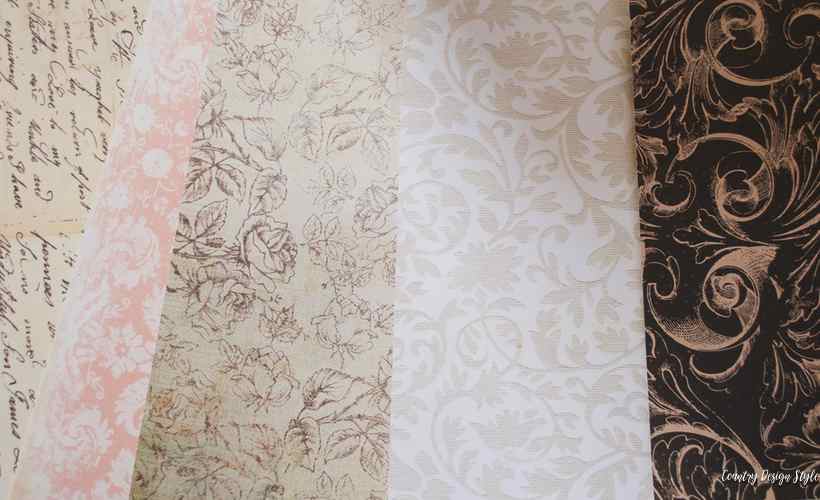
A sweet friend gave me a prima mould of these stunning labels. I’ve never used these moulds but they didn’t have instructions. So this must be easy. I picked a clay mould to try.
Clay Moulds
This post contains affiliate links. I will make a commission for your purchase at no extra cost to you. This helps me maintain the website. Thank you for your support. Think of it as a friend letting you know where I found a product I use, love or want. Click here to read my full disclosure policy.

I ordered paper clay from Amazon and picked my favorite label from the Prima Mould. This link shows several different moulds.

I started with a piece of clay to overfill the mould. I kneaded the piece of clay to soften. Shape to the size of the mold, press in.

Then remove the bulging excess with a flat edge or butter knife. Sorry about this picture, it will make your eyes jiggle!!

Next, curl the mold back to release the clay. Let the piece dry for at least 24 hours. More if it’s a thick piece. After 12 hours I flipped the piece over to dry the back side. I was surprised at how well the details popped from the clay moulds.

This is the tea box I found buried deep in a cabinet.

While the clay was drying. I dry brushed the tea box with chalk based paint in gray. I painted the inside with two coats. Hides some of the glue mess.

I used my favorite wood glue to apply the piece to the box.

Next, I dry brushed over the piece with a creamy white chalk-based paint and then the gray color. I used a paint marker to make the lettering.

Tea box to hold small journals
The tea box fits perfect in the organ makeover desk. Now all my little journal books are in one place.

Now, that I’ve worked with Prima Clay Moulds, I will be creating more projects using them. Some ideas I will try next time.
- Use a wet paper towel to go over the back and smooth the back. Even leave a slight groove on the back. I noticed the edges lifted, plus a groove area gives the glue a place to sit.
- The clay does shrink and curls up on edges. Next time I will reform edges if needed.
- Add a bit of water to keep the clay softer.
About my little journals. I’m not an active “journaler” if that’s a word. For years, I felt guilting about buying a journal and not writing. Finally, I accept that I can write when I want and not write when I’m busy with other things.


Jeanette,
Loved what you did with the tea box. I have prima molds too and never thought about putting it on a box like that. The molds are so easy to work with and they have a lot to choose from. Thanks for the great idea.