
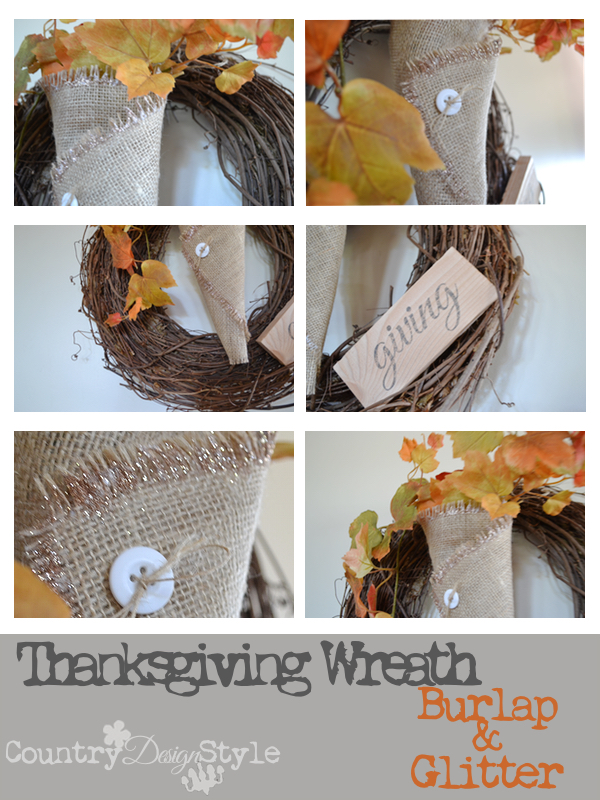
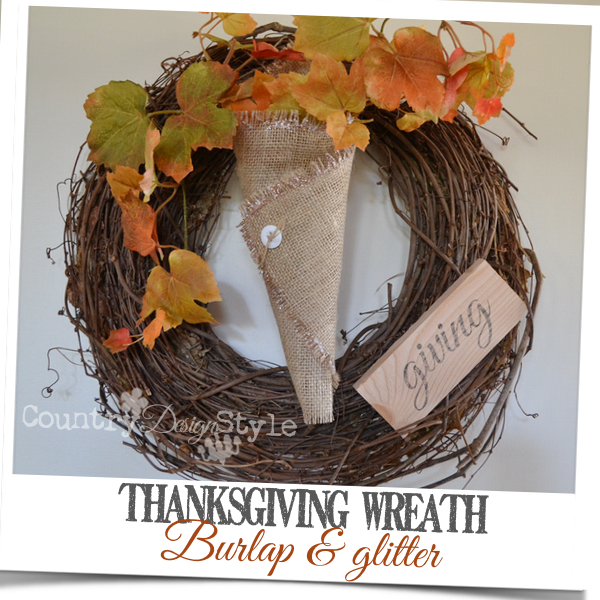
Thanksgiving Wreath

I’m testing myself every month by redoing a grapevine wreath for each month.
Burlap on a Thanksgiving wreath, expected! Glitter…hum, not so much!
It’s starting to be a busy time of year, so I made this easy. A burlap nosegay with glitter! Why not??
I’m starting out with a grapevine wreath. Actually, two wreaths wired together. One small wreath inside a large one to make a thick wreath. As you can see from all the different decor this wreath has been picked, poked, prodded, tied, glued, hot glued and wrapped.
It still survives!
Nosegay
 A nosegay is a fancy term for a cone. I’ve made several over the years from paper, scrapbook paper, newspaper and gift wrap. This is my first burlap nosegay…cone!
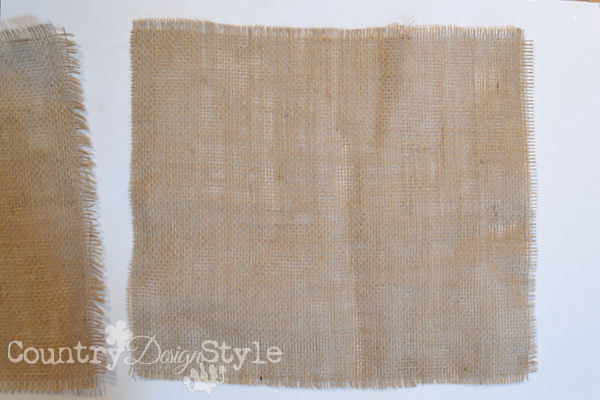
Step 1: Cut a square of burlap about 12 inches by 12 inches. To get a square cut simply pull out a thread of burlap and cut the gap.
 Step 2: Unraveled three sides to give a frayed look. The one side that didn’t get unravel is folded over to the center of the far side. Hot glue the edge.
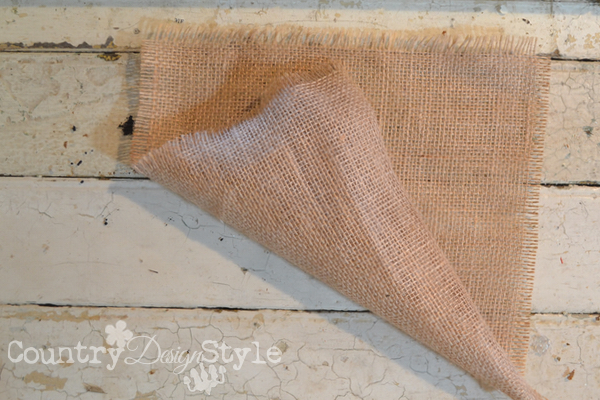
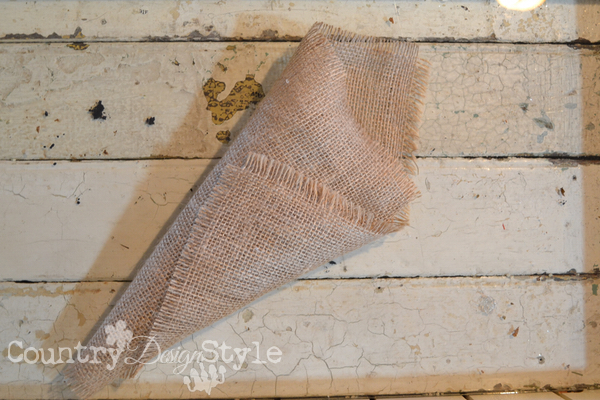 Step 3: Wrap the other edge to form a cone.
Doesn’t ice cream sound great right now??
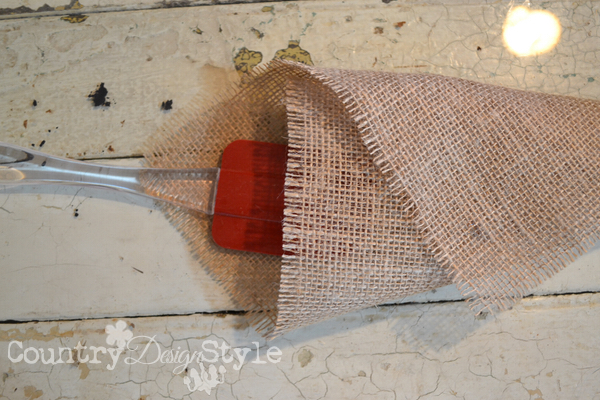 Step 4: A dollop of hot glue holds the burlap in place. A rubber spatula keeps the hot glue from going through the layers of burlap. A spatula on top to press saves your fingers. You can read my hot glue gun tips for more interesting gluing ideas.
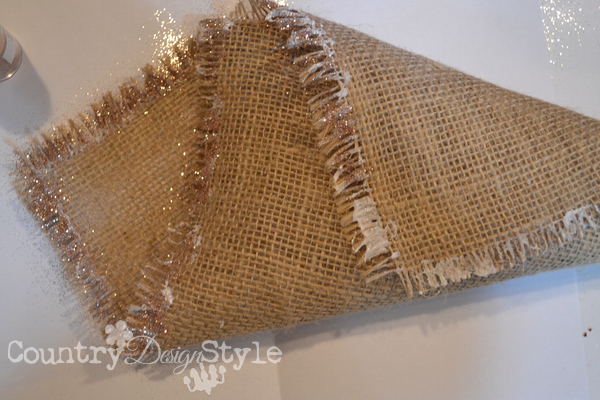 Step 5: Add white glue to the frayed edges with a paint brush. Then sprinkle with glitter. I used a bronze color of glitter.
Printing
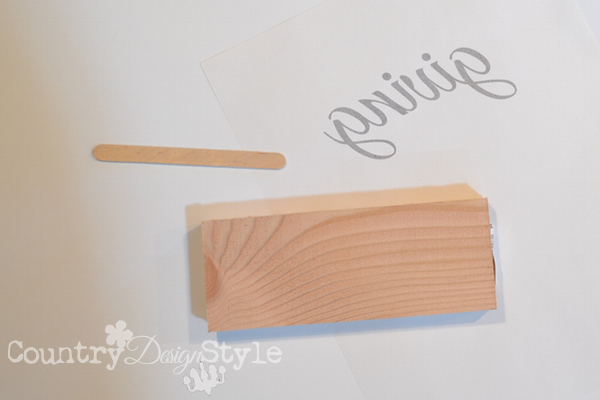 Step 6: Don’t do as I did! I printed out the word “giving” onto freezer paper flipping the word so it’s backward, before finding a piece of wood for the word to fit!
I did get lucky and found the perfect size of raw unpainted bare wood.
Step 7: Lay the freezer paper on the wood with the shiny side with ink on the wood. Rub with a craft stick.
By the way, I found freezer paper in 8.5 by 11-inch sheets on Amazon.
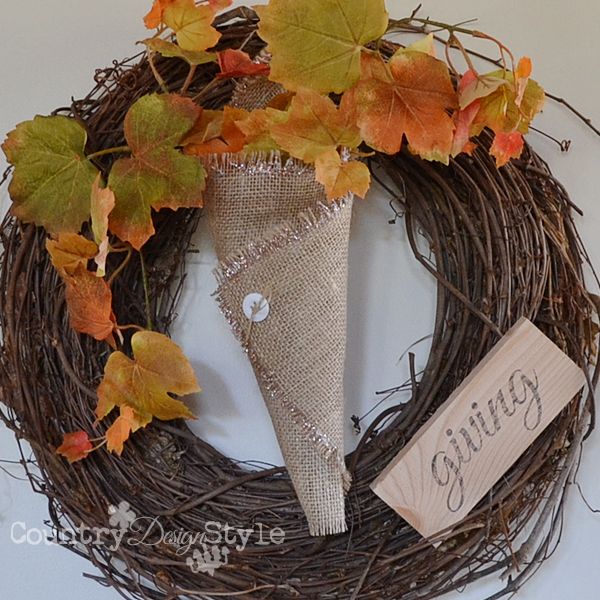 Step 8: Hot glue a small button threaded with a thread of burlap onto the nosegay. Thread another piece to the top and tie on the wreath.
Step 9: Tuck the piece of wood into the vines to hold in place.
 Glitter is great for Thanksgiving, don’t you think??
Just keep it off the turkey!
My little disclaimer: Any products or companies mentioned in this post have not given any compensation or products for this post. I used and purchase these items for use in our home and to share with you. 🙂
Watch for Country Design Style to be featured on Shutterfly! I’ll be sharing the feature everywhere! Woot, woot!
Join the newsletter

Subscribe to get our DIY HelpLetter each Thursday. Plus grab your Interior Decorating Ideas e-book.


love it bronze glitter sets it off to me and the fact the poor wreath has survived is amazing lol xx
Lol, Chris. I’m amazed at just how well the wreath is doing! Only one more month then it can retire. Jeanette