
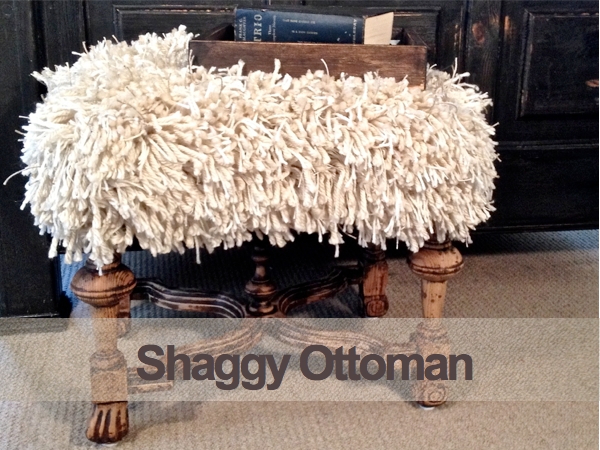
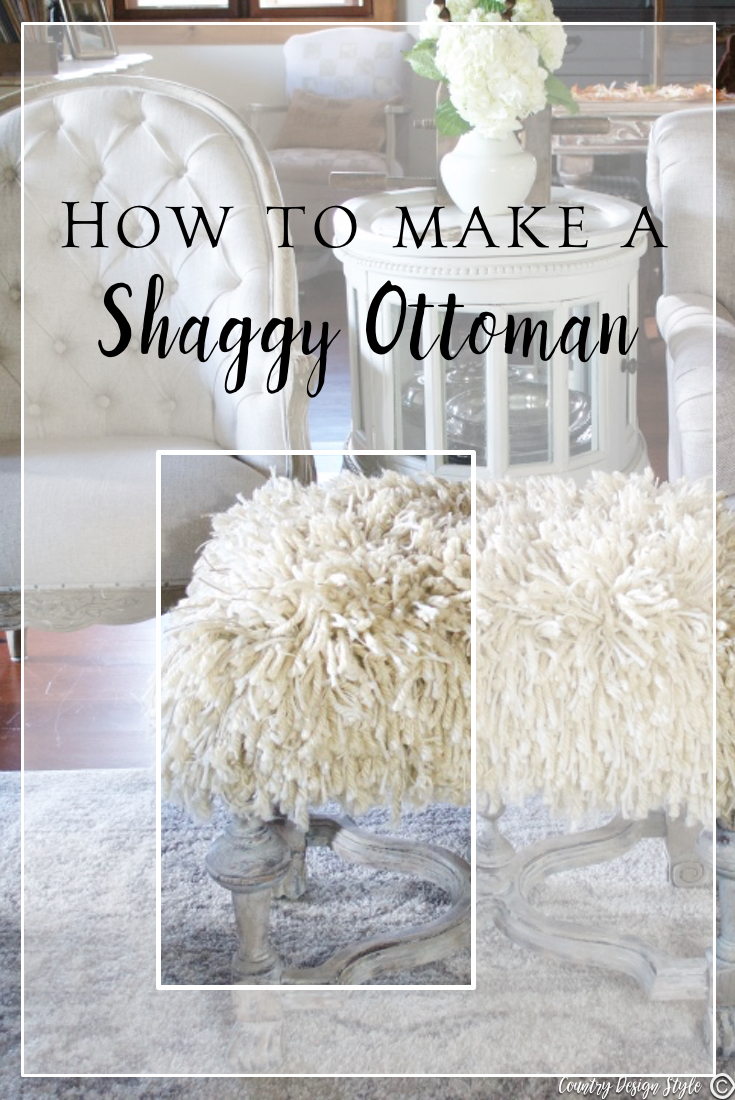
Shaggy Ottoman
Don’t you love those moments when the heavens open up and the stars line up in your DIY world?
When I made this project, I wasn’t aware the shaggy ottoman would end up my top 5 DIY projects….ever!
This post contains some affiliate links. Click here to read my full disclosure policy.
Inspiration
I loved the Shaggy Ottoman in the Viva Terra catalog. But what freaked me out as I had just bought an awesome ottoman at a local thrift shop. I could redo it and have a similar look!
Wahoo!
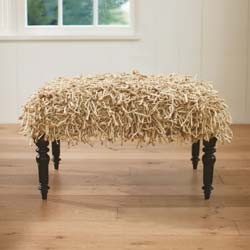 VivaTerra Ottoman {not longer available}
No longer available doesn’t mean you can’t make your own! Just follow my steps below…and have a list of movies you want to watch. 😕
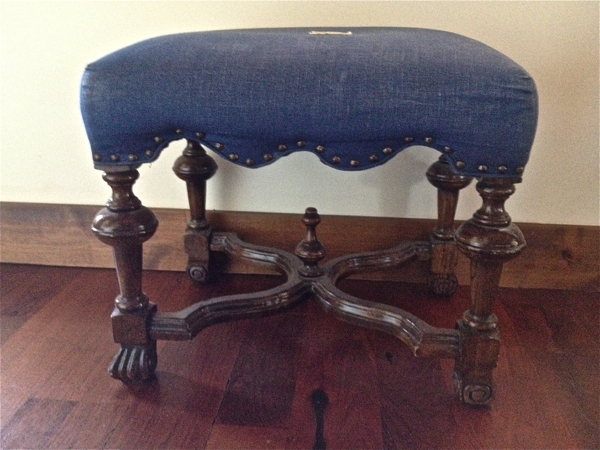
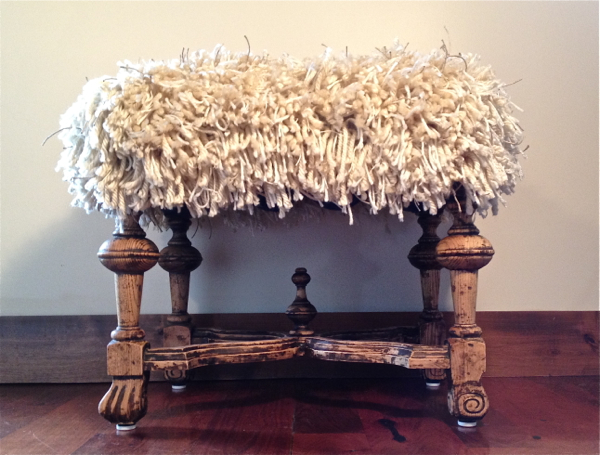
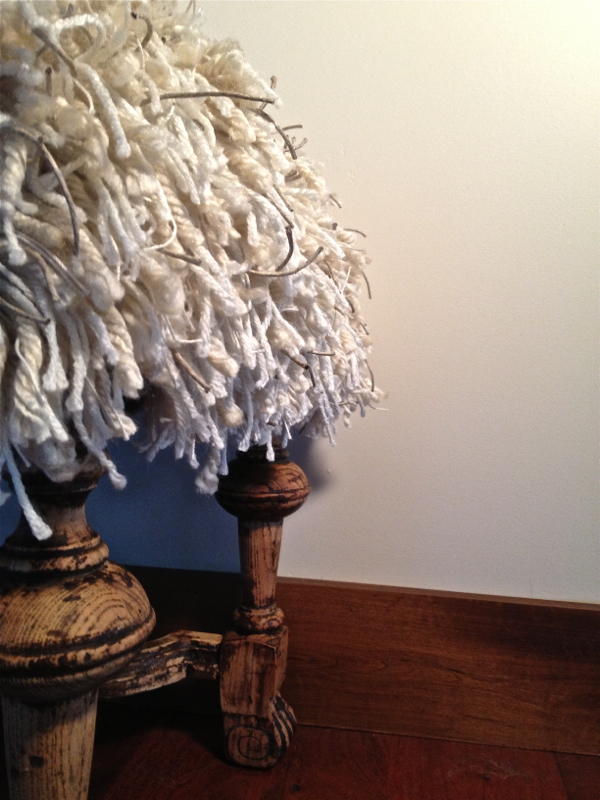
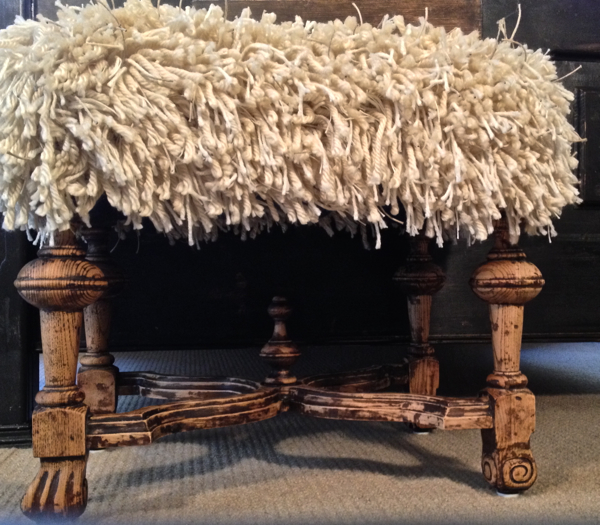
Here is the ottoman I bought.
Any basic padded ottoman will work. Actually, if you can add padding any ottoman or bench will work.
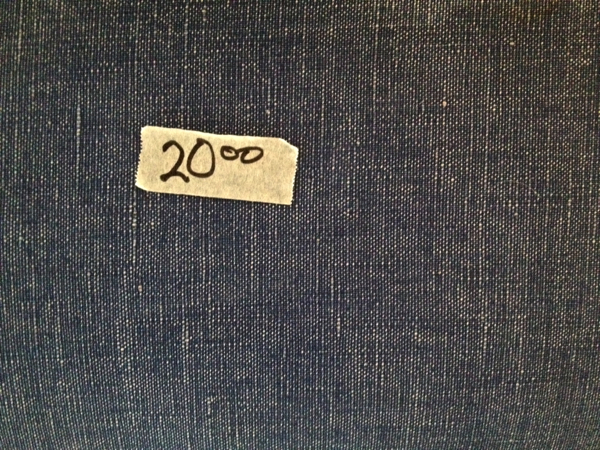
For $20!
The Yarn
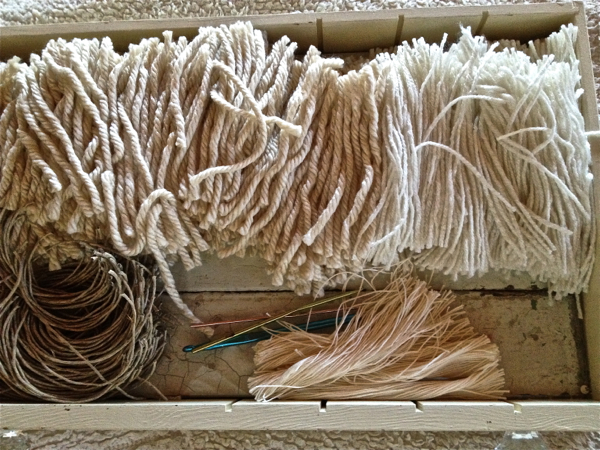
I gathered yarn and string in various sizes.
A fat yarn
“Regular” yarn {I can’t knit}
Hemp string
Crochet string
I cut 6-inch lengths of each type of yarn. This was easy by wrapping around a book several times and cutting.
Remember making pom poms as a child?
The cover, will it be itchy?
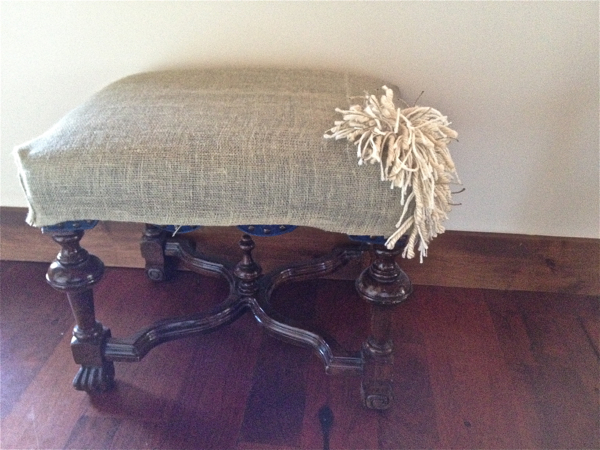
I needed a cover for my yarns to loop onto and cover the blue.
Burlap!
I grabbed a piece larger than the blue cover. Then I warmed up the hot glue gun. You can read lots of hot glue gun tips here. I used the rubber spatula to add a bead along the corners. Hot glue is perfect for “sewing” burlap. The seams were “sewed” with hot glue too. Now I have a removable burlap cover.
Adding the Yarns
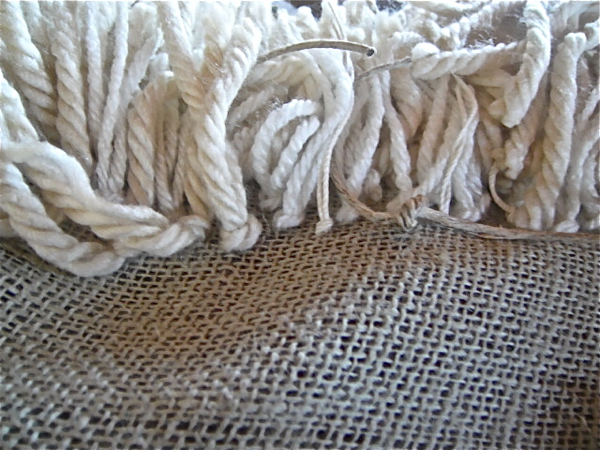
I used a crochet hook to loop the yarns and strings. Working from the top, push the hook into the burlap. Then in the next hole push the hook back to the top. Holding a piece of yarn, loop on the hook and pull the middle back through the burlap. Make sure the ends don’t follow! Then loop the ends and pull tight. I used a larger crochet hook for the fat yarn and smaller for the other yarns and strings.
The yarns and strings are randomly added and spaced.
If you’re a rug hooker, could this be done faster using a rug hook? Please tell me no;-)
I continued this while watching 11 movies, every evening for almost two weeks.
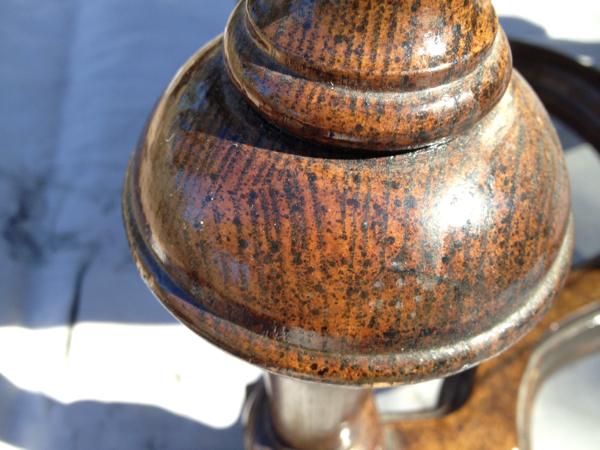
Those sexy legs!
Whew!!
Now to address the 80″s look of the legs. I realize the Vivaterra bench has dark legs but I wanted a raw wood look for my bench. So I used paint stripper…yuck!
As I removed the softened paint, I left some in the nooks and crannies.
Let it glide across the floor
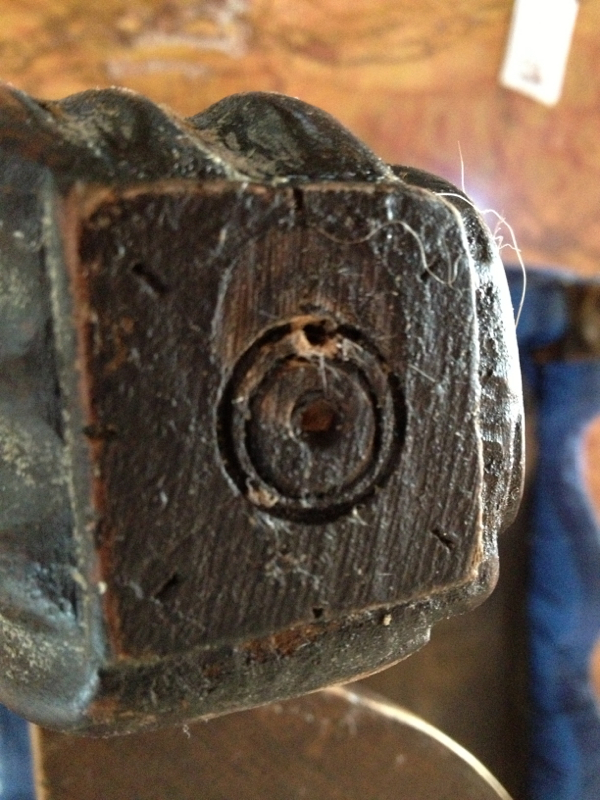
The bottom had gliders that were missing…
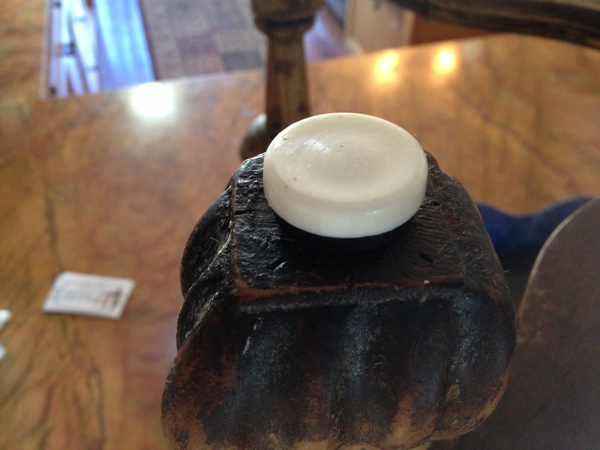
and since we have wood floors, I added a rug hook

Here’s my before and after picture.
The burlap and yarn cover can slip off and on. At some point, I will make a linen cover using the nail heads for a different look.
Okay, forget that I love this shaggy ottoman and I don’t see it changing anytime soon. 🙂
I spent about $12 for my yarns and strings.
My updated shaggy ottoman is $32!
Update: Below is an update to the shaggy ottoman in our “NEW” industrial farmhouse living room. The ottoman is still shaggy! I just lightened up the legs to go with our new style.
I used my homemade whitewash wax to lighten the legs. Yes, we do use it!
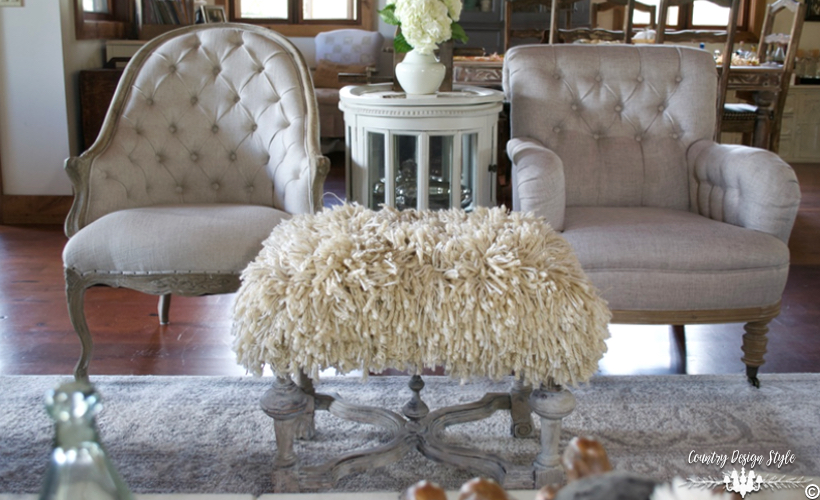
I love my shaggy ottoman! Think I’ll put my feet up on my shaggy ottoman and watch a movie.
And I’m excited to share the inspiration continues…
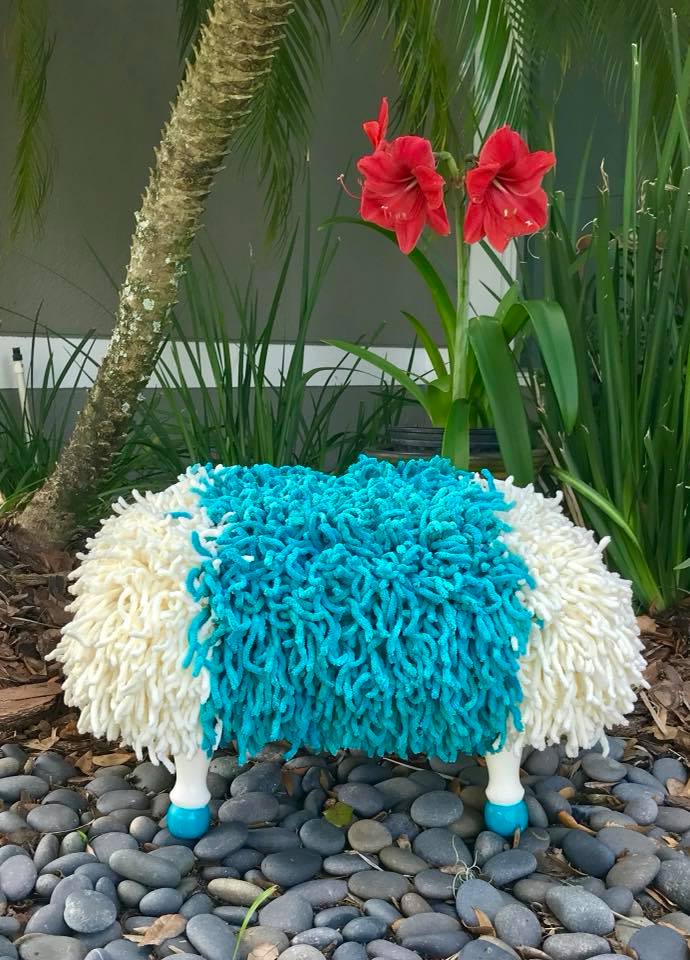
This amazing shaggy ottoman was created by a dear reader. She started following on my first blog. I love the colors of the beach she added to her beach ottoman. Thank you for sharing your creativity.
I created this shaggy ottoman in 2013 and after 7 years the ottoman needed an update. The next cover took under 30 minutes to create! You can see the updated coffee sack cover here.
Watch any good movies lately?
Join the newsletter

Subscribe to get our DIY HelpLetter each Thursday. Plus grab your Interior Decorating Ideas e-book.
This is awesome! I love the shaggy ottoman. And, it reminded me that I already have the supplies to make a new mane and tail for a wooden rocking horse. I should pull it out snd get it done!!! ☑️
Looks like everyone already responded to the rug hook method! That’s how I am going to do mine. It eliminates several of your “tying” steps. I dearly love this and fully intend to make a larger one! BTW, I am going to use rug hook webbing instead of burlap. I think it will be pliable enough on a larger piece. What do you think? Yea or nay?
Hi Linda! Definitely and Yea! Rug hook is the way to go…unless you like movies. LOL! ~ Jeanette
I have been haunting Goodwill since I first saw this post, searching for a perfect ottoman to use, with no success. I have in my stash, a very old, smallish, red, coffee table frame with cool legs and no top. I’m thinking of making it into a shaggy bench – how many movies do you think it will take me? 😉
Andi,
Heh, heh! About 6! But only 4 if you use a latch rug hook! I’m going to get one the next time. There will be a next time! ~Jeanette
Adorable! I’m totally inspired! But I have a sneaking suspicion that my cats would think I made this just for them to scratch….
Karen, thanks! Yep, I would have had second and third thoughts about doing this it Homer was a cat! Now with little Bella, it’s her favorite spot to curl up.
What’s up, constantly i used to check blog posts here in the early hours in the daylight, since i enjoy to find out more and more.
I love this ottoman. I have an old one from my grandmother. I’d love to attempt this diy project. Can you give me an idea how much yarn (skeins) you used? I’m a beginner at this type of thing, so all suggestions or tips are welcome!
Thanks Nancy for the compliment! First check into using a rug hook. I’ve never used one but I have a smaller ottoman in the guest room I’m thinking about doing something similar.
I used 4 different types of “yarn” The most used was a fattest yarn I could find and used 3 skeins of it. Next was a regular yarn and used 1 skein. Another is actually thick crochet string and I used 1 large ball. Lastly I used a rafia type string and used 2 balls of it for texture.
My ottoman is 24 inches wide by 18 inches deep and I have a drop of 6 inches on all sides. Ottoman is actually very soft and fun to pet. Mike still pets it every time he walk past.
If you do made one I would love to see a picture! 🙂 ~Jeanette
Thank you so much, Jeanette. You’ve given me the inspiration and now the details to make this happen. I’ll keep you posted once I get started after Christmas. BTW, I happen to have a rug hook leftover from my BK (before kids) creative days! Looks like destiny 😉
Jeanette,
This is so cute!!!!!!!!
Thank you Christine. Our little dog will finally hop up on it and curl up. The first few month she would not get near it! Jeanette
I adore this! I’d pet it, too.
That’s some serious commitment to an project…well worth it, though.
Tina, thanks! I really happy with it. I made it so I could remove the shagginess if I wanted to but I don’t see that happening anytime soon. 🙂
Very cute! Found you through Glitter, Glue and Paints Throwback Thursday!
Thank you Becca, we are enjoying putting our feet up;)
Oh my hind parts are itching to sit on that. TMI? Not between friends.
You did a great job. I am sure the 11 movies got you through. I so wish I was crafty.
Sophia
twentyfiveseasons.com
Sophia, first what a beautiful website you have! I’m following in a few different ways:)
It’s funny, everyone who walks in loves the ottoman, has to “pet” it, and check out it’s legs…but few actually sit on it. It’s surprising comfortable. It was make well with big springs. Just hope one doesn’t poke through, it would be seen right away!
Looks great! You are very creative!
Thank you Judy! Actually it was easy to do, just time consuming. I’m not big on watching tv but thank goodness for tv movies! 😉
Hello to another Jeanette (friends call me Jen… feel free),
Your ottoman is gorgeous! I want to try this soon.
A note about hooking. I’m not sure how you did it with the crochet hook, but my thinking is that the rug hook method would make the yarn/string pieces a bit more secure. It makes a knot sort of how tags are attached to clothing.I’m not sure which way goes faster.
I haven’t done hooking since college (and i don’t want to admit how long ago that was), but it’s a fond memory.
Again, GREAT job!
Hi Jen, {Jeanette}
Here’s how I did the knots for the shaggy cover. Stuck the crochet hook through grabbing the middle of the yarn piece, pull it back through forming a loop. Then I stuck the hook back in another area grabbing the two strings of the yarn pulling through to the top, then pulling the strings through the loop to make a knot. Did that make sense? I’ve never used a rug hook before. Thanks for the compliment. Send me a picture if you make one. ~Jeanette
I love it! It’s so different and fun. I like yours better than the one that inspired you; it just seems to have more personality. I so do not have the patience for something like that so I’ll be expecting you to watch more movies while you do mine. 😀
Toodie, thank you! We are enjoying the ottoman. It’s been moved around to different rooms.
Oh my goodness! This is just beyond adorable! And so fun! Pinning!
Jenna, thank you for the pin!!!