
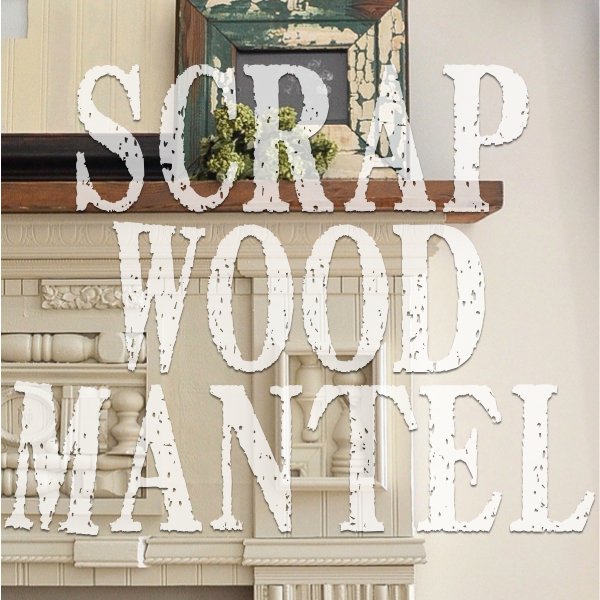
Scrap wood mantel and what I did to get one!
Have you ever been completely in awe of something you saw in a magazine? You had to have it! This happened when I saw a scrap wood mantel. This is what I did to get it.
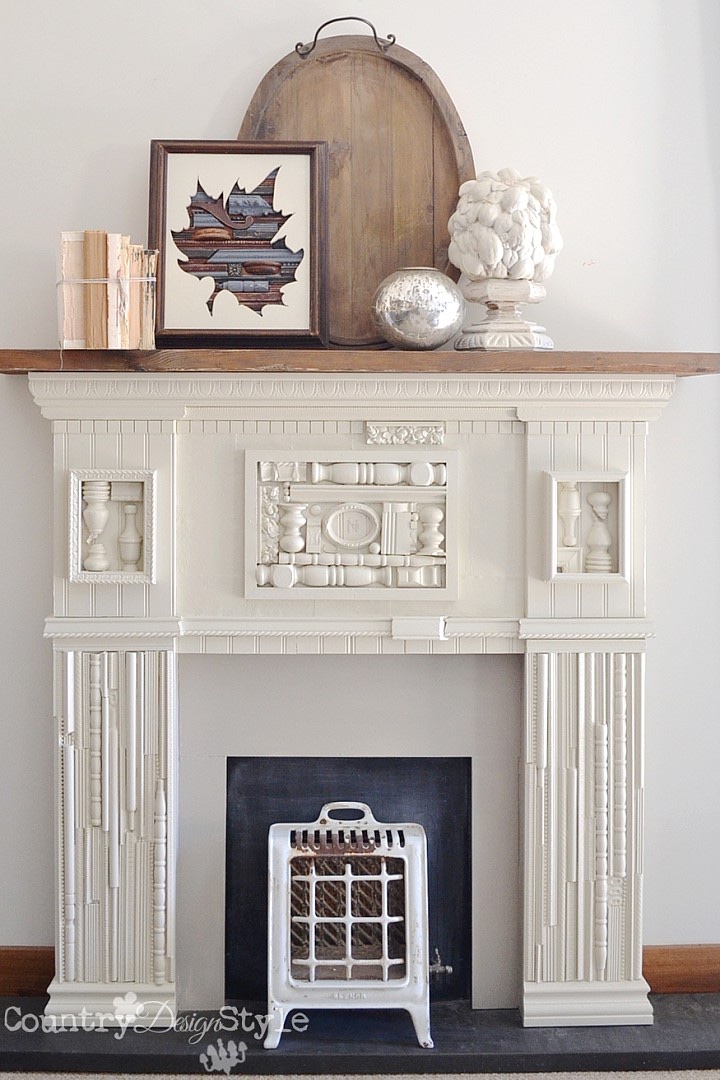
My Scrap Wood Mantel
It all started with a trip to the barn.
The Craft Fair was on Main Street…the barn was down the alley. Of course, I head for the barn!
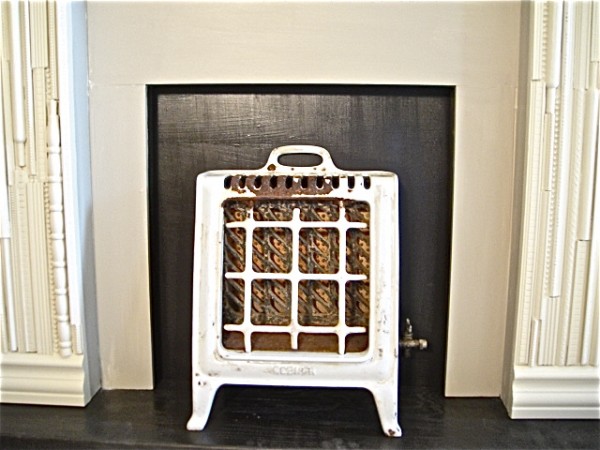
This is the treasure I found!
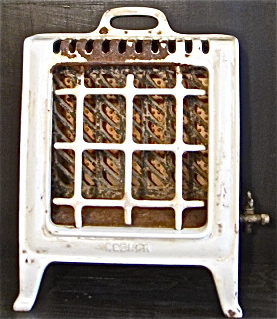 Old white porcelain enamel room heater…got it for $25! Wahoo!
 Scrap Wood Mantel
This post contains affiliate links. I will make a commission for your purchase at no extra cost to you. This helps me maintain the website. Thank you for your support. Think of it as a friend letting you know where I found a product I use, love or want. Click here to read my full disclosure policy.
I love to build mantels. I was in awe of a mantel in the July/August issue of House Beautiful. This mantel was inspired by Louise Nevelson {August 23, 1899 ~ April 17, 1988} was an American sculpture who used a technique of applying found wood objects into her sculptures and wall pieces.

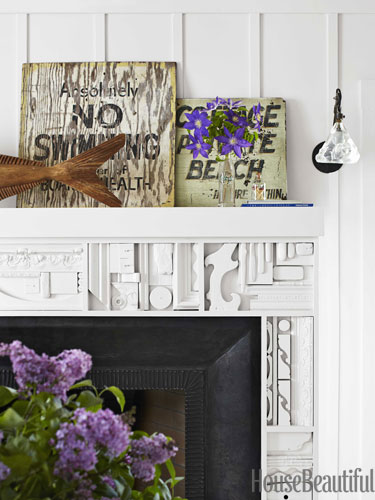
I had to build one!
I like using every piece of scrap. Be it wood, paper, metal…whatever.
I started making scrap hearts. That turned into scrap trees. And even a scrap cable box.
Now I’m ready for something bigger!
The Plans
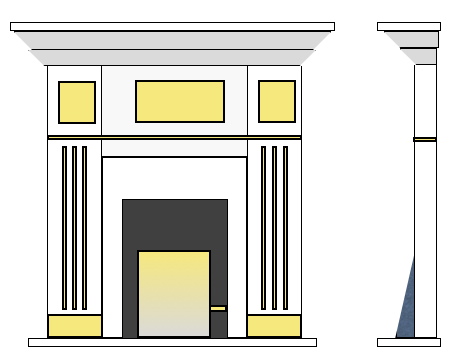
I “drew” general basic plans on the computer to get the sizes, heights, widths, and all that other stuff. Please don’t laugh. Drawing on the computer screen with my pencil isn’t easy for me. 🙂
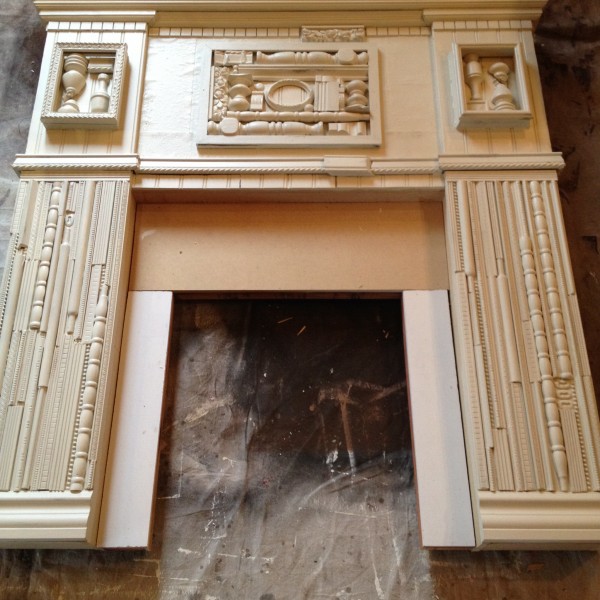
The Boxes
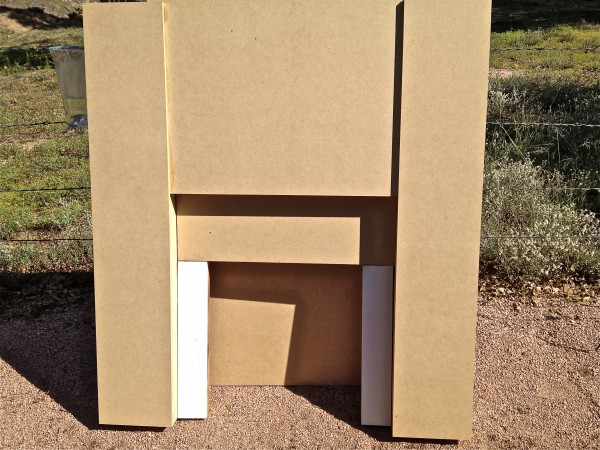
I started with a sheet of MDF, cutting out my sizes needed based on my lovely drawings! Usually, I wouldn’t think of using MDF for a mantel, but this one would be covered in wood scraps.
Spent $33 for MDF.
Notice the inset where the heater, or candles, or whatever you dream up goes has a backing. I think this is important in creating a faux-realistic look. Otherwise, you would see the baseboard!
Make sure to check the post update below regarding the inset!!! 😀
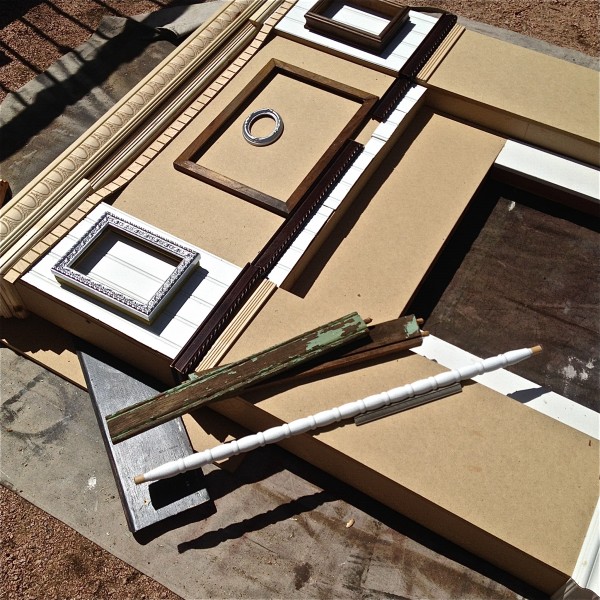
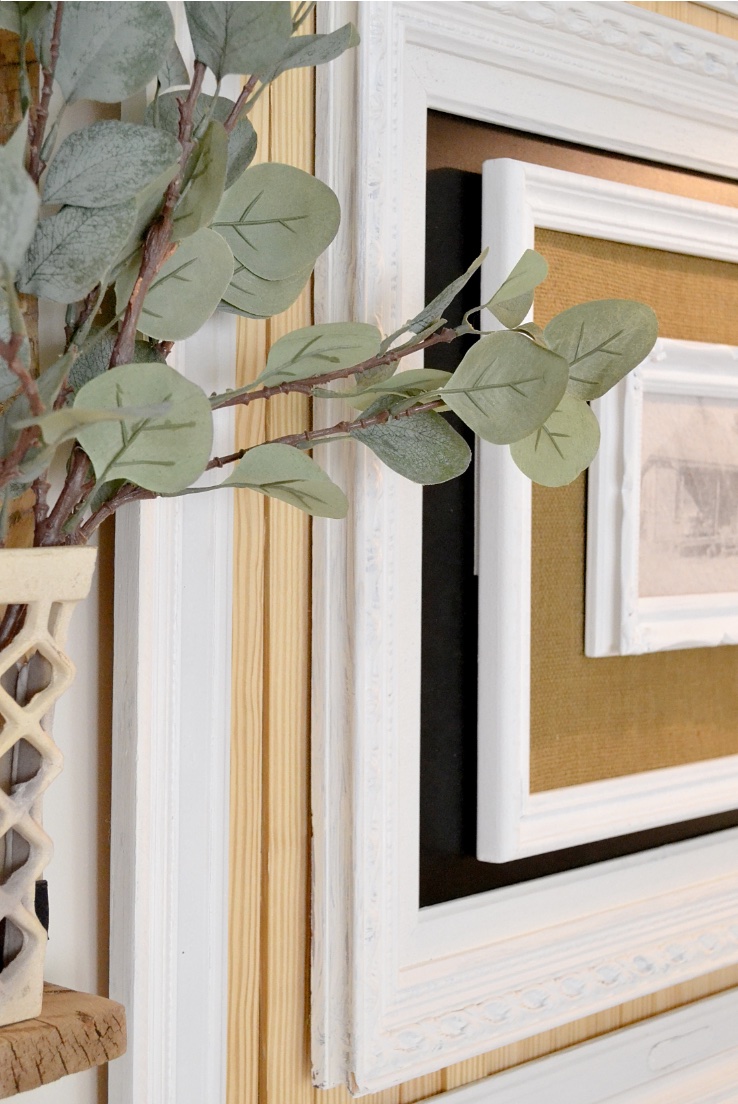
The Frames
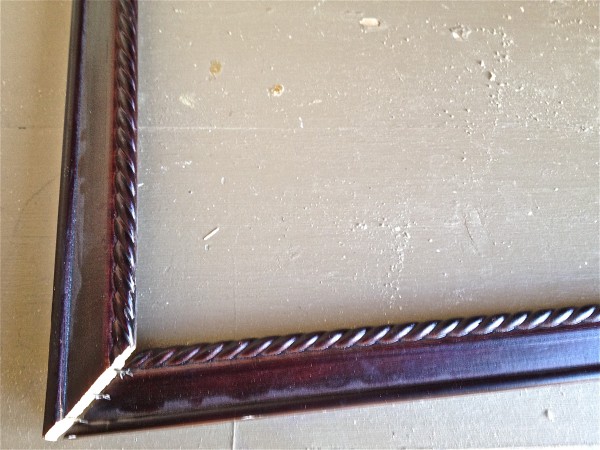
I had several frames from yard sales and thrift shops, one large and broken…but elegant rope trim.
So I cut it up and used it for trim around the middle.
Notice there was not enough frame to fit. On this mantel, it didn’t matter. I’ll add a piece that will somewhat fit later. I had some base trim for the legs and bought some egg and dart trim for $14 at Home Depot. My router added decorative trim to the edge of a 1 by 4 piece. Read and see a video tutorial on how to use a router.
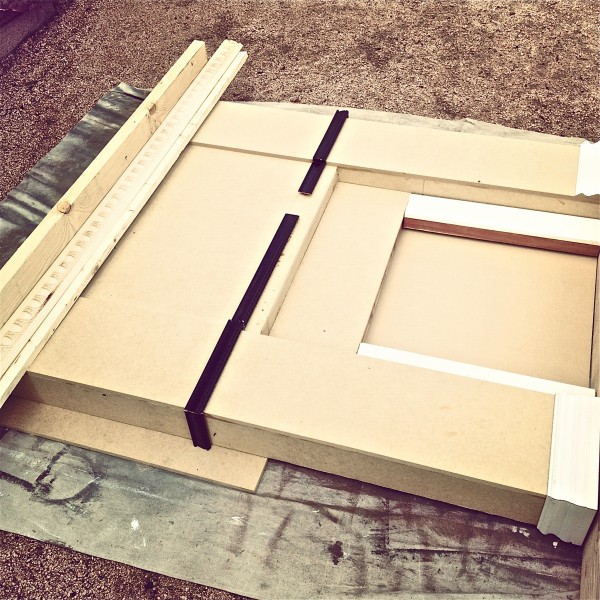
The trim
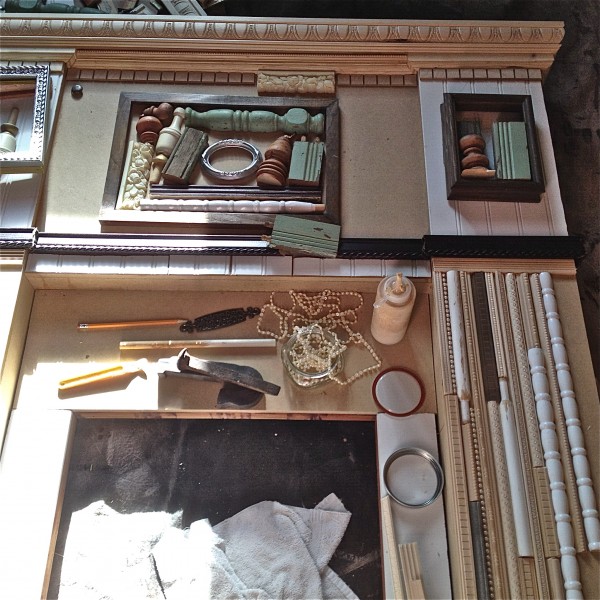
Below I’m planning the layout of frames, scrap trims, bits of beadboard, spindles, and wood pieces from an old broken table. Some spindles were split in two. I could have been neat about it and cut them with the table saw or band saw, but I didn’t want neat. Instead I “scored” them with a Dremel Max saw then used the chisel and hammer method. That was fun and burned a few calories!
Planning the layout of frames, scrap trims, bits of beadboard, spindles, and wood pieces from an old broken table. Some spindles were split in two. I could have been neat about it and cut them with the table saw or band saw, but I didn’t want neat! Instead I “scored” them with a Dremel Max saw then used the chisel and hammer method. That was fun and burned a few calories!
The Scrap
Throwing anything and everything down I can find. Now the closets and junk drawers are cleaned out!!!!
I actually had to buy some extra small trim pieces for the legs. I want them to look long the thin…wish that would work on my legs! 🙂
Anyway, I spent $11.40.
I textured some pieces of turquoise scrapbook paper…gonna paint it anyway. The texture gives the look of wallpaper. To texture paper, I use a Sizzix embossing machine. Everything was glued down with Elmer’s Wood Glue Max. {best wood glue ever!}
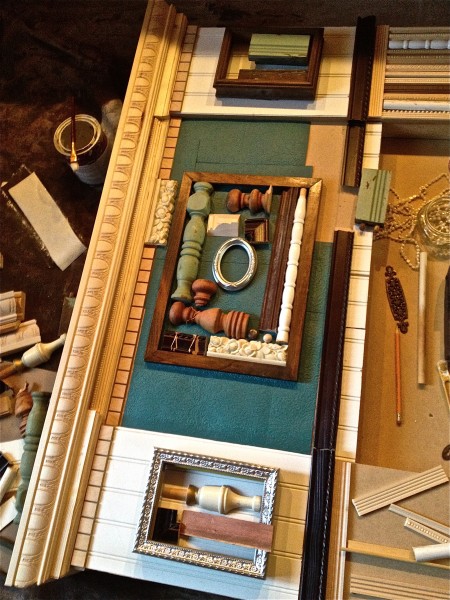
I textured some pieces of turquoise scrapbook paper…gonna paint it anyway. The texture gives the look of wallpaper. To texture paper, I use a Sizzix embossing machine. Everything was glued down with Elmer’s Wood Glue Max. {best wood glue ever!}
Note the dentil molding above, I bought it from Woodworkers Supply for just under $10 with shipping. It comes rolled up on black paper. What’s great about that is it easily wraps around round table aprons for a great update.
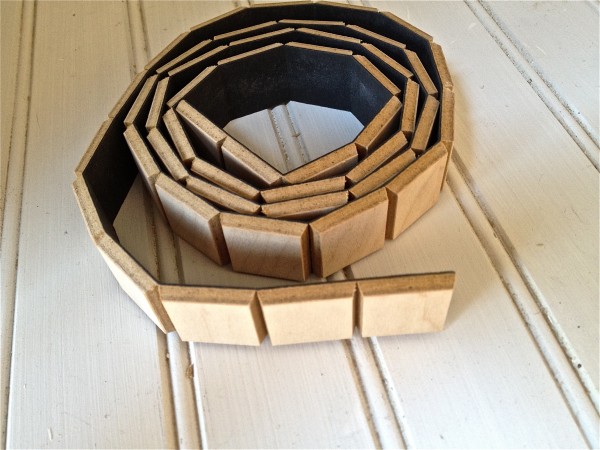
The dentil molding above came from Woodworkers Supply for just under $10 with shipping. It comes rolled up on black paper. What’s great about that is it easily wraps around round table aprons for a great update.
The Paint
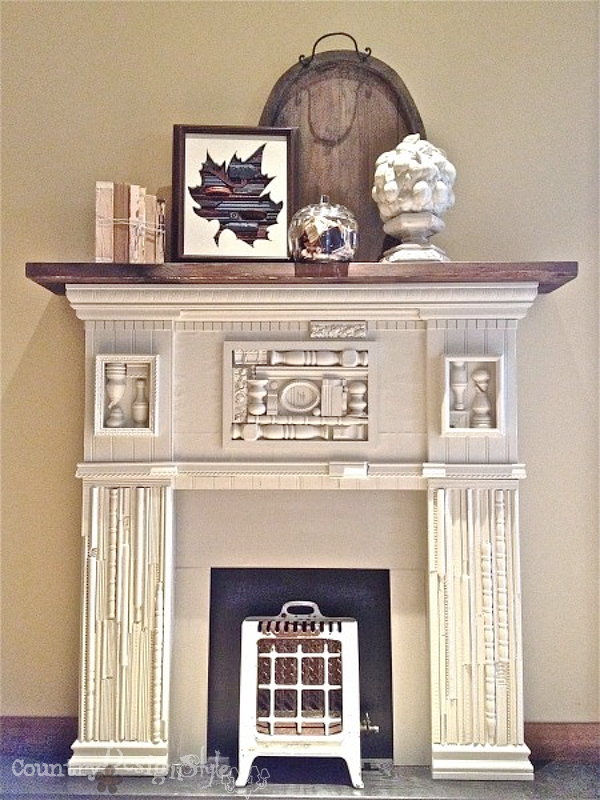
Things come together and blend with a couple of coats of creamy white paint.
I bought an extra quart for $14.
I needed a top and a base. Don’t want a faux mantel setting on the carpet…that would ruin the effect. I bought a 2 by 10-foot piece of lumber at Home Depot for $10 and cut it to 4 and a half feet to use for the top, leaving 5 and a half feet for a base. The base was painted black. The top piece received a barn wood look using white vinegar, steel wool, and tea.
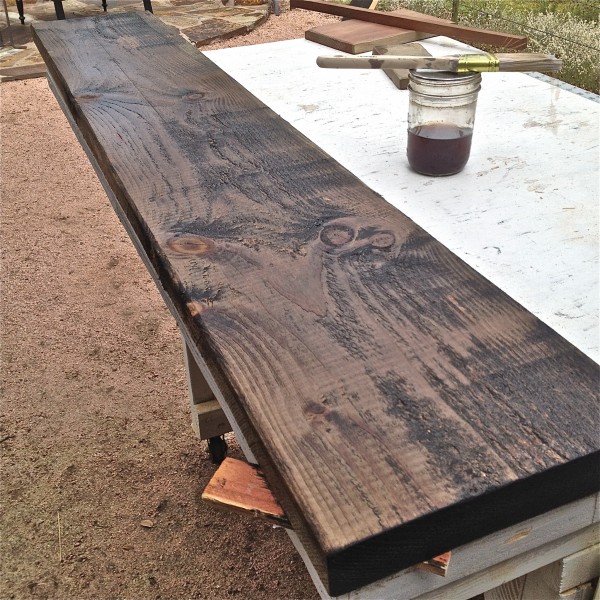
You can read the aging wood instantly to look like barn wood tutorial.
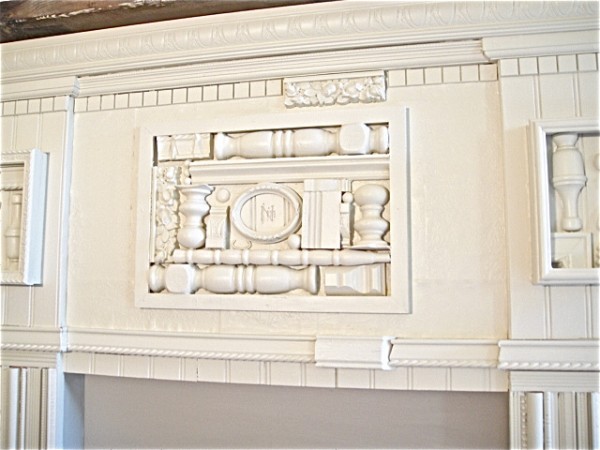
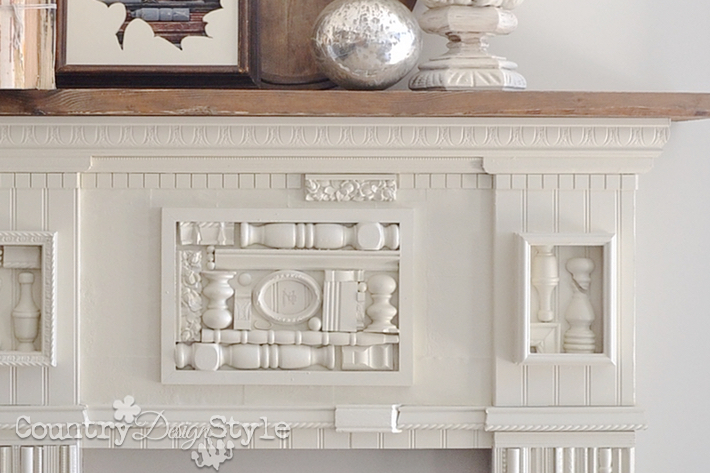
Here’s a close up of the body area. I painted our “logo” in the center oval using a soft gray color. A few wood balls from the wooden chandelier was added here and there.
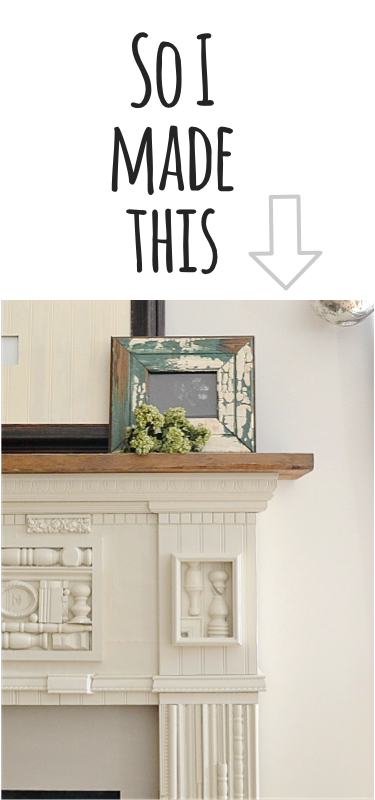
Here’s a close up of the legs with the barn treasure.
The Decor for the Mantel
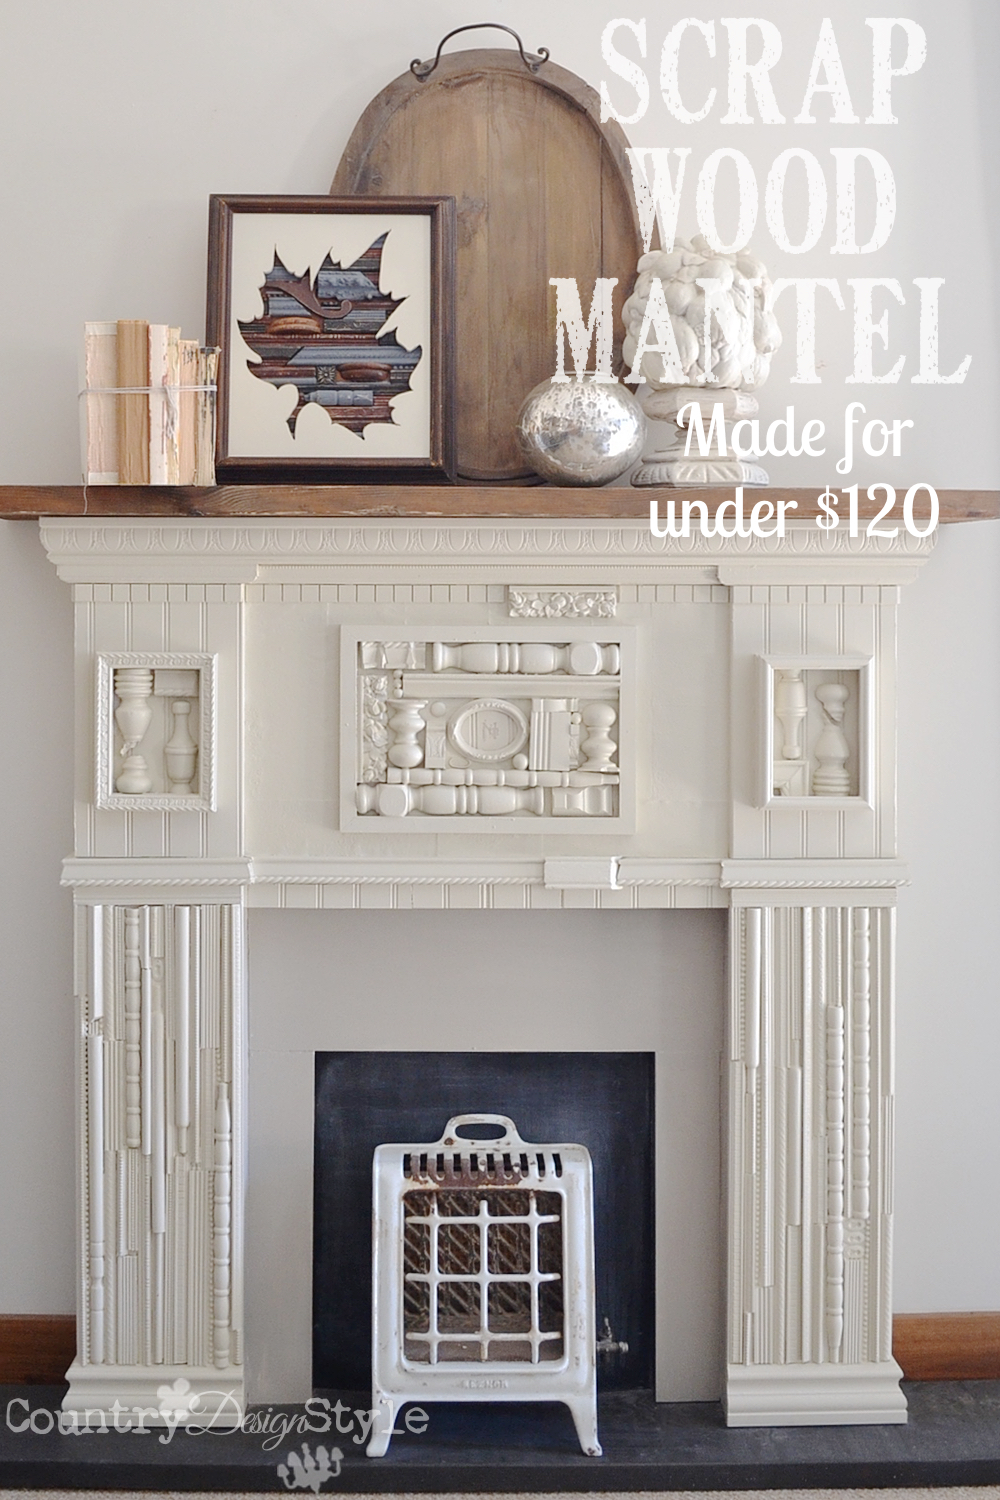
I decorated our new mantel using an oval barn wood tray standing on end for height. Next, I layered the fall leaf I made using basically the same technique. Painted fruit decor sits on the new mantel. Then, I bundled old books together with twine. The glass pumpkin came from a thrift shop and I filled it with leftover…
you got it….scraps!
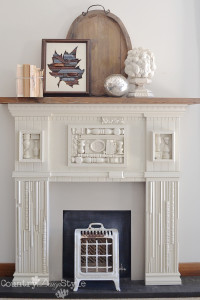
Over the years of taking really bad photos, I finally bought a better camera and practice, practice, practice. The left side was my old photo. The one on the right is recent. I still have more to develop my photography skills, but it’s good to look back and see how far you’ve come. Take a moment to think about what you’ve accomplished. What have you learned to do better?
I spent $117.40, started it September 1st and it took approximately 35 hours to finish.
Please let me know your thought on this one. I realize it’s not for everyone…but I love my scrap wood mantel!
Here’s a tutorial series on building a faux mantel using all wood {scrap or otherwise} and tips on adding trim…
as much or as little as you wish!
Anyone with basic woodworking skills can build one, I promise.
The Update
This is an update to the original post.
I added chalkboard paint to the “firebox” area of the mantel. This gives loads of unique chalk designs. You can see more fireplace inset ideas at chalk fire, unique Halloween displays, and Santa’s chalky chunky butt! 🙂
Let me know in comments below if you make a faux mantel or click the “share your project” over on the right side. There you can send in your photos of the project you’ve done!

The mantel contains six frames. Can you find them all? Broken pieces mend stronger!
You can see more thrift store frame DIY projects here.
Join the newsletter

Subscribe to get our DIY HelpLetter each Thursday. Plus grab your Interior Decorating Ideas e-book.


This is so pretty. What is the paint color?
Thank you so much, Larua. It took a while to figure out what color I used. I found a paint chip of Behr White Veil. I think that is the color I used. It’s a creamy white.
I love the windmill picture on your post. Where can i find it?
Tina, here’s the download for the windmill picture. Thanks for reading. https://countrydesignstyle.com/wp-content/uploads/2017/05/Windmill-Printable-Country-Design-Style-countrydesignstyle.com-.pdf
Wow, this is so gorgeous. I just stumbled upon your site and I will definitely be back for all these beautiful tips! xo, Rachel
This is great! I love your style. Keep up the good work 🙂
Beth,
Thank you for visiting. Come back soon…take your shoes off and stay awhile!!! Hum, I think that’s from the TV show. 😀 ~Jeanette
I love your mantle! You are so creative and it turned out so beautiful! Did you ever make a tutorial for building a faux fireplace?
Jeanine, I’m so glad you liked my scrap wood mantel! It was my favorite one to build because I could add or cut up anything I wanted. I made a tutorial on my previous website, but I didn’t move it over to Country Design Style like I planned. Reason?? I wanted to do a better tutorial which I haven’t done yet! Now that you’ve asked I will get it done and have it posted on June 26. I just added it to my calendar to “get it done!” Plus I have the idea for a basic mantel, but junky and shabby that would work great for a basic tutorial. Thanks for keeping me in line and reading. ~Jeanette