
Painting our Dining Hutch
Painting our dining hutch was desperately needed after moving into our latest home.
We bought the hutch at an import shop seven years ago for under $300. {can’t remember the exact amount we paid} It’s very rustic but solid.
This post may contain affiliate links. That simply means I may make a few cents if you make a purchase from a link within this post at no additional cost to you. Read my full disclosure here.
Please note this post is updated. The colors of our hutch have changed often over the years. Impressive since it’s not an easy piece of furniture to paint!
All those other painting our dining hutch jobs
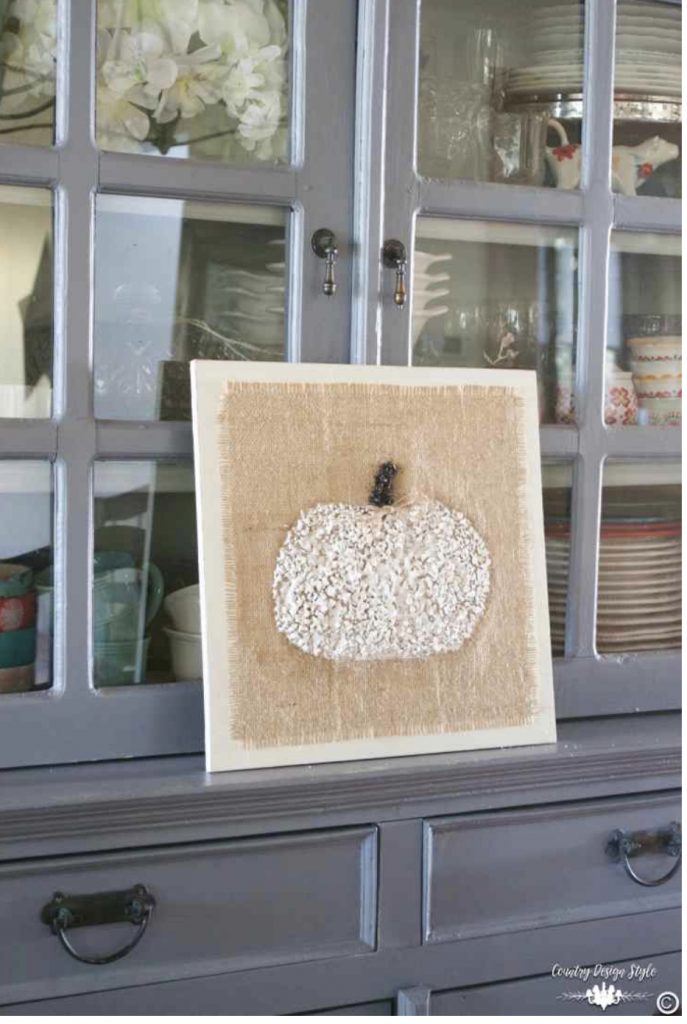
Once, I painted the cabinet using leftover paint from painting the interior 15 shades of white. The outside was Pittsburgh Paint Victorian Pewter. A dark slate grey color.
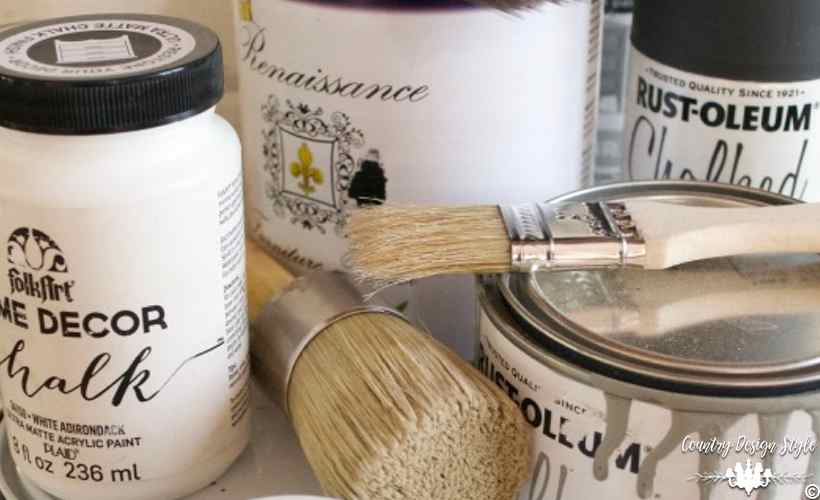
This time I used Valspar paint and had the color match the trim. Well, it almost matched.
The interior was a mix of colors. I admit the interior of the bottom is always painted last and NOT painted well. The dining table sits directly in front of the hutch. The lower part isn’t seen much through all the chair legs.
Another update. Painting the lower part this time needed a better paint job. The chair legs are farther from the hutch, and more shows!
Tips for dining room hutches
The ugly holes in the back are for cable clips to hold wires and lights. I added rope lights from Home Depot to the top three shelves and a timer. The lights come on just before dinner and make a wonderful glow.
The shelf trim hides the ugly.
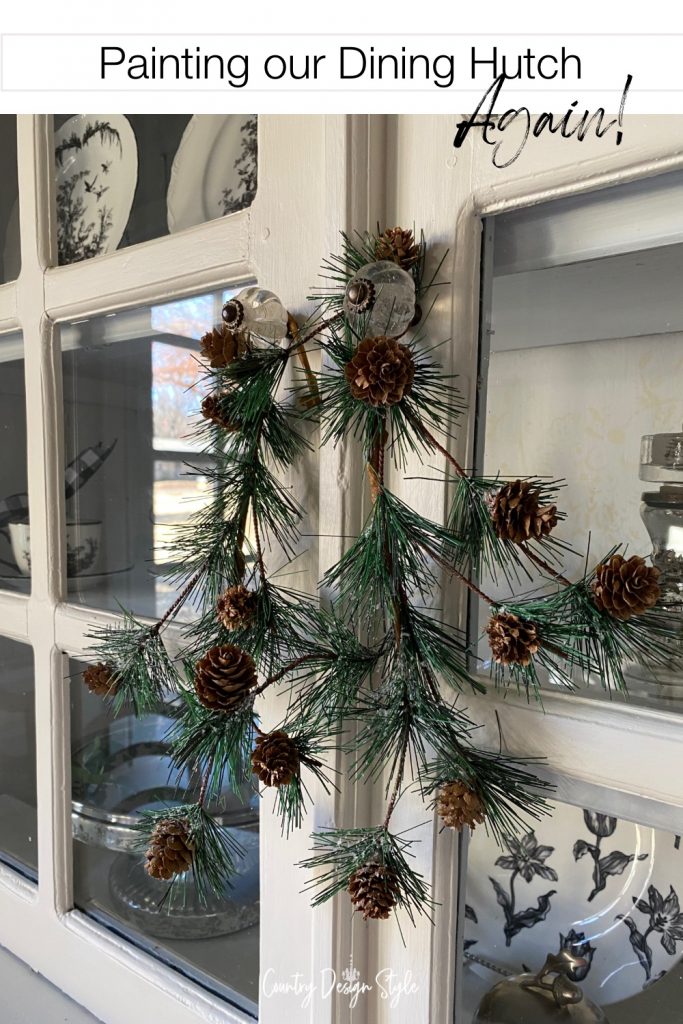
I did have to remove the glass from the doors to paint the back of the mullions. I didn’t want to see the last color when the doors were open.
Here’s a tip when pounding nails next to the glass. Lay a few layers of newspaper on the glass then you can slide the hammer along with the newspaper. I didn’t break any glass! Whew! I haven’t broken the glass yet!
Some of the details.
This time we replaced the knobs. They need a bit more glam for this house Before the rustic knobs fit our cabin.
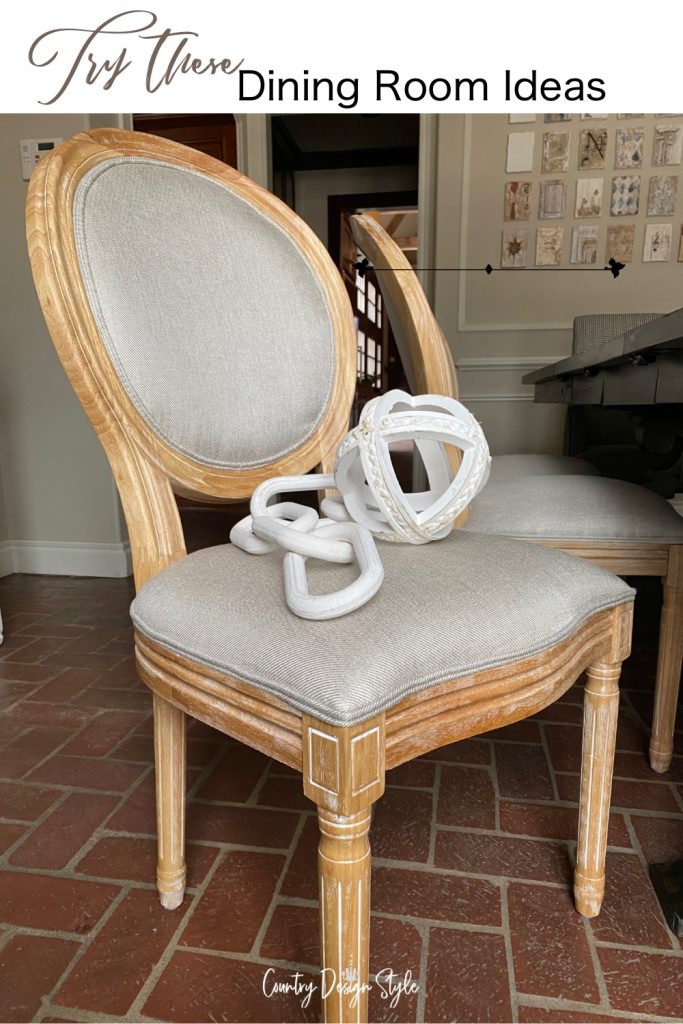
Need a peek at the rest of the dining room? Click here.
Next? I still have a total of 5 gallons of paint. What will I paint today?
Join the newsletter

Subscribe to get our DIY HelpLetter each Thursday. Plus grab your Interior Decorating Ideas e-book.

Jeanette you’ve done another great transformation with paint and lighting changes! You make it all look so easy that I’m going to start re-doing my old pieces with paint too 🙂
I have a hutch similar to this one. It was given to me by a friend and is from Ethan Allen. I am afraid to paint it but this is very inspiring…maybe…some day…I’ll do it!
I also love the way you stacked the things up. Mine are all spread out in my hutch but I’m going to reassess with yours in mind.
Thanks so much for sharing!
Ashley Rane Sparks
http://www.makeitrame.com
Ashley, I tend to go for painting and so far have no regrets. That said I have also stripped paint a couple of years later too. Our dining room table and 6 chairs were wood when we bought it. I left it wood for a few months, then painted it creamy white. Now it’s been stripped back to the wood but I left white paint in cracks and crevices. I really love it now! I like to decorate with everyday items. Pitchers, a stack of plates, or branches from the yard.
Your hutch looks great, Jeanette. I love the new color.
Thank you so much! Our items inside show up now.