
Make a burlap pillow in 15 minutes!
Do you ever want to create something quick and be done with it? Well, you can make a burlap pillow in 15 minutes and 33.1 seconds!
Instead of running around town looking for supplies, then having the supplies covering the dining table until you have time to create.
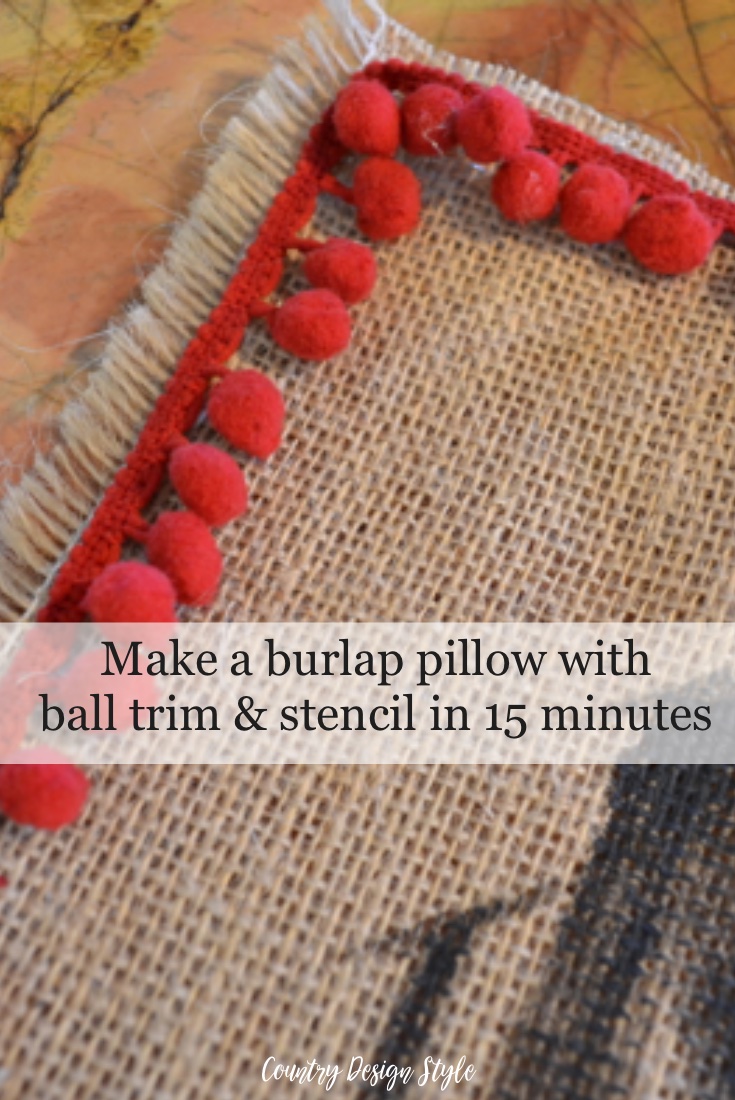
A pillow with ball trim and stenciled front, no less!
Time yourself and let me know how much time it took.
Burlap and hot glue are made for each other. At the end of the post are more creative projects made with burlap and hot glue.
This post contains affiliate links. I may make a commission for your purchase at no extra cost to you. Think of it as a friend letting you know where I found a product I use, love or want. Click here to read my full disclosure policy.
The supplies I gathered before starting my stopwatch.
Two squares of burlap. {I used 18-inch squares}
A stencil about 12-inch square or less
Black craft paint
Stencil brush
Stencil tacky glue {I have to admit, I used my fingers to hold the stencil down in the areas I was stenciling. But spraying and stenciling would go faster}
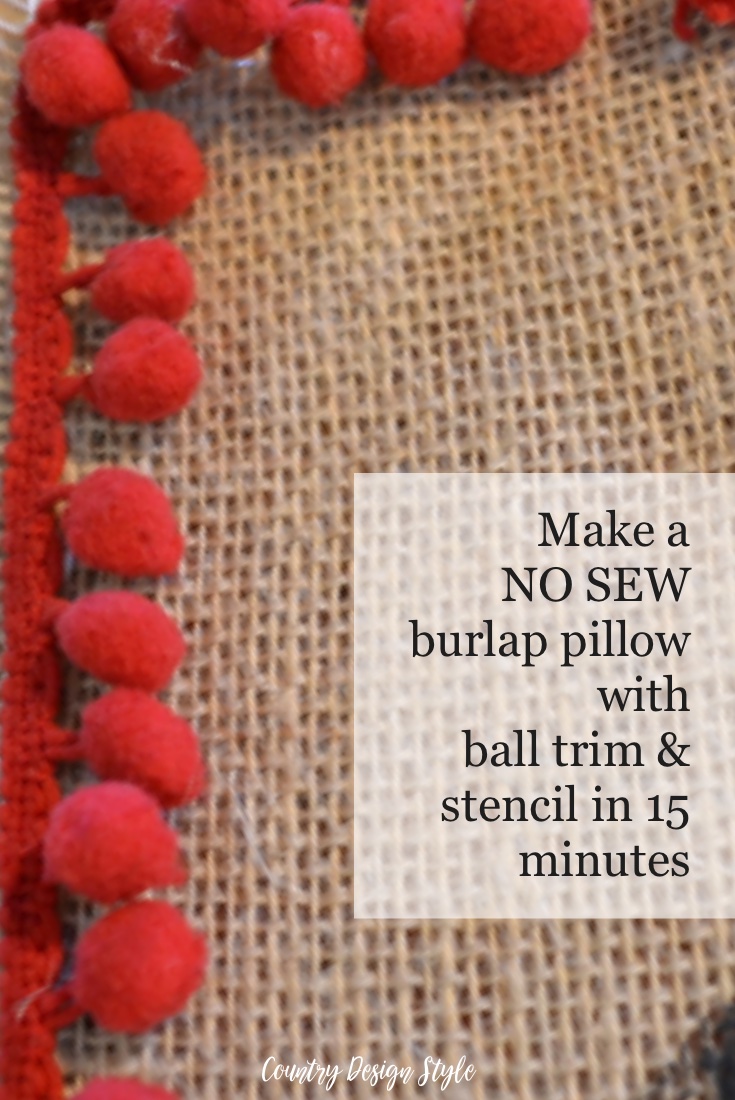
80 inches of small ball trim
Hot glue gun and hot glue sticks
Enough stuffing to fill a 16-inch pillow. {Tip, I used stuffing from an old pillow.}

Here’s what I did to make this pillow quick and simple.
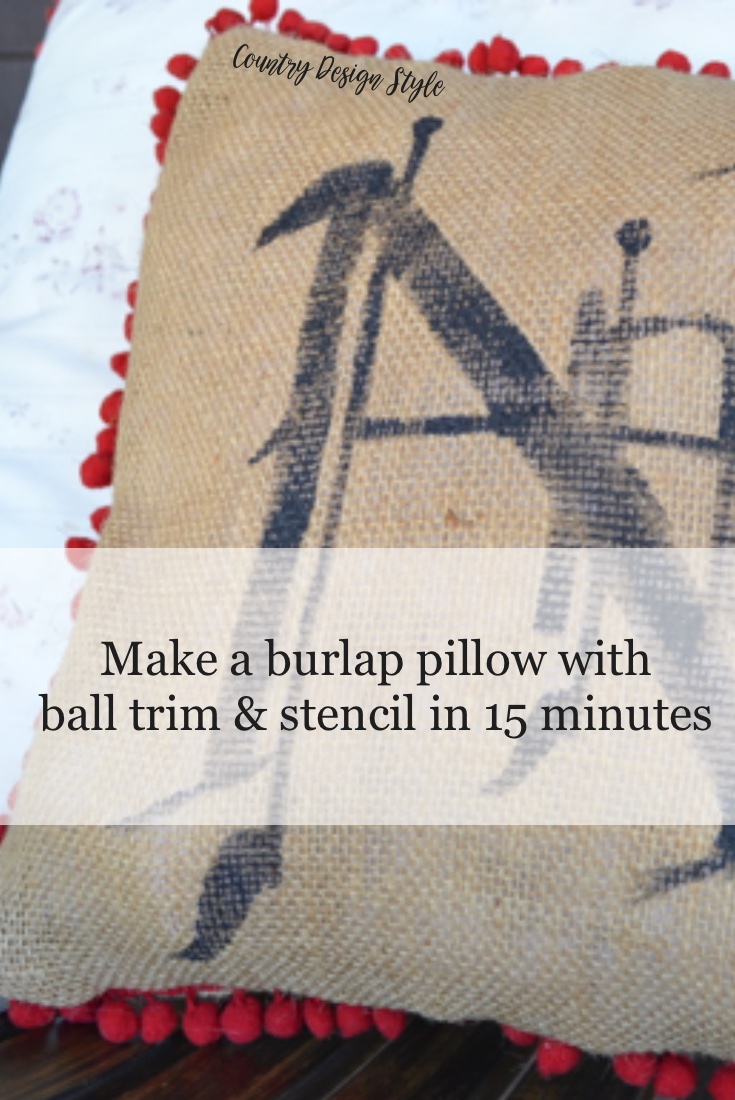
First I gathered my supplies; two squares of burlap, a stencil cut with the silhouette {it’s our logo}, red ball trim, scissors, charcoal color craft paint, small stencil brush, hot glue gun with a glue stick, an old pillow {to use the stuffing} and then set my stopwatch on the phone.
Go!
I plugged in the hot glue gun and then centered the stencil.
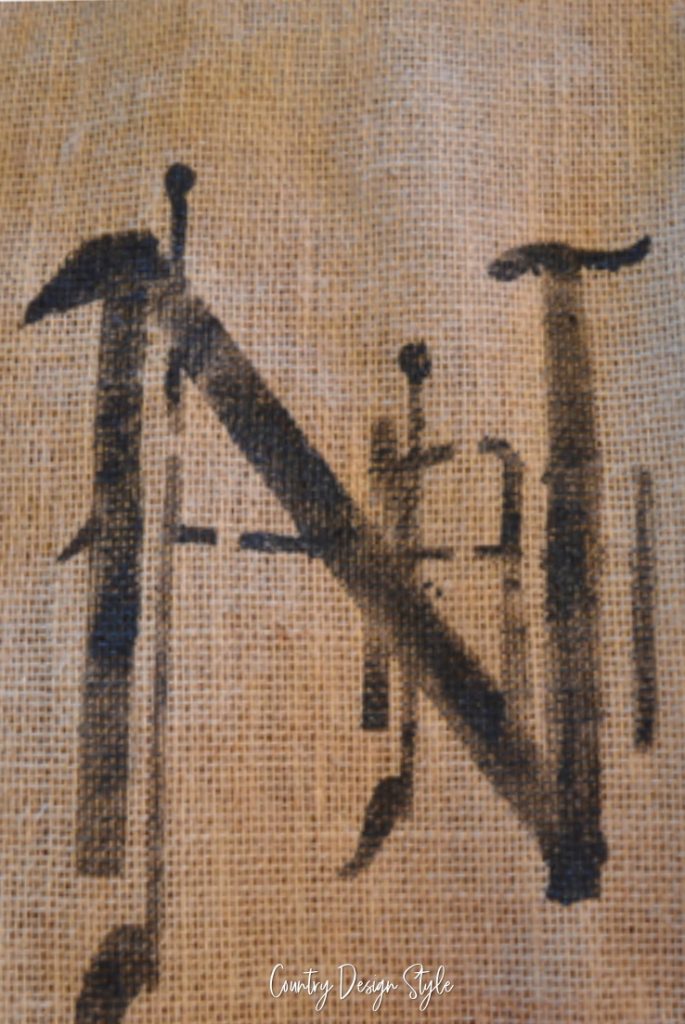
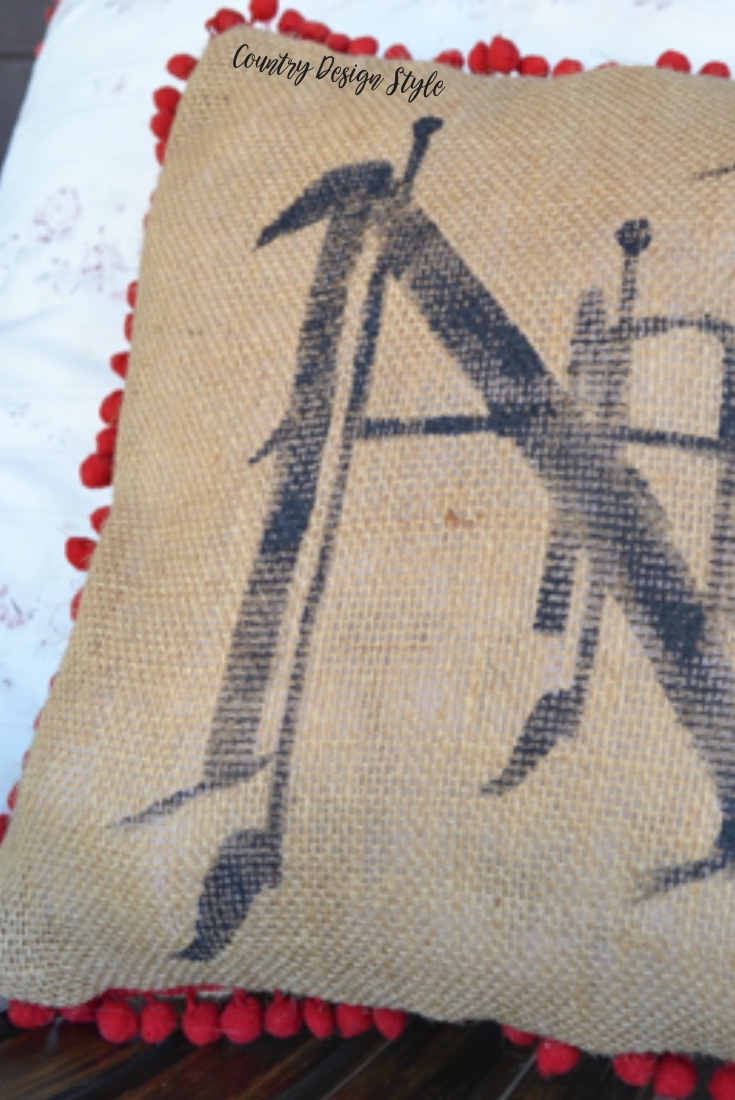
I held it in place with one hand and tapped the paint onto the burlap. Lifted the stencil and above is what I got. I took a few seconds and fixed a couple of spots.
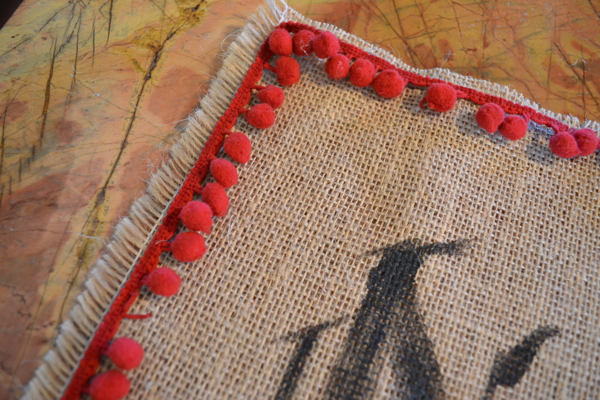
With the hot glue ready I glued the trim to the edge of the front piece. The one with the stencil. Make sure the trim faces inside! This trim was pulled off old curtains in one of our guest rooms so it’s a bit “unperfect”, but perfect for this project!

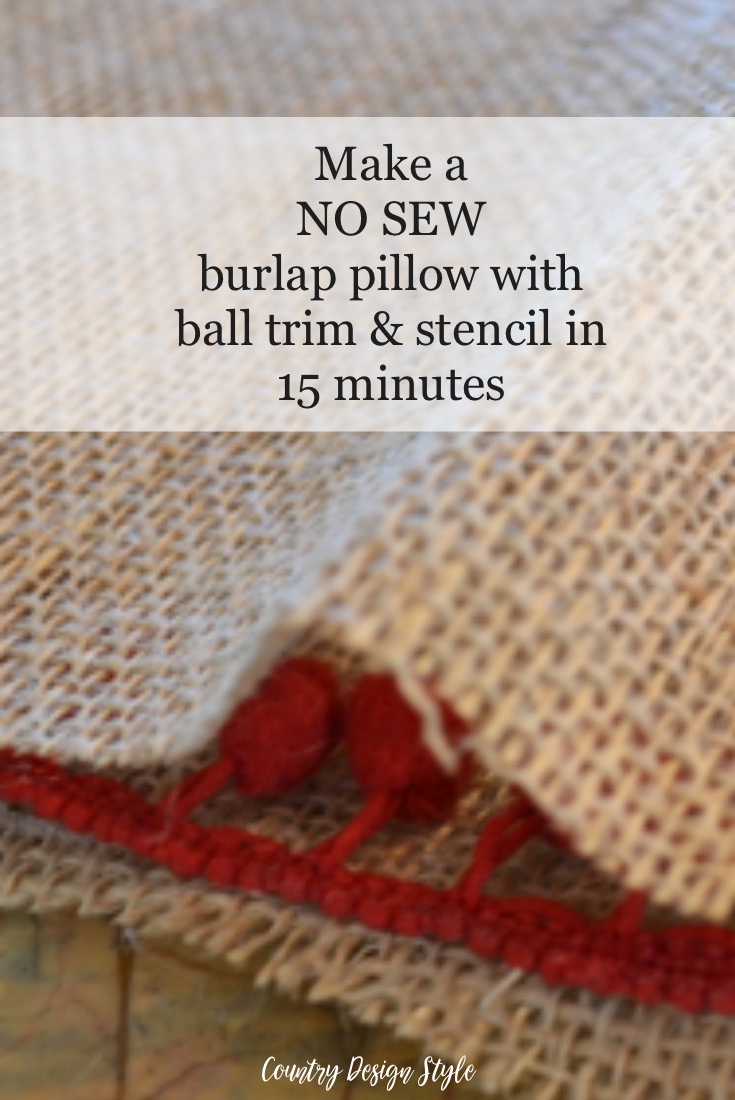
Now I made a sandwich with the other piece of burlap.

Then put a bead of hot glue around each edge, sealing and burning my fingers as I when around. I left about 8 inches open on one side. At this point, I ran upstairs to get another glue stick, whew!

Then turn the pillow right side. I did have to double check the corners to make sure all were sealed well. Two corners needed help.

Next, I cut open the old pillow and stuffed the burlap pillow, preceding to continue burning my fingers as I sealed the last opening with hot glue.
Stop

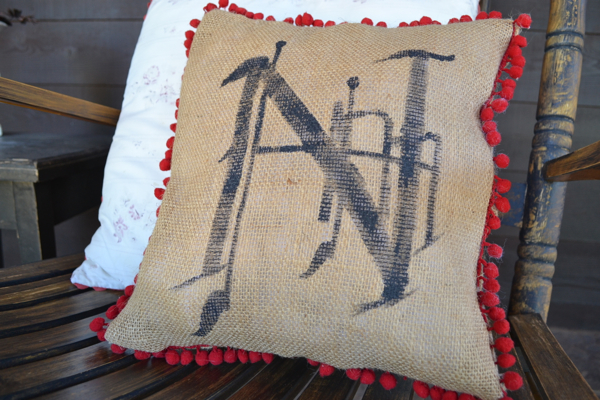
Stopped the stopwatch at 15 minutes and 33.1 seconds. I would have made better time if I didn’t run around looking for another glue stick! But not bad for another pillow to add to my rocking chair on the front porch. After all, I am a woman of a certain age:)
Find tips on not burning fingers while using a hot glue gun here. Not sure why I didn’t grab my rubber spatula!!! {read the tips}
Now to find some burn salve while you check out the other burlap and hot glue projects!
Join the newsletter

Subscribe to get our DIY HelpLetter each Thursday. Plus grab your Interior Decorating Ideas e-book.

Love this! You’re funny with the stopwatch.
I know it would take me longer! Such a cute
idea. I am going to have to think about a
silhouette, but for now, will just buy stencils.
Thanks for sharing!!
You should have seen me running upstairs to look for another gun stick knowing the stopwatch was going! I love the silhouette, but it was a big splurge.
So cute and I’m sharing this on Facebook – thanks for the inspiration!
Thank you and thanks for the share!