
Keeping time is overrated
Keeping time is overrated.
I’m the worst at keeping time. I lose myself in a good book, in blogging, and in designing DIY projects.
So I made a clock that fits me! 🙂
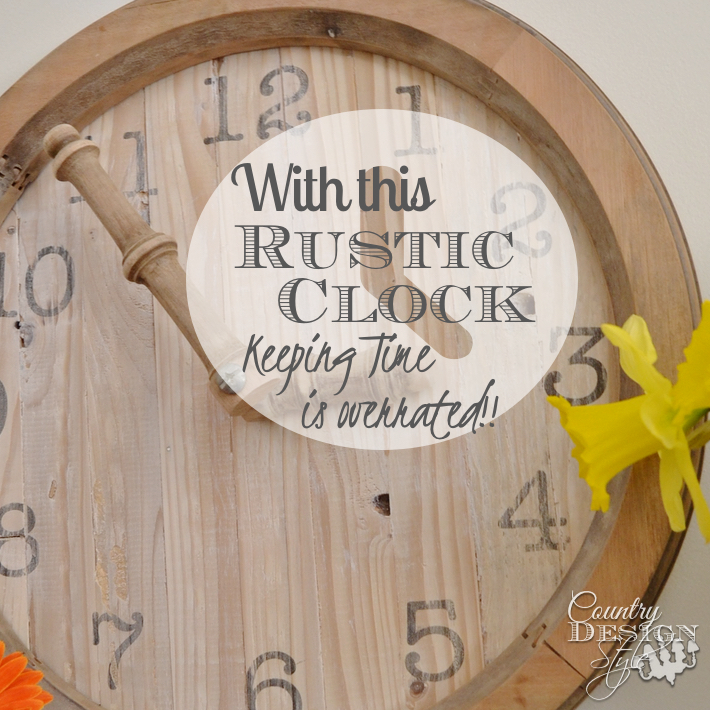
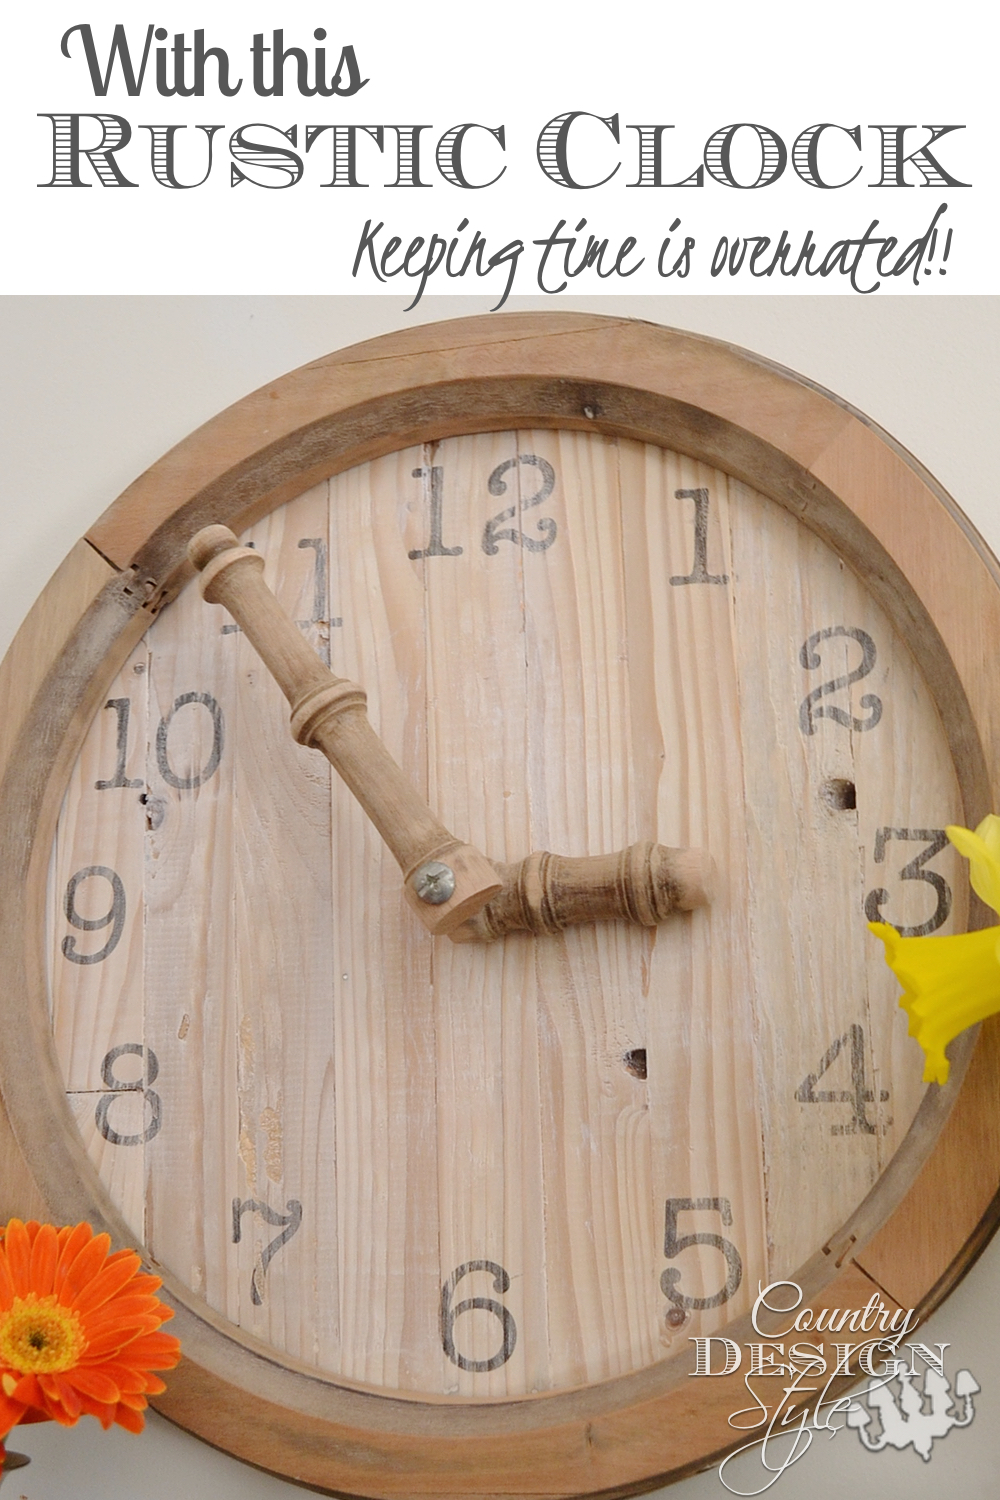
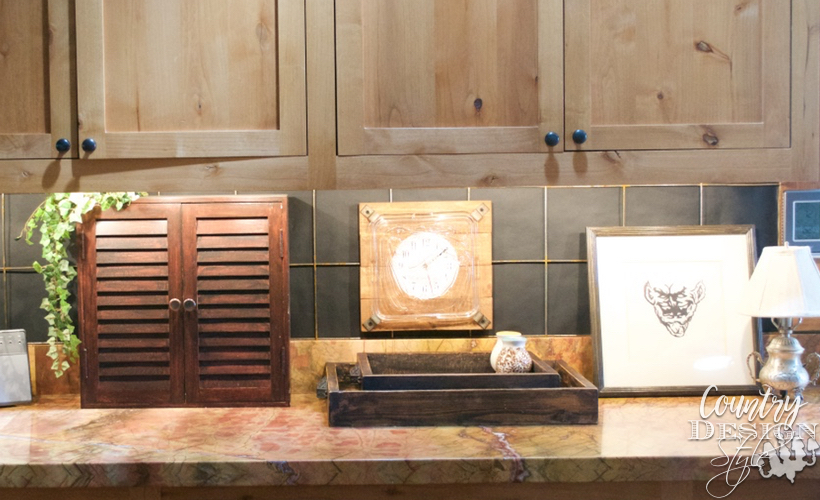
A large rustic clock made from scraps leftover from a broken vintage wood washstand. It even has spindles for the hands!!!
Definitely a clock for me!
Plus I didn’t bother to add the clock ticking mechanism. I can just set to the to whatever time I want! Don’t you wish we could really do that??
Oh, the things I could get done!
*Dreaming*
Disclaimer: This post contains affiliate links. What that means is if you wish to purchase a product mentioned in this post simply click on the gray lighter text. It will take you to the store to purchase the product. I receive a small amount when items at purchased through the link. The price you pay does remain the same whether purchasing by the link or going to their website. This helps me with the costs of running this website.
Okay, back to the clock!
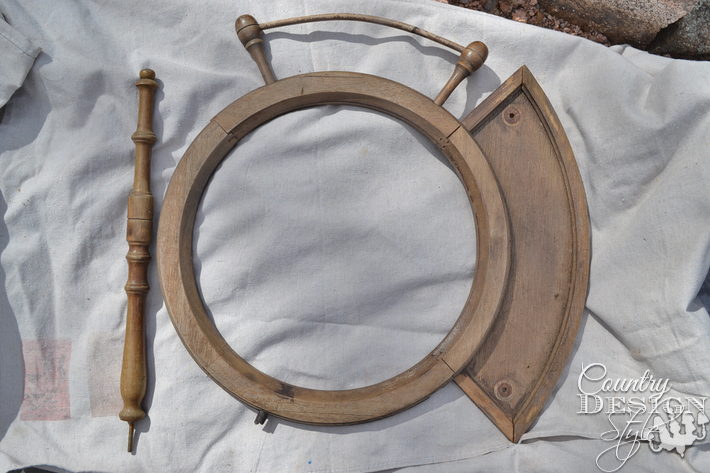
This is what I started with. A broken vintage wood washstand was given to me by a great friend. It was one that holds a large bowl and pitcher. The sides hold towels and the spindle on the side {there are two} hold a mirror. I always see them in western movies. The cowboy washes up at the washstand as he’s about to leave the lady in bloomers laying on the bed. Usually getting shot as he walks out the door.
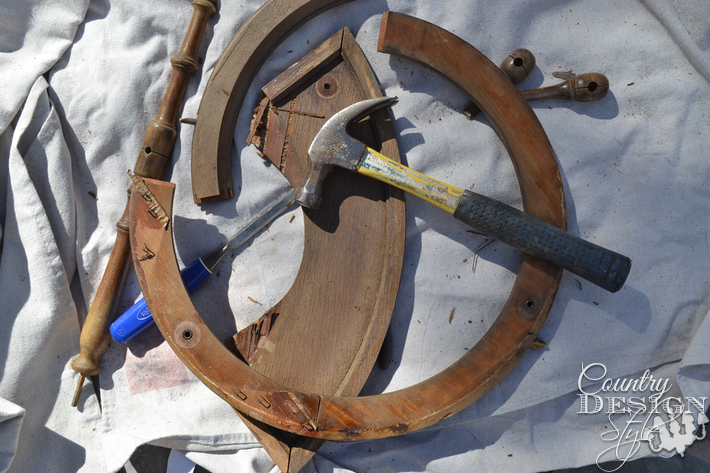
Anyway, I broke up the washstand a bit more…
actually too much!
But this is DIY! A little glue and we’re good to go.
Above I gathered some leftover 1 by 2 lumber and cut it up to the size the bowl in the western would be!
It covers the round wood frame.
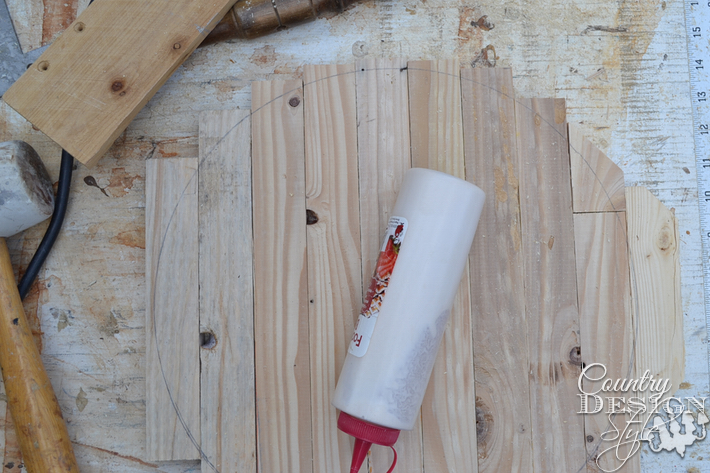
See my round pencil line?? I wanted rustic so I made sure any holes would be in the middle of the clock. A good wood glue and clamps will be all that’s need to hold the boards firm.
Tip: Pour your wood glue into a food prep bottle. They work better than the bottle wood glue comes in and the seal remains…well easier to ungunk! 🙂
Aging the clock
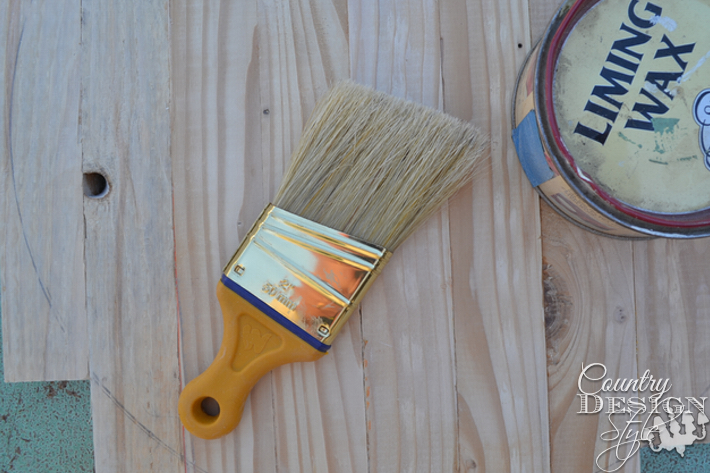
Before actually gluing the wood into the round frame, I lime wax the bare wood. Lime wax is soft and white. I used the white wax lightly and buffed well. This is like using the soft waxes with chalk-based type paints.
The spindle hands
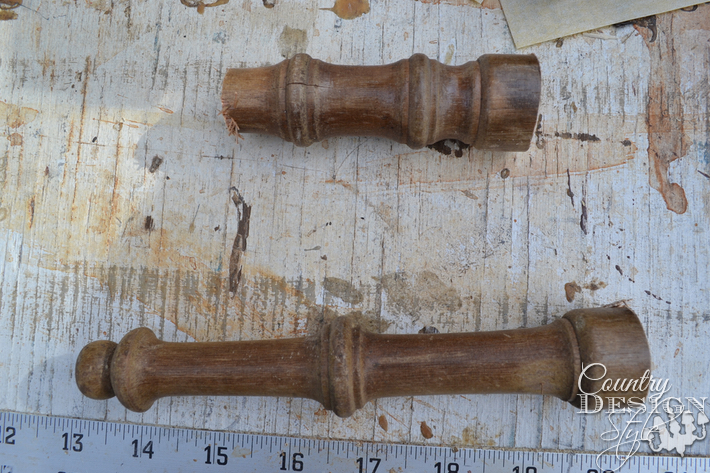
The hands are my favorite part of the large rustic clock!!
Why??
Because they’re spindles! 🙂
I cut the spindle into to different sizes. One short and fat for the hour and one long and thin for the minute.
I wanted the hands to really turn. Someday I might add a clock mechanism. So I used the table sander to flatten two sides of the hour hand and one side of the minute.
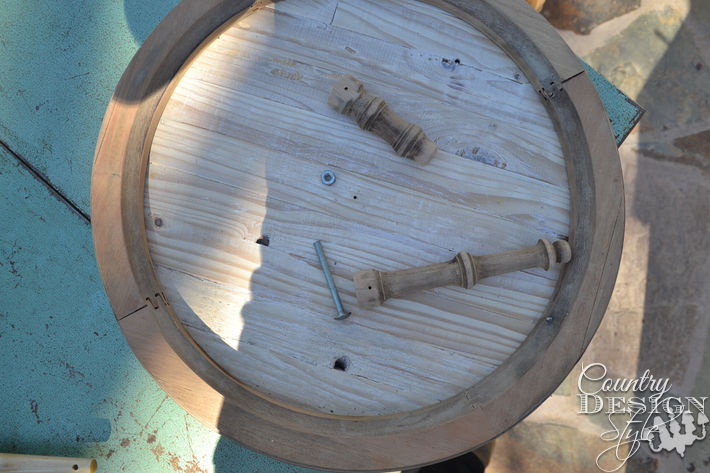
Time is running out!
There are long shadows of me taking pictures of my clock parts! I found a perfect bolt and nut to hold things together.
Adding the numbers
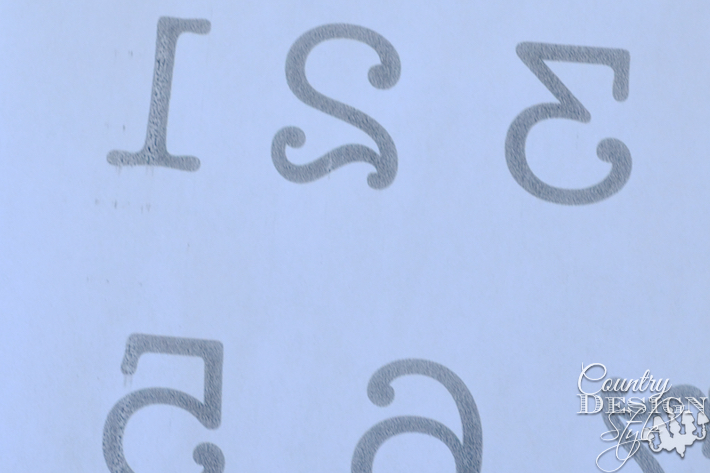
Now for some numbers. I typed 1 – 12 using American Typewriter font, then flipped the font to print backward. I printed on 8 1/2 by 11 freezer paper. Yep, freezer paper comes in 8 1/2 by 11 sheets from Amazon and with prime you can get it in 2 days!
Maybe even by drone!!
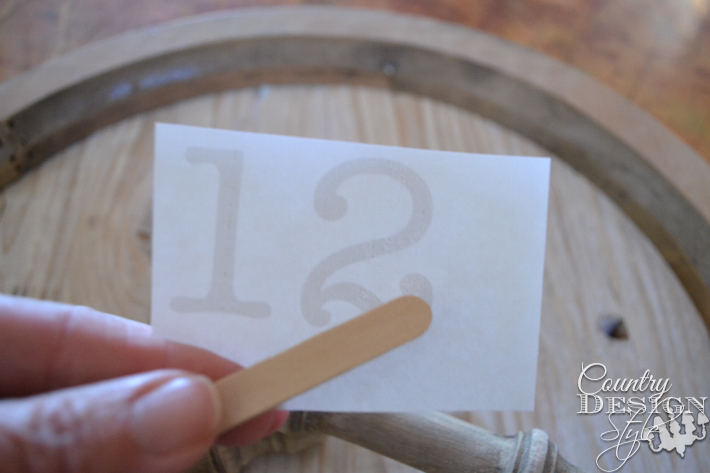
Using a craft stick the ink rubs directly onto the wood.
Viola! My perfect large rustic clock…perfect because….

it doesn’t tell time!
Click here to read more about that mantel if you missed the post. It’s really easy to make, I promise!
I’ve got time for one more chapter, one more project, or maybe even a nap!!!
Have you tried the freezer transfer technique yet?? Let me know your results in comments below.
Join the newsletter

Subscribe to get our DIY HelpLetter each Thursday. Plus grab your Interior Decorating Ideas e-book.


You are amazing!!!! This is a treasure thanks so your creative ideas…You inspire me my friend xo
Thank you Robin! You really made my day!!! Have a great and creative day… Jeanette
The freezer paper method only works with a laser printer, not an inkjet. I tried this transfer method on fabric using both laser print and inkjet and could not get it to work so think it takes a certain type of laser toner…I use the Artist transfer paper that works beautifully. I now have a whole roll of freezer paper I need to use up, maybe will use for the freezer.
Beth, thanks for the heads up. My printer is inkjet and it works for my “basic” project needs. But I do know the Artist and there’s one other type {I can’t think of the name} that really gets crisp and dark ink transfers. My roll of freezer paper is great for the freezer! Lol!
Love it Jeanette! I have a daughter that needs this clock! We say that she lives in “Emily time” !! now to just find an old broken wash stand haha!!
Laura, Lol! We have what’s known as “Chaney time.” My whole family runs in a different time! Actually any frame square or round would work. I do wish we lived in a world with broken vintage pieces just laying around for the picking! Jeanette
It looks great Jeanette! Your spindle clock hands make it so unique – I need to get this pinned for after I’m moved so I can make one like it!
Thank you Andi! I’m think about a HUGE one next. I have the perfect spindles for the hands!
I love it. So glad you could use every part of this. It was such a shame to see it almost go into the trash. You are so creative it boggles my mind the things you come up with…. On another note you need to set that clock for 5:00. It is always five o’clock somewhere. 😉
Thank you Donna for the opportunity to design and build from the broken parts! I have plans for the rest too! Jeanette
Girl! You are clever! What a creative use of that old wash stand. Thanks for sharing