
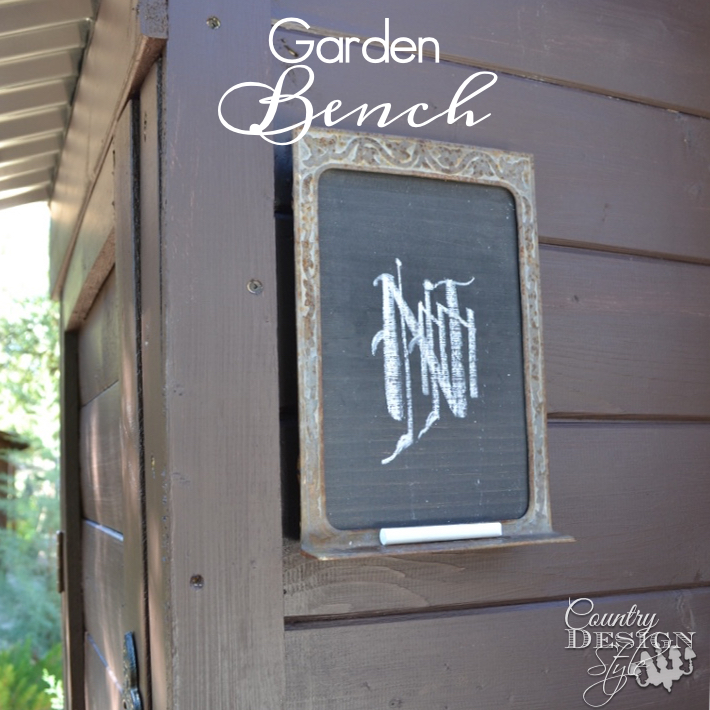
How to make a Garden Bench
Garden Bench made easy and junked up just right!
We enjoy making and building things for our home. So this website is perfect, because my hope is to inspire you too.
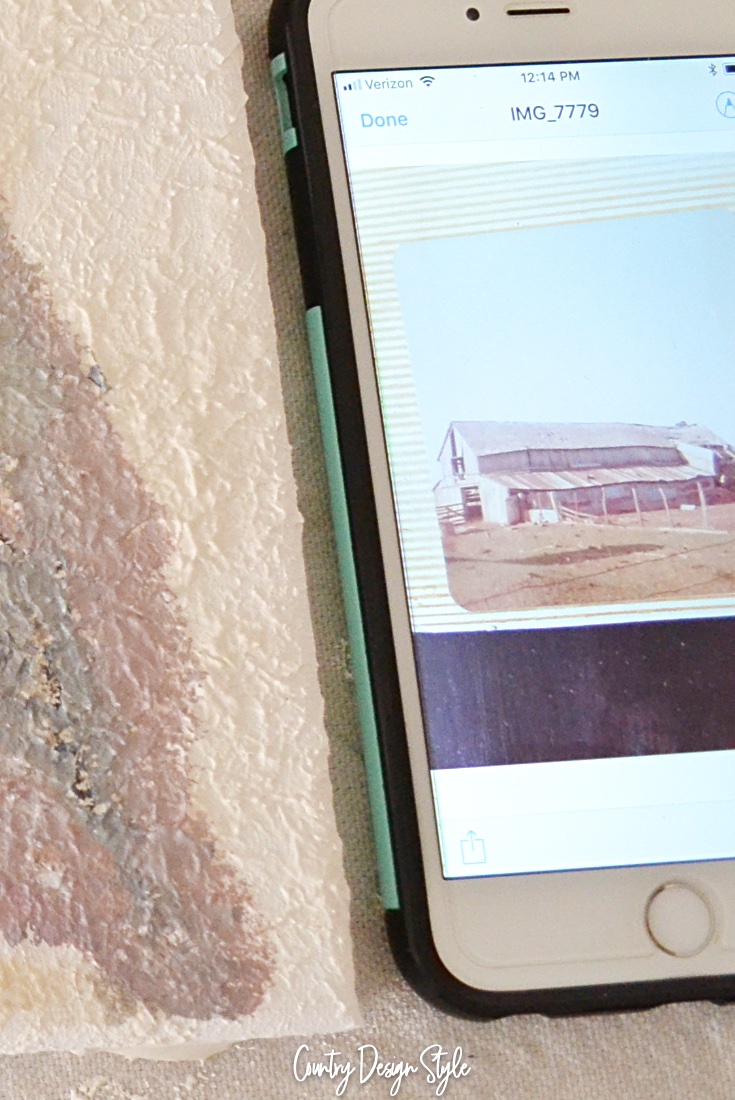
This is my second bench I’ve made where we buried the legs for sturdiness. I tried to find pictures of the first one, but it was way before blogging was invented. 🙁
Garden Bench

Normally I start a DIY project with not enough wood!
This time was different. 😀
Stay tuned for more DIY projects with leftover 2 by 4’s.

The area we wanted to place the bench is at a curve of rocks. We live in the mountains so we have a forest rocky yard. No soft green grass. I decided to make the bench curved. At first I planned to make a straight bench top and then jigsaw it into a gentle curve. Too much work! So scratching that plan, I made the bench with 30 degree angled sides. I started with the top. Cutting the 2 by4’s to the length and enough boards to make the depth I wanted.

Next I cut the base, or underneath pieces. Above is the back.

Then I added brace pieces to connect the front and back. The top is to be screwed on this with about inch over hang on the front and back. The sides have a 3 inch over hang.

Then I turned the bench upside down and screwed on 8 legs. The legs are 26 inches long. Remember we plan on burying the legs. I sprayed the ends of the legs with rubber sealing spray. This with help the legs weather well.

Now for the fun part. First I aged the wood using my favorite technique. It’s basically useing black tea bags and painting the wood. Let dry. Then paint with white vinegar that has been sitting for at least 24 hours with steel wool pads. You can read more here.

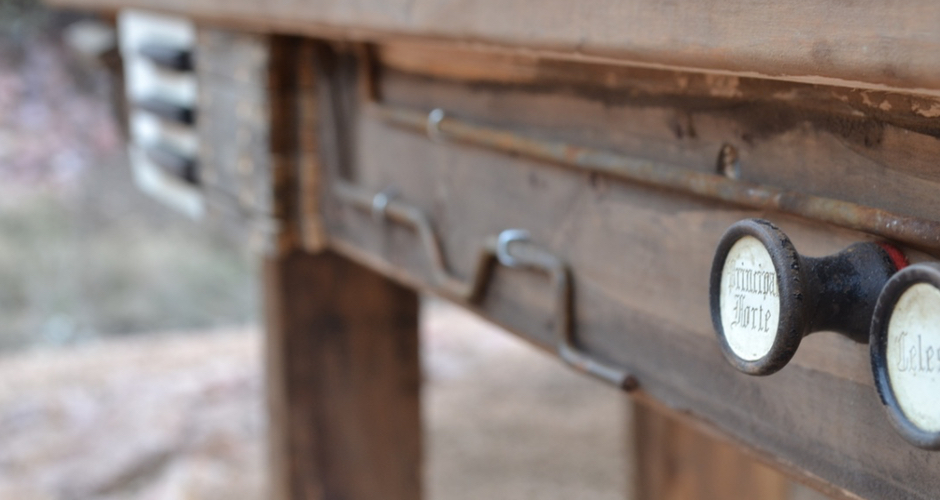
Then I went DIY crazy added old organ parts around the base.

You can see more “old organ parts” posts by click the photos above.

The bench sits great among the trees.

I was in “inspiration” mode when nailing and gluing on the junk from the old organ and didn’t take photos. But there are no rules when apply junk! Just do it!

Of course I had to add an old spilt spindle. Click here to see the other half of the spindle.
Thank you so much for reading along. I hope I’ve inspire you to grab some 2 by 4’s.
Join the newsletter

Subscribe to get our DIY HelpLetter each Thursday. Plus grab your Interior Decorating Ideas e-book.

There’s an old tree in my backyard I’ve always wanted to build a wrap-around bench. I’m planning to pin your bench to see if I can follow your tutorial to create something for me to put on my tree.
Let me know if you make a bench. I love benches around trees.
What a fun and simple way to build this bench. I love it, and the stain you choose to use is amazing too.
I built this today, turned out great. I used my table saw and a taper jig to cut the tapers, no sanding no planning.
Wow! that’s awesome! Thanks for letting me know.
The insides were sprayed with that rubber stuff that keeps screen door bottom boats afloat! I thought that would keep these areas dry. I’ll let you know with the next rain. The two panels on each side of the window are the side of the organ. Yep! It’s in pieces. The doors are simply held closed with pieces of trim that turn to open and close.
How fun and easy is this bench. I love it and the stain you use is awesome too.
Thanks a bunch Vanessa! Did you try the stain technique yet?
Jeanette,
Yes, I did! It worked great and I am loving the darker look. Thank you for your help. : )
Love this idea! Just showed my hubby for a weekend project. Thanks for sharing!
Yvonne it’s perfect for weekend project time. Thank you!!! <3
You make it look so easy Jeanette and doable. There is a tree in my back yard that I’ve always wanted to have a wrap around bench. I’m going to pin yours in hopes of following your awesome tutorial one day to make one for my tree.
Marie, you’re the best! Thanks for pinning. 😀
This is wonderful and so easy. I love it.
Thanks Donna! We need a project and drink day soon. 🙂
I love how yours out….I have always wanted to make one of these. I bet you will get so much use with your new bench come Summertime.
Thank you Jennifer! We have plans this weekend to gather up coffee and a quilt and watch the sun come up.