
DIY Snowballs

Let’s make DIY snowballs you can display on the mantel or your table…with no melting!!
I’ve made snowballs like this years ago but this time I’ve tried a few extra great tips.
and they actually worked out!!
DIY Snowballs
This post contains some affiliate links. Click here to read my full disclosure policy.

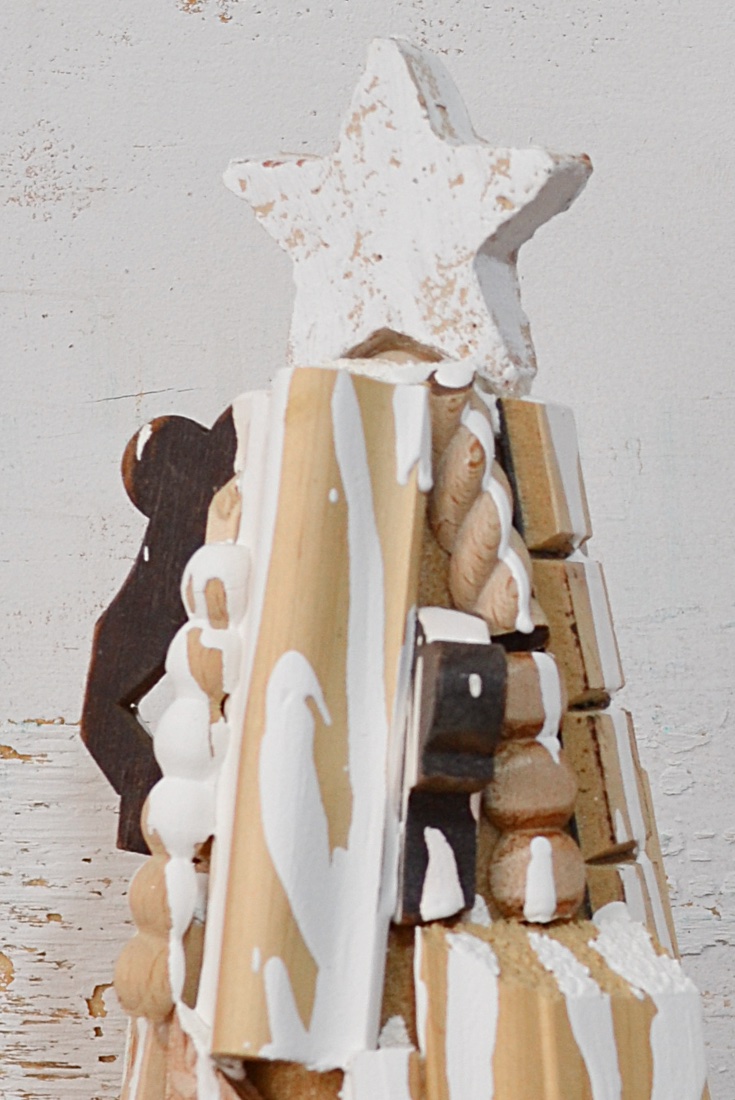
The finished DIY snowballs we’re going to make. 🙂
List of supplies and tools to make DIY snowballs
{This makes 6 snowballs}
6 three inch styrofoam balls
Plaster {I can’t find plaster in our small community so this is the one I order online}
Mod Podge
Glitter {love this diamond dust glitter}
Paint brush
Plastic cup and spoon for mixing
White paint
Water
Rubber Gloves
Small cereal type bowl {great if it’s round inside}
Wax paper
Note: I wanted my snowballs to have a “melted” bottom so they would stay in place. If you want round bottom snowballs have six pieces of wire handy. That’s the only round bottoms we want right?? 😀
The Steps to make DIY Snowballs

One – Add 2 tablespoons {just guesstimate the amounts} of Mod Podge to the plastic cup. Add 2 tablespoons of water. Stir well. It will be watery. The addition of Mod Podge was a test to making snowballs. I love the results! Plaster can become flaky. The Mod Podge seemed to make the plaster harder.

Two – Start adding plaster a bit at a time. About 1/8 cup and stir well between each addition. I added about one cup total of the plaster. Stop adding plaster when the mixture is the consistency of pudding. Note: plaster changes consistency fast. It can go from thin pudding to way to thick. If yours becomes too thick, add more water then stir, stir, stir.

Three – Now my next test was to “roll” the styrofoam ball in the cereal bowl to coat with the plaster mixture. Worked great. I place the ball in the bowl, then used the spoon to add plaster and roll until covered. I didn’t even use my rubber gloves!!

Four – Add the snowball to the wax paper. If you want, add a piece of wire into the snowball. Hang over the wax paper for round snowballs. Let dry.

Five – Next paint your snowballs. I realize they look white in the photos but plaster is a bit gray. I used white chalked based paint.

While the paint is wet sprinkle with glitter!

I’m displaying three DIY snowballs on the mantel. I’m saving three for our Christmas tablescape.


Let me know in comments if you’ve ever made snowballs for display…
and not for snowball fights!!
Join the newsletter

Subscribe to get our DIY HelpLetter each Thursday. Plus grab your Interior Decorating Ideas e-book.
I miss the snow so much!! Lived in Kodiak AK for 3 glorious years. I may have been born and raised in CA but left my heart in AK! Love your snowballs! Darn Pinterest in on the fritz GRRR. Bookmarking to pin later.
Merry Christmas!
*hugs*deb
Love the snowball craft! Great post for that in between time Christmas and Valentines!
Thank you Christina!
Despite having an abundance of “real” snowballs just steps from my front door, I would love to have a basket of the unmeltable variety on my mantel. Thanks for a great tutorial, Jeanette – pinned to share.
P.S. You know that I’m a huge fan of your work and talents and always enjoy stopping by for a visit when time permits. I do have to agree with Phyllis about all the ads/pop-ups making it difficult to get to the good stuff. Wishing you and yours a beautiful Christmas!
Awww, thank you, Marie. I’m a fan of your creativity too! Thanks for the feedback on the ads too. I’ve been working with my ad network to find a balance. I do agree and don’t like the ads on my photos that I work so hard to get just right. I had them remove all the ads within text on posts. I went through a testing period with my ad network. Now I sorta know what type and where I want ads. Again thank you!
I read your blog everyday and enjoy it. Has anyone told you about all the adds that keep popping up? Between your heading and the adds at the bottom of the screen it’s very annoying to try and figure out how to get all of your comments up.
First, thank you, Phyllis for reading even BETWEEN the ads!!!! I’m too am having issues with the ads. Second, I plan to have the ad network remove those within posts and on images after the new year. They do help me support blogging, but if they are too annoying it becomes a lose-lose situation! Hang in there with me. Jeanette