
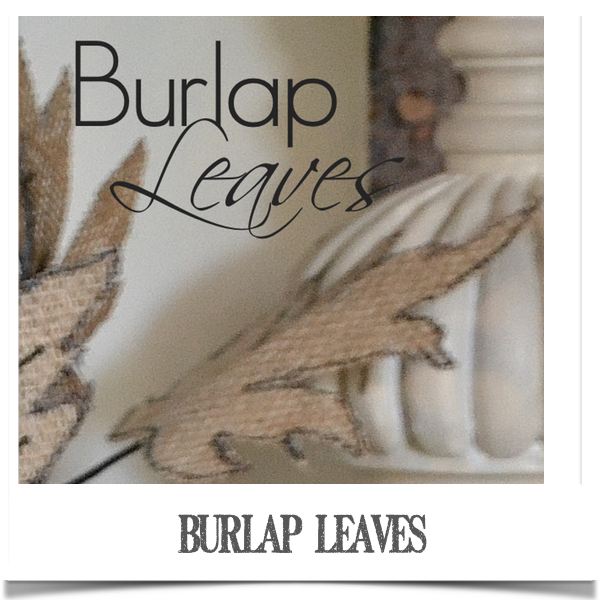
Burlap Leaves
If you love decorating with burlap in the fall, you’re gonna love this project. I’d like to make a pile of burlap leaves in the front yard and jump in them.
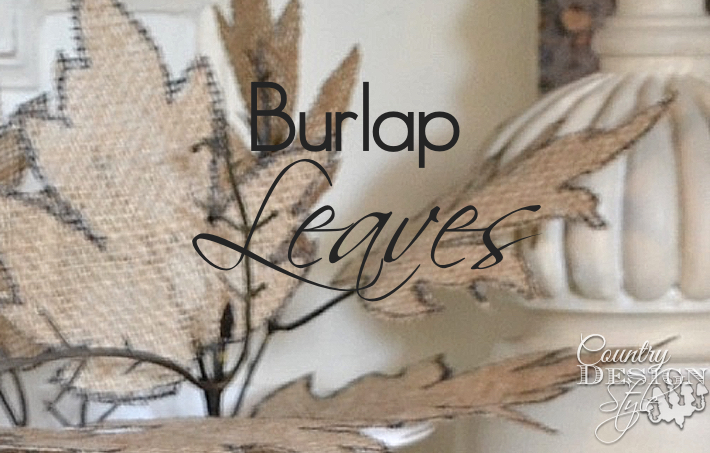
Recreating natures imperfect perfection in burlap.
Burlap is a natural fabric made from hemp or jute in the fibers of plants. So I removed the fabric leaves from inexpensive dollar store fall leaves and added burlap leaves.
But I still used the “plastic” stems!!
This post contains affiliate links. I may make a commission for your purchase at no extra cost to you. Think of it as a friend letting you know where I found a product I use, love or want. Click here to read my full disclosure policy.
List of Supplies
Burlap
Mod Podge
Paintbrush or small roller
Scissors
Small bunch of fall silk leaves
Black permanent marker
Hot glue gun with glue sticks
Cutting out Burlap Leaves
For this DIY project, you will need to prepare a piece of burlap. About 1/4 to 1/2 yard will do. Click here to learn how to prepare your burlap. At tip to cover your burlap quick is those small paint rollers.
Let the burlap lay flat until dry.
Time to destroy the silk leaves
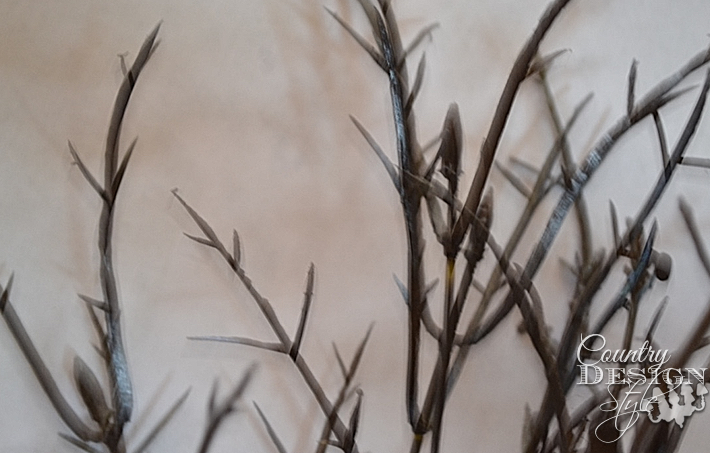
Gently pull the fabric leaves off the plastic stems from your dollar store stems. Note: some are super easy to pull off and some are a bit…harder.
Then spray the plastic with a dark spray paint…or not! On one set I sprayed them on one I didn’t. It’s hard to tell the difference.
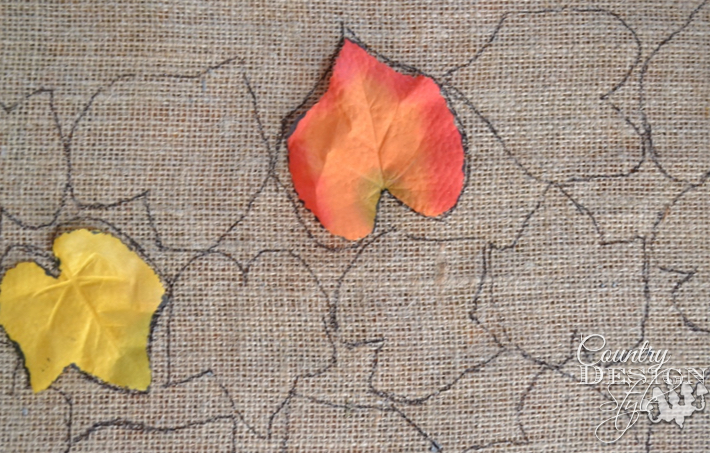
Lay the leaves on the burlap and draw around each one with a black marker. Then cut out the leaves. I use good craft scissors to save my hands. I keep them sharp using this sharpener
Glue the leaves to the veins
Next fire up the hot glue gun. While it’s getting hot, add a bit more marker around the leaf edges. I found that laying the leave face down, adding a line of glue along the plastic veins then laying the veins along the center of the leaf is easier. Press lightly using a silicone rubber spatula or fingertips.

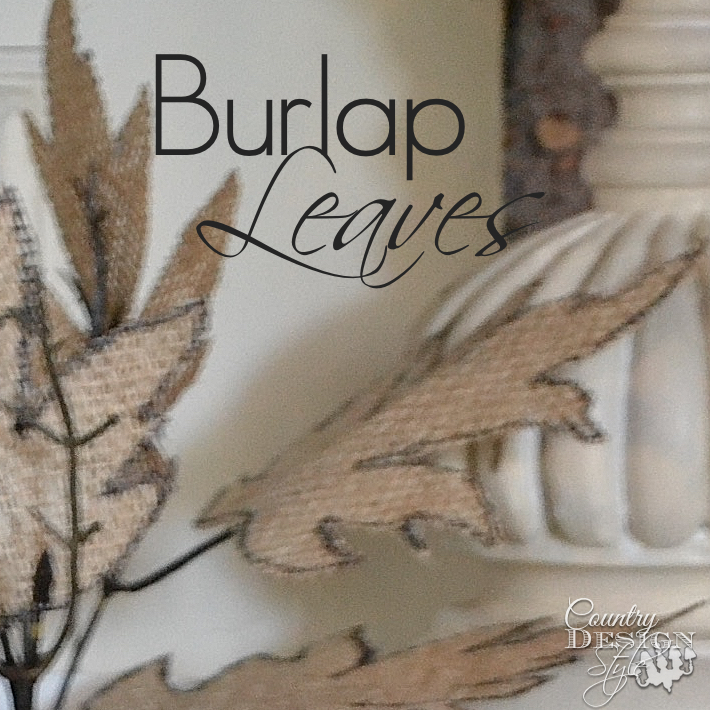
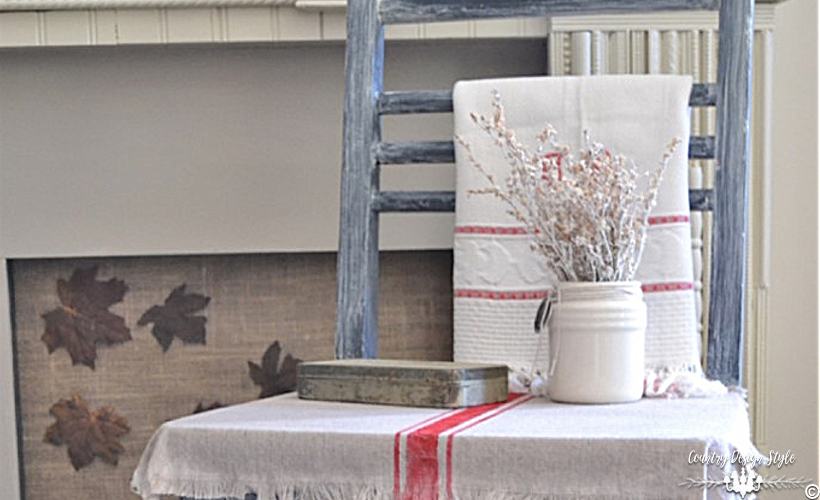
Then display. The leaves can be shaped and bent too. Notice I left some of the veins without a leaf…it is fall! 😀
More ideas for burlap leaves
Add glue and glitter to the edges
Draw veins using markers in autumn colors
Cut the plastic stems from the “handlethingy” to make arranging easier
Cut different shapes of leaves and intermix them
I would enjoy seeing your photos of burlap leaves! You can send them by click “share your project” above.
Time to jump up and make dinner while you check out these related projects below.

Join the newsletter

Subscribe to get our DIY HelpLetter each Thursday. Plus grab your Interior Decorating Ideas e-book.
![Dizzy Lazy Susan [DIY] Marbles](https://countrydesignstyle.com/wp-content/uploads/2017/02/Revolving-tier-closeup.jpg?x17166)
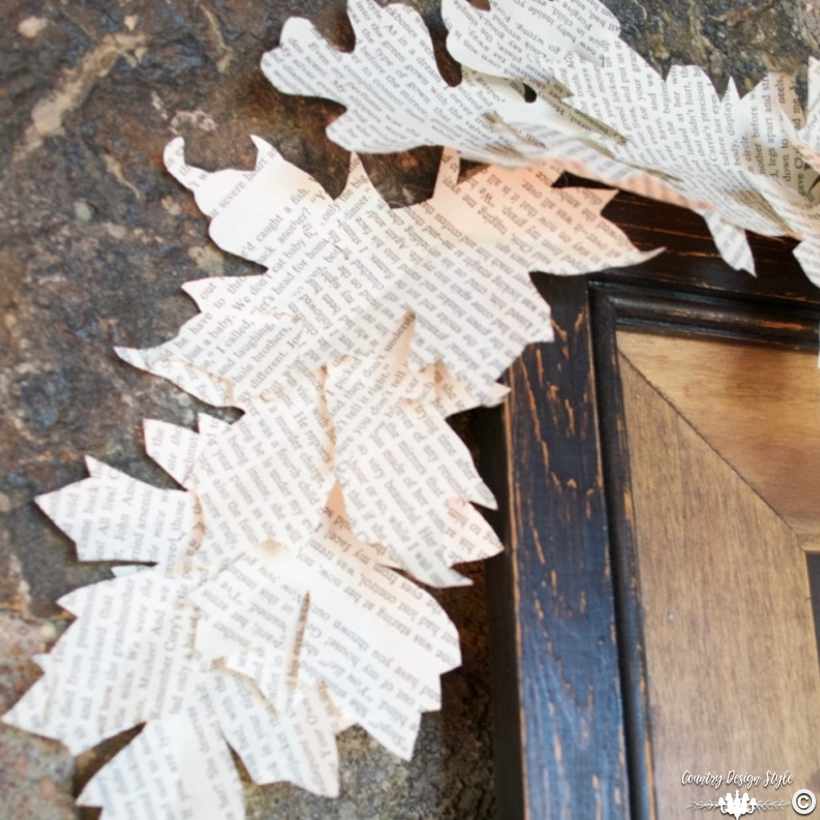
These are so great. I am making some myself, but I am using paper as my templet. I like your way so much better. LOL, Great burlap leaves Jeanette
These are so cute Jeanette! I’m thinking I may make a garland of them!