
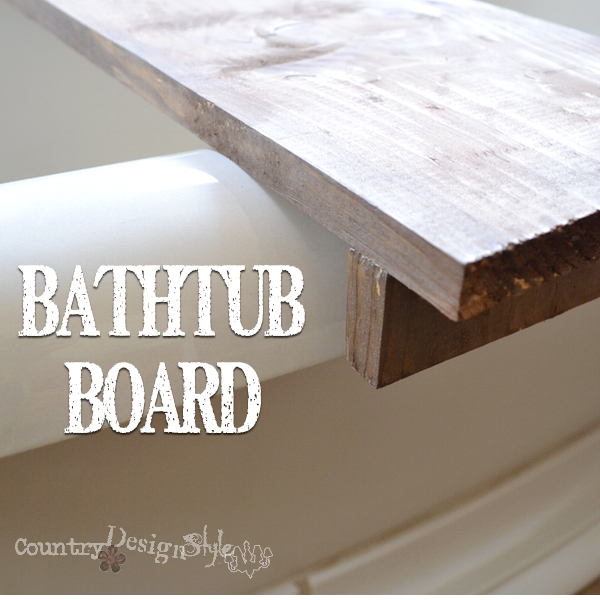
Bathtub Board
 An easy project and it takes out ALL frustrations!!!
We have a separate bathtub with one of those awesome faucets.
We even hung a TV on the wall, but we needed something to hold the soap!
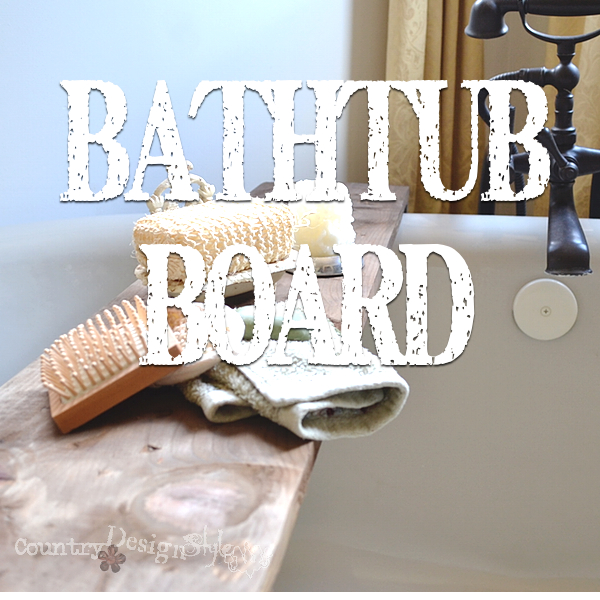
A bathtub board!
This post contains affiliate links. I will make a commission for your purchase at no extra cost to you. This helps me maintain the website. Thank you for your support. Think of it as a friend letting you know where I found a product I use, love or want. Click here to read my full disclosure policy.
The Wood
A simple piece of wood does the trick. I cut a 10-inch wide board {that’s really 9 inches wide} to fit across the bathtub. Plus two pieces from the board that’s only 2 inches.
The Dents
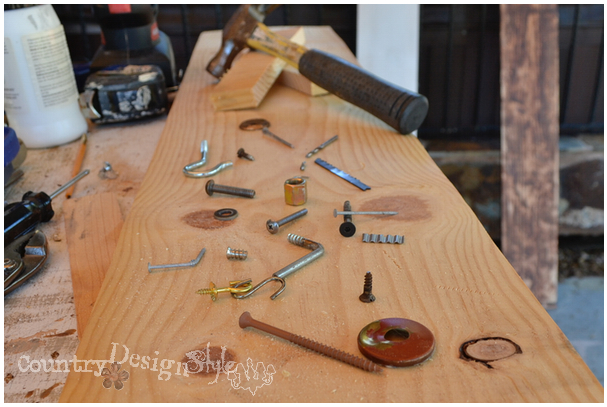
Then all those screws and nails that I’ve broken and bent on other DIY projects came to use. I also added to the mix anything that had a shape. “S” hooks, washers, nuts and those wavy things that hold picture frames together. Don’t know what those are called. If you do, let me know in comments.

Now to take out some frustrations!
Lay your shapes around on the board…
and pound!
Hopefully, you’re not so frustrated that you pound the “S” hook completely down into the wood!
Use a soft wood for this project. This board is pine. I took out frustrations on the screw heads too.
 I moved things around on the board pounding away. Little Bella ran inside for this project. :/
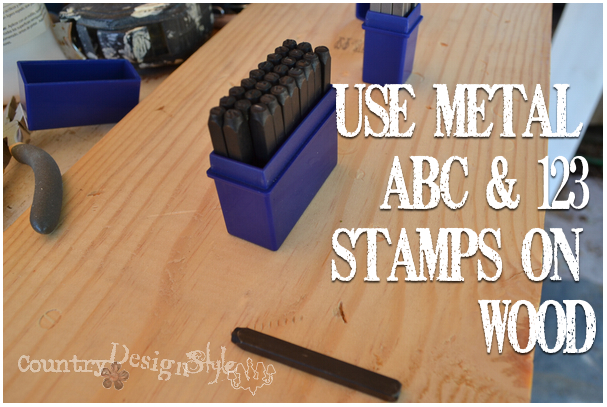
The ABCs
Then I grab my alphabet and number metal stamps and tapped some romantic sayings. 🙂
It’s is for the bath!!!!
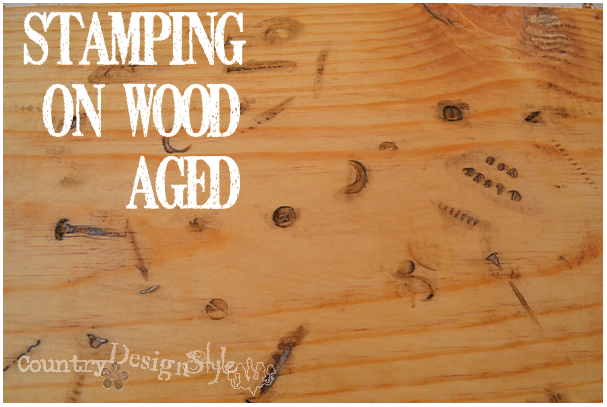 Next, a bit of dark furniture wax was added to the stamped areas. Then the board was aged with my favorite wood aging technique!
Don’t forget to age the two-inch pieces!
 I glued the small pieces in place with the best wood glue ever to keep the bathtub board in place…
and not fall into the tub! :/
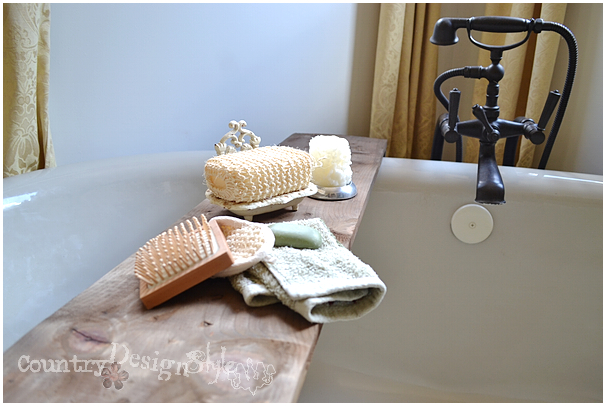 A great smelling olive oil soap, some scrubbing, and a chunky flameless votive candle…
and I’m smelling great!
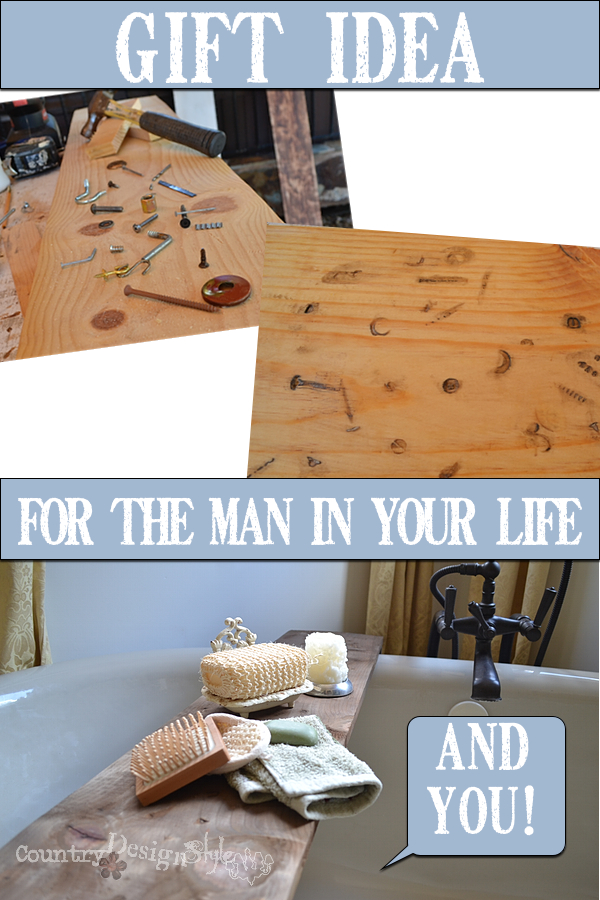
This would be a great idea for the man in your life too.
Now to finish making ALL my gifts!
Join the newsletter

Subscribe to get our DIY HelpLetter each Thursday. Plus grab your Interior Decorating Ideas e-book.

Love this idea, wish I could use it for our tubs, but we are staining the porch. …..;))
I think this little stamping technique of yours will be adorable on the top of the railing on the new deck we are putting in. I think everyone who leans on the railing, places a plate or beverage on the railing, or just stands near the railing will have fun reading the stamped messages and identifying the different shapes. Thanks for sharing your wonderful idea!
Mallory,
What a wonderful idea!!! I never thought about that one. We have a rustic table outside and stamping little sayings would be fun for guests to “find!” So happy you visited my little blog. When you get the railing done, send in a photo. You can sent it in by clicking on the “share your projects” over on the right side. Have a fun creative week! ~Jeanette
It might be fun to let friends stamp their names and the date or occasion of their visit on the railing or your rustic table, too. Or, perhaps, we could use a woodburning tool. You are such an inspiration, Jeanette! I am so happy to have stumbled upon your blog!
Great Idea Mallory! I’m glad you found my blog too because you have great ideas too! I have a wooden box full of wine corks and we write notes and dates when friends visit. But stamping on the table would be fun for kids too! We have many friend and family that don’t do wine. Perfect! Have a creative week. ~Jeanette