
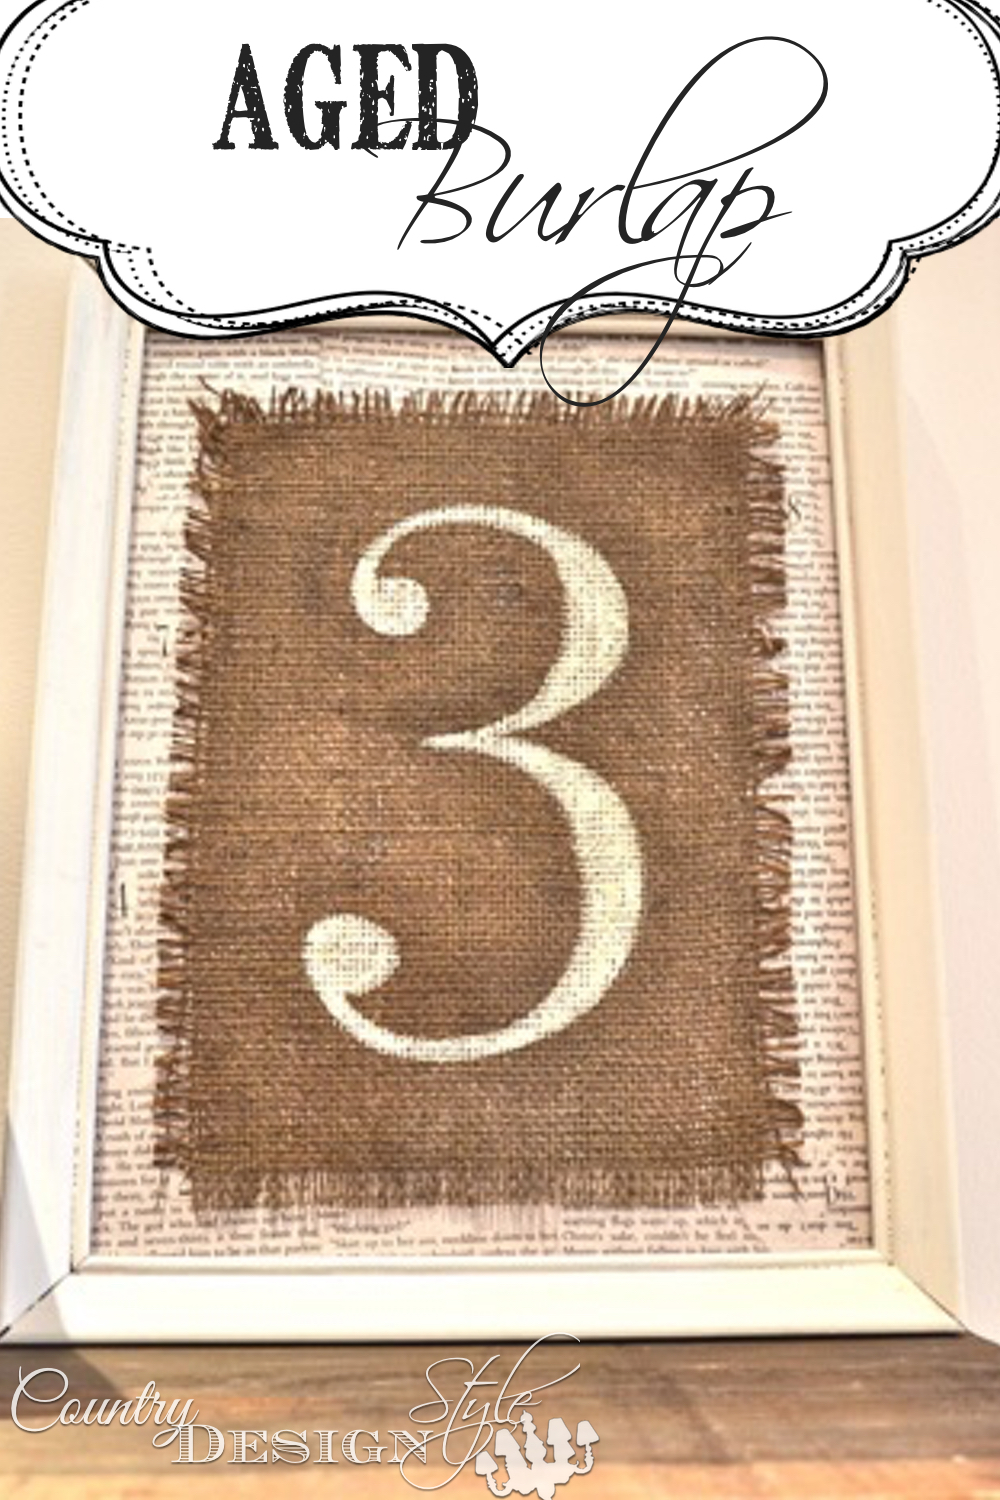
Aged Burlap
Have you noticed the best ideas happen by accident? This aged burlap idea happened on accident…a messy accident.
Aged Burlap??? why not!
I was working in the workshop on two projects and splashed my aging vinegar on the burlap for another project, hum!
Idea forming! 😉
Ideas forming can be frightening around here…but not this time.
Here’s how I aged burlap.
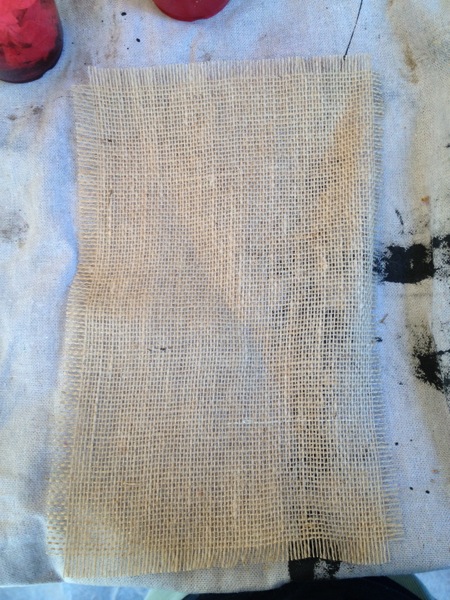
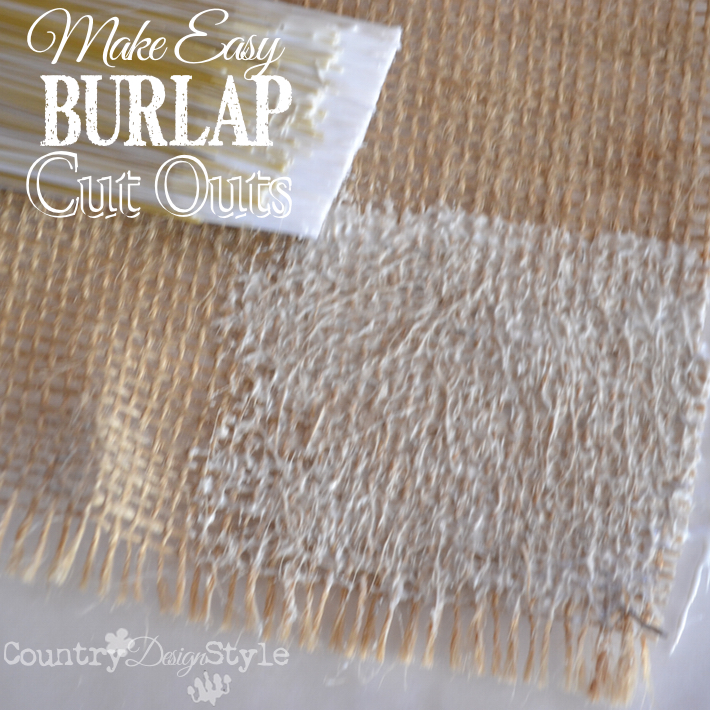
First, I cut a rectangle of burlap. Which is not an easy task. Have you tried to cut burlap straight?
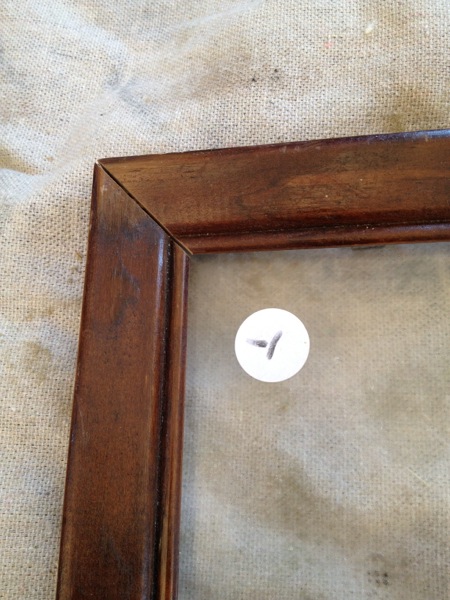
My tip to cut burlap straight
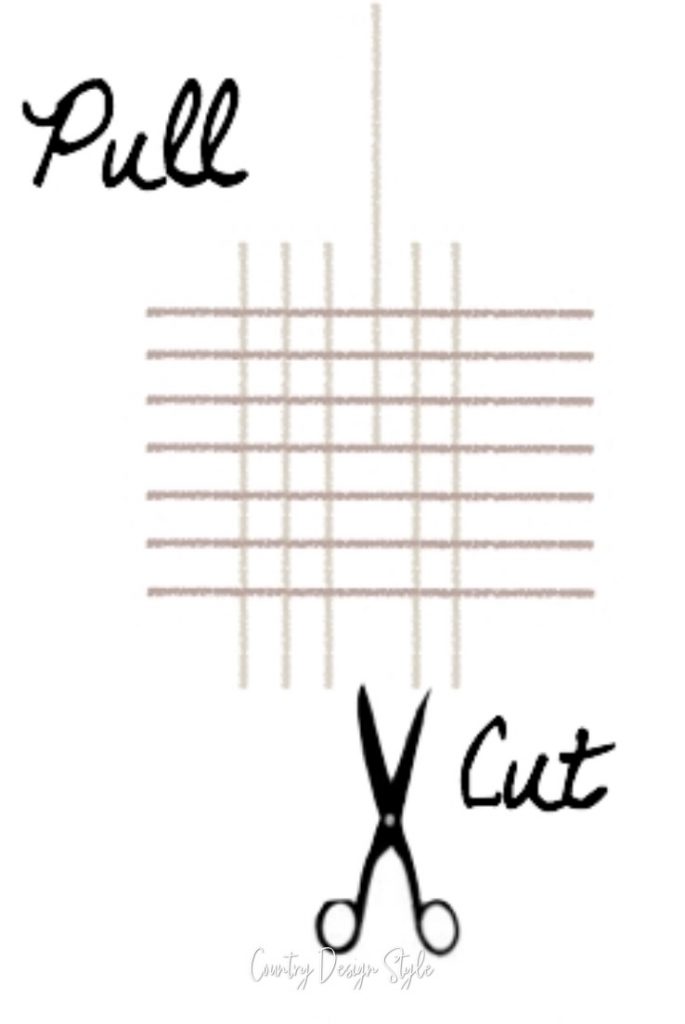
My tip is to pull out a thread where you plan to cut. Then cut along the gap left from removing the thread. Like in my little drawing above:)
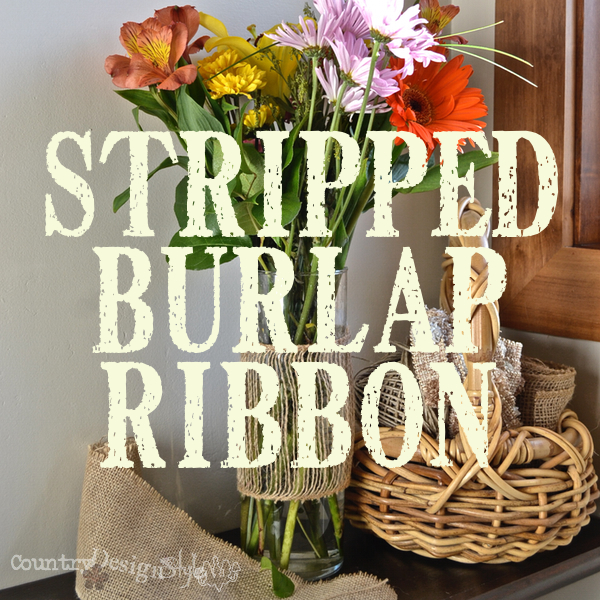
Keep the threads you remove to add to twine nests. I display these around the house all year long.
Aged the burlap
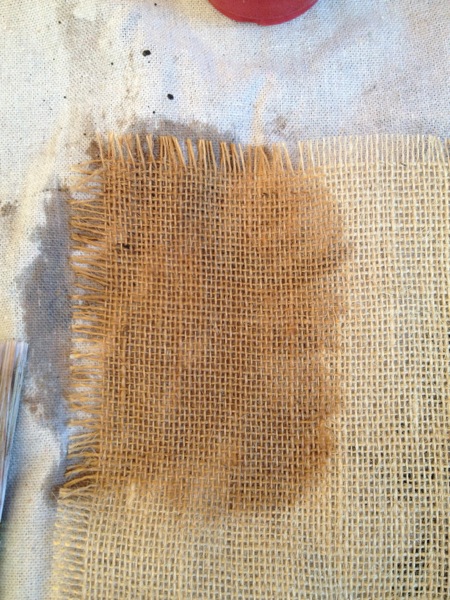
Next, I made a cup of tea using a regular tea bag. Then started “painting” the burlap with the tea. I left it to dry and started another project.
Hope I don’t get tea all over the next project!
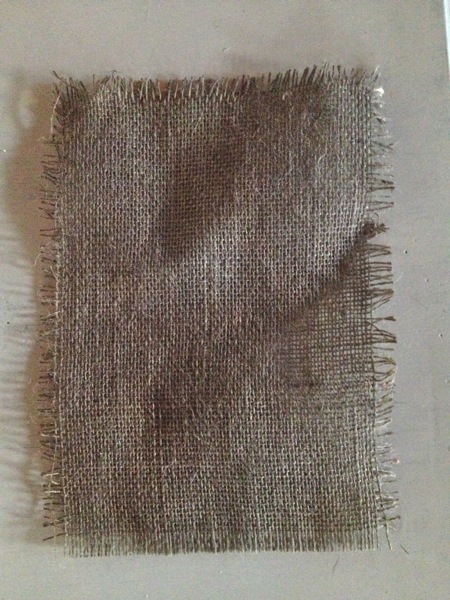
After the tea dried, I grab a jar of ironed vinegar. If you don’t know what ironed vinegar is, click on over to this old wood.
The ironed vinegar gave the burlap a grayed color instead of just the “tea dyed” look.
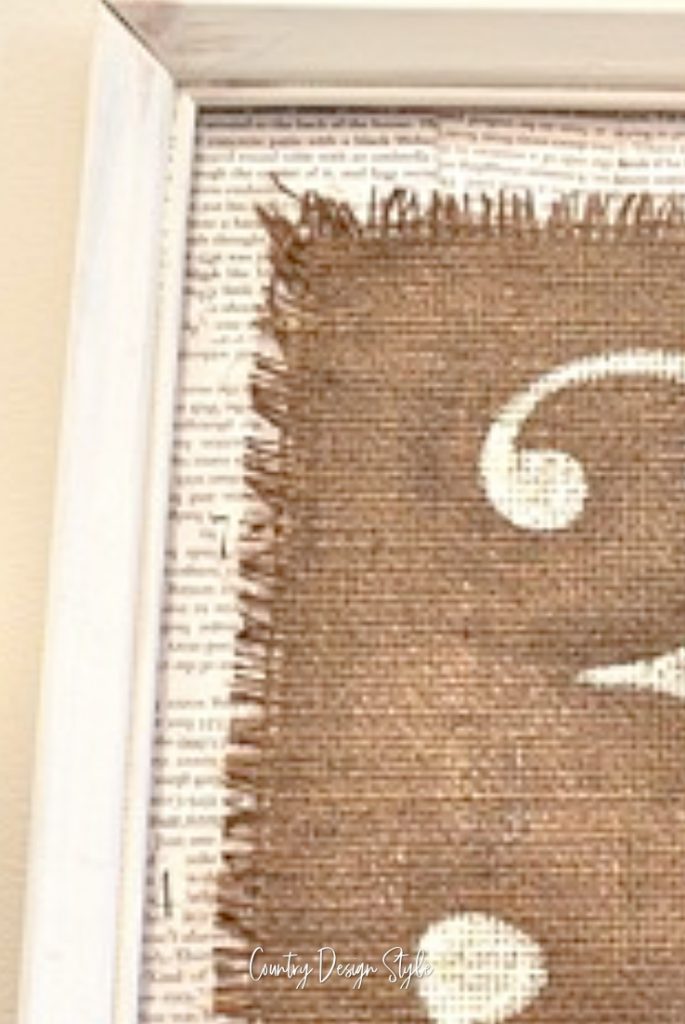
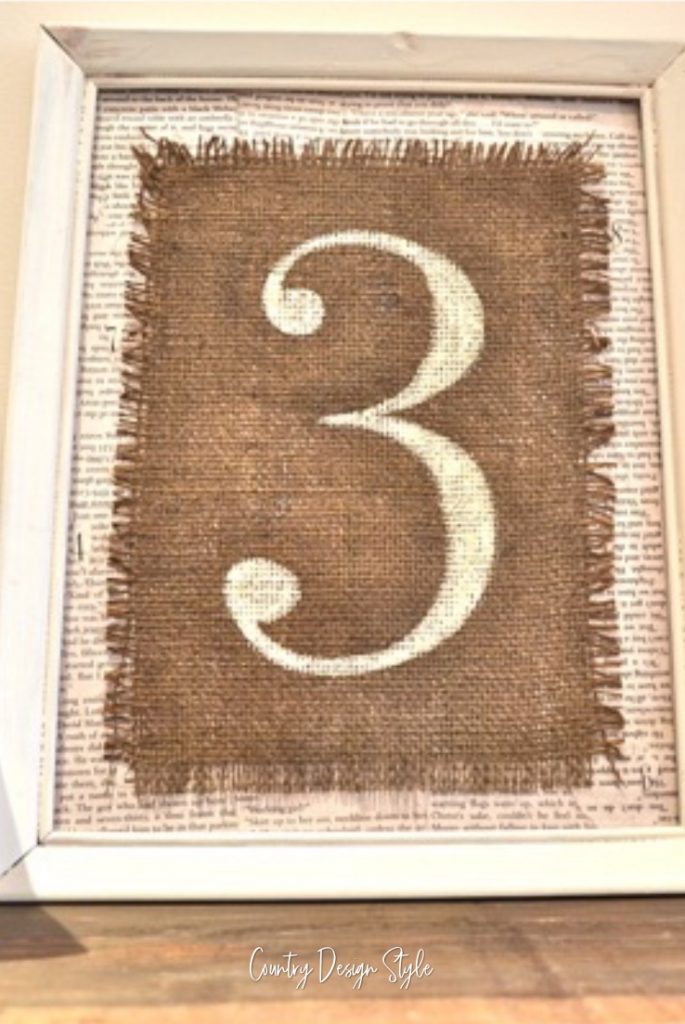
Displaying the aged burlap
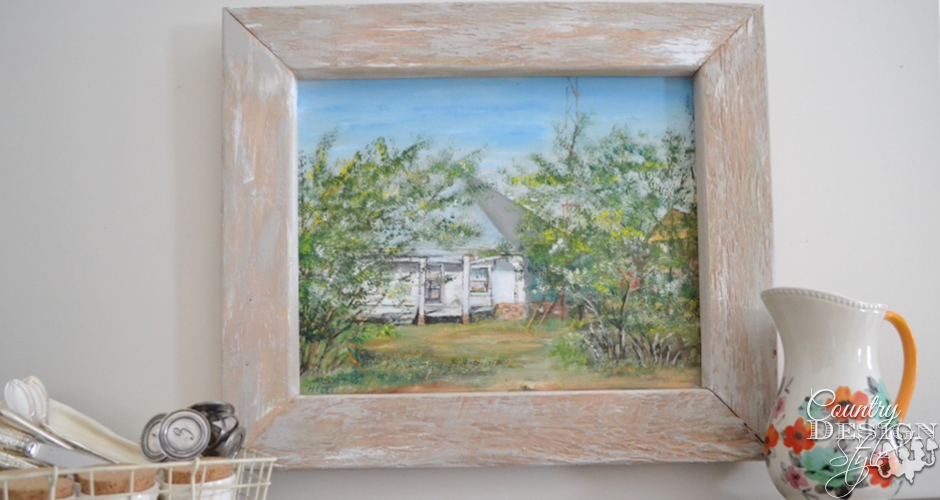
I grabbed a thrift store frame, and the next step I’m not sure I should have done.
I painted it creamy white.
But anyway, onward. “It’s only paint!”
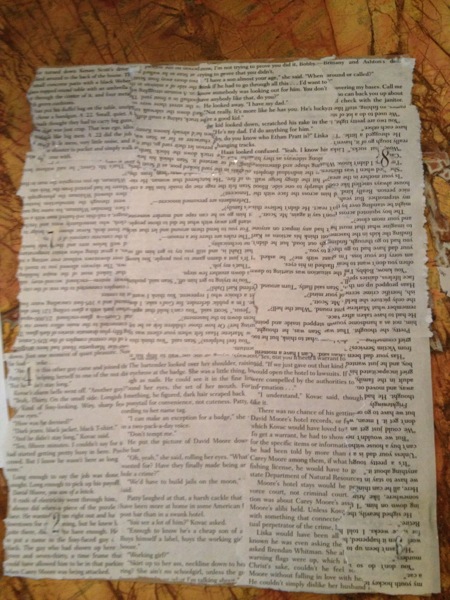
I covered the cardboard backing with old book pages and mod podge. Some pages are upside down, but that’s okay. I also added five numbers from the chapters of the book. See if you can find them all in the photo above:)
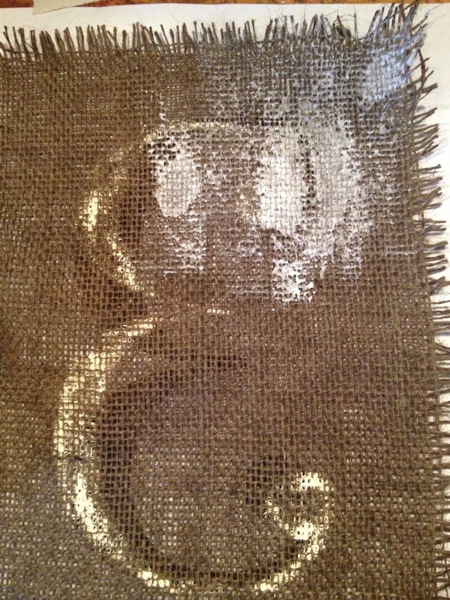
Next, I printed out a large 3. Then placed it under the aged burlap. I could see the 3 peaking through the burlap. I used antique white craft paint. The photo above is the back side where I painted a bit of mod podge as a glue.
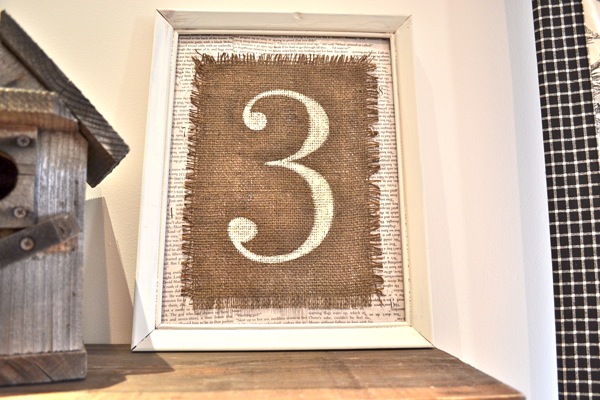
Now I have aged burlap art!
If I wanted a larger piece of aged burlap, I think I would use a galvanized tub and dip the burlap. I used burlap to make a top for this wood crate. Should I have aged it?
What do you think? Should I remove the white paint from the frame?
Sometimes it pays to be messy!!!

Join the newsletter

Subscribe to get our DIY HelpLetter each Thursday. Plus grab your Interior Decorating Ideas e-book.
Hi,
Need help. I did the ironed vinegar, but it came out dark brown…not grey. Also some of the ironed vinegar is rubbing off when I touch it. What should I do?
Should I hand wash it and dry it to get off the extra or will that remove all of it?
Thanks for any input!
Sarah Norris
This is VERY cool. Thank you for sharing!
I have been doing some projects and want to know how you got the number/letters in that size. I am not super computer literate so I am having trouble figuring it out. Any help would be appreciated.
Tina, I use a mac computer and I’m not sure about other computers. But with the mac you can change the font size to any size by increasing the number. Otherwise I would suggest printing out your number and taking it to a copy center. They can make it any size you need. I hope that helps.
Tina,
If you have Windows and use Microsoft word or just about any program, click on the font size and when it’s highlighted you can type on your keypad and make whatever size you want. I thank 72 is the highest word will go up to, but I highlight the size and type and even print 100, 150, 200 font size before. There is no limit to the font size. I hope this helps.
Marnie, Thank you so much for helping Tina! You’re the best. ~Jeanette
Just saw your aging burlap pin and am so excited bout finding YOU! Tell me, do you have any tips/tricks for SOFTENING burlap that has already been painted? Want to use it for seat cushions but SOOOO SCRATCHY! Thx for any help!
Gidget, {loved your movies;)}
Excited to have you as a new reader! To answer your question, I really not sure what will work, but I can tell you what I tried that didn’t work. I tried to wash burlap with a cup of fabric softener, that didn’t work. Tried soaking in water with white vinegar, that didn’t work. I would be careful trying vinegar with paint, it could removed some of the paint. It sounds like you’ve already painted the burlap?? If I wanted the look of burlap to cover a chair that would be used, I would look for the softer fabrics that are woven like burlap. I found some once in white and tea stained it to look like burlap. Instead of paint {because paint can be scratchy too} I would use stain. Hope I was of so help.
Jeanette
I love the contrast between the white and the burlap!
Thank you Patricia, I like it the way it is. Anxious to do another aged burlap project now!
Love this so much! Just saw your project on Instagram! I would love to feature this on my burlap projects page if you are okay with it!
Thanks!
karianne
Karianne, I would love it if you featured my aged burlap on your projects page. Wahoo!
LOVE This!! I would keep the frame white 🙂
Thanks Chandel, a vote for white:)
I’s sand the frame some…..age it….and I would sand the number a little too….it’s a little too ‘new’ looking. Love the artwork though!
Doris, thank you for your great suggestions. I eventually {next week} plan on redoing the living huge stone fireplace and want to do a junky photo gallery on the stone. Your ideas would be prefect for this:)
Brilliant – sharing on my FB page and pinning for future reference – the best use of a cup of tea!
Kelly
Kelly, Lol! It’s too hot to drink the tea anyway right now. Thank you for sharing and pinning.
Great project, Jeanette! I’m visiting from blogtalk and sharing on my fb page!
Marty, thanks for the FB share!